Welcome to Lynn University. Contained on this page is a quick start guide for student technology and systems.
Table of Contents
Step 1: Complete onboarding network account steps
Overview
Onboarding your network account means the following:
Unable to render {include} The included page could not be found.
Step 2: Complete Multi-Factor Authentication enrollment
Overview
Multi-Factor Authentication used for accessing Lynn resources:
Unable to render {include} The included page could not be found.
Step 3: Accessing Office365 resources
Overview
Accessing your student email and applications:
How to login to Office365
- Navigate to this link https://office365.com
- Click Sign in at the top
- Enter your Lynn email address and click Next.
- When redirected to the Lynn Sign on page, enter your Lynn password and click Next.
- If prompted, approve your Multi-factor authentication push notification.
- You are now logged in to Office 365.
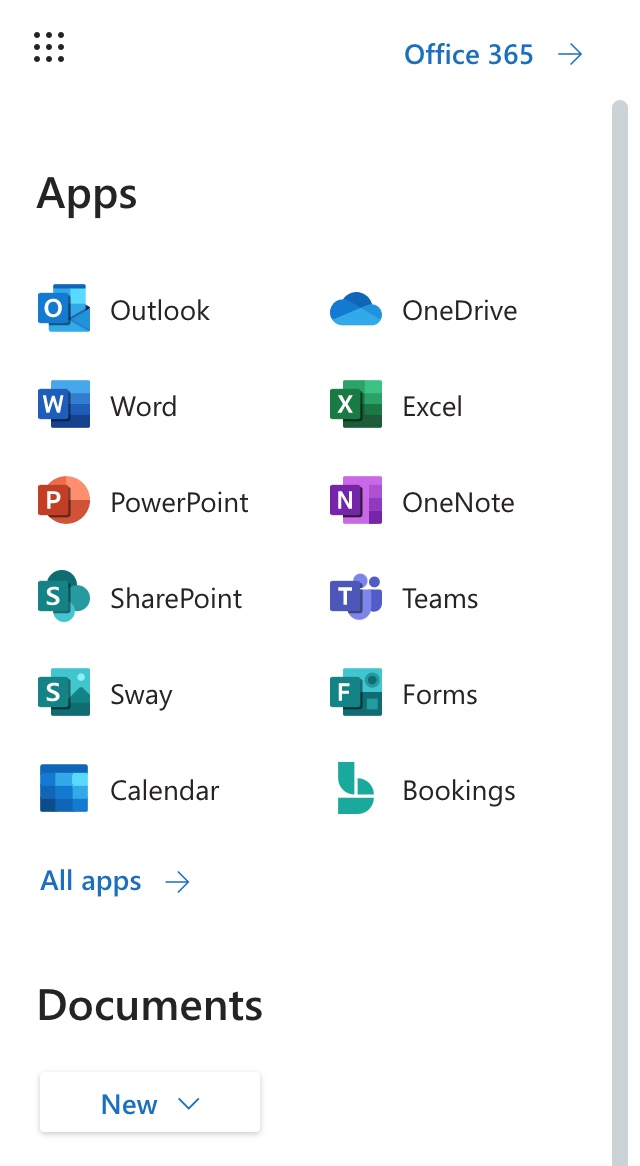
Resources available in Office365
- To access all of the Office365 applications, click on the 9-dot box at the top-left corner.
- If you do not see your app, click on "All Apps" to see them all.
- Select the app you wish to open. It will appear in a new tab.
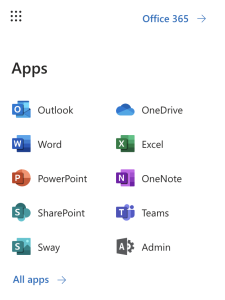
- Some of the apps available to all Students include (Click on the name of the application for training resources)
- Outlook - Application for accessing University email account.
- OneDrive - Application for cloud-based file storage and sharing functionality
- Word - Application for creating documents
- Excel - Application for creating spreadsheets
- PowerPoint - Application for creating presentations
- OneNote - Application for creating notes
- SharePoint - Application for creating shared spaces for groups
- Teams - Application for working with teams (Instant Messaging, Video Meetings, Shift Schedules)
Step 4: CBord GET Mobile
Overview
Download and install Get Mobile:
Unable to render {include} The included page could not be found.
Lynn University Knowledge Base
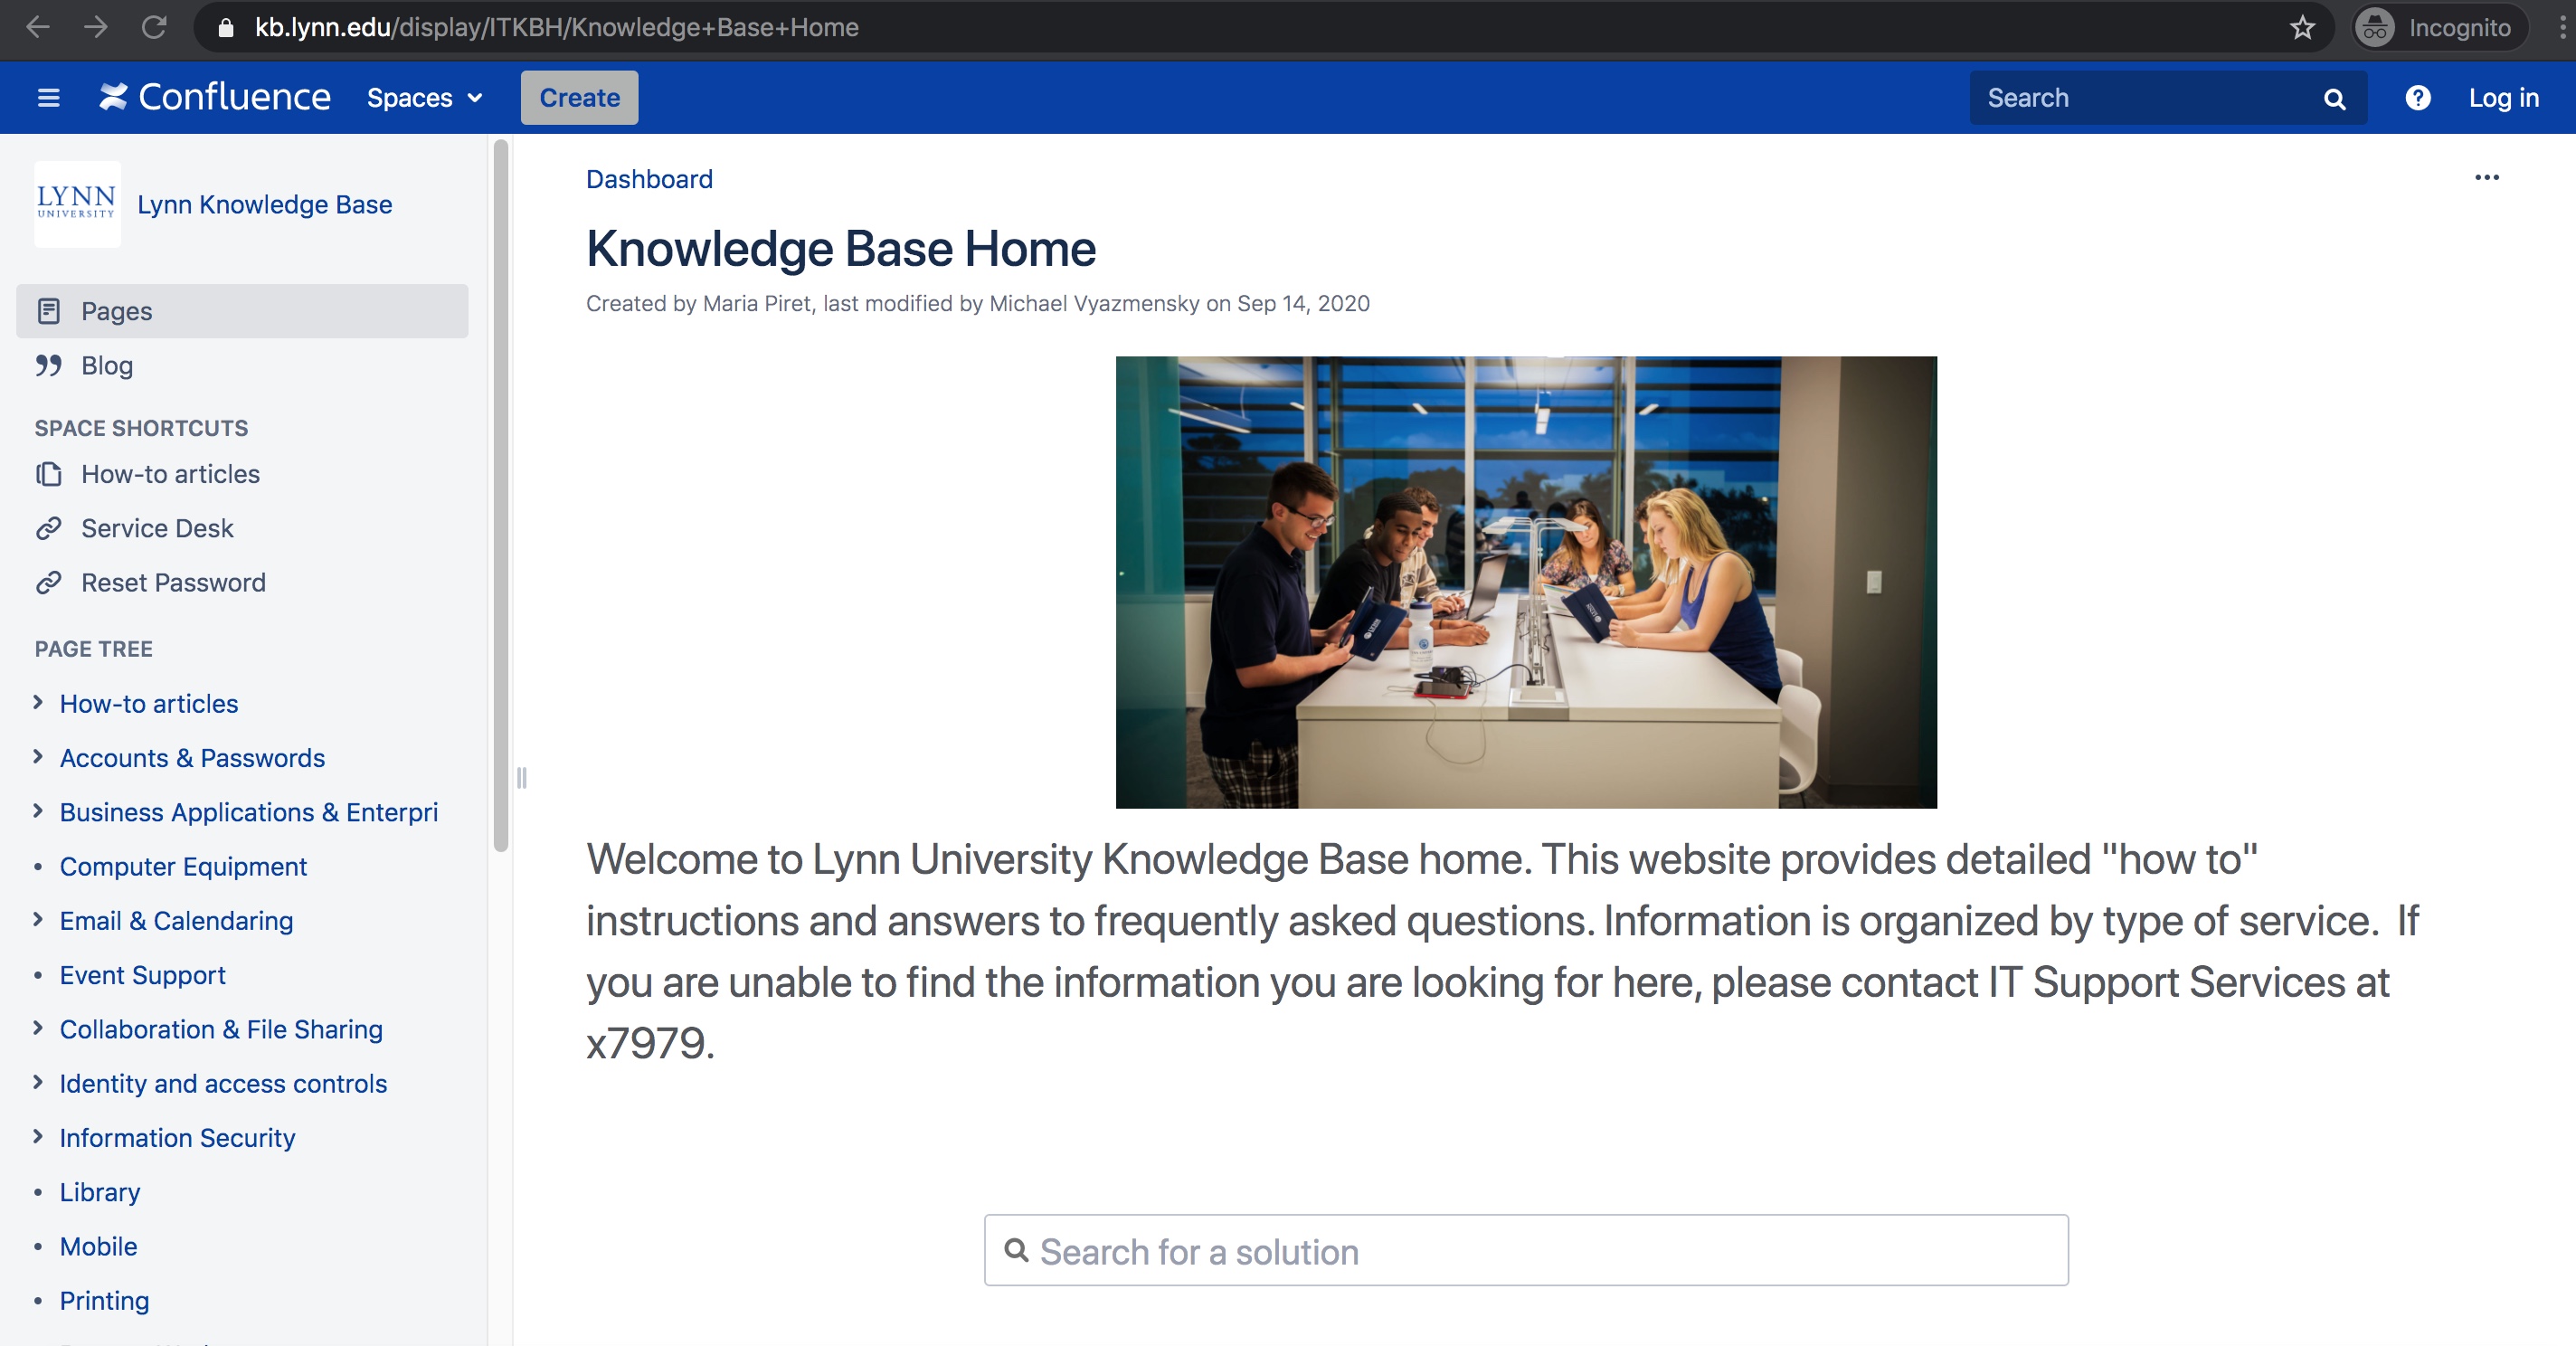
The Lynn University Knowledge Base is a resource for documents and instructions relating to Information-Technology programs and services.
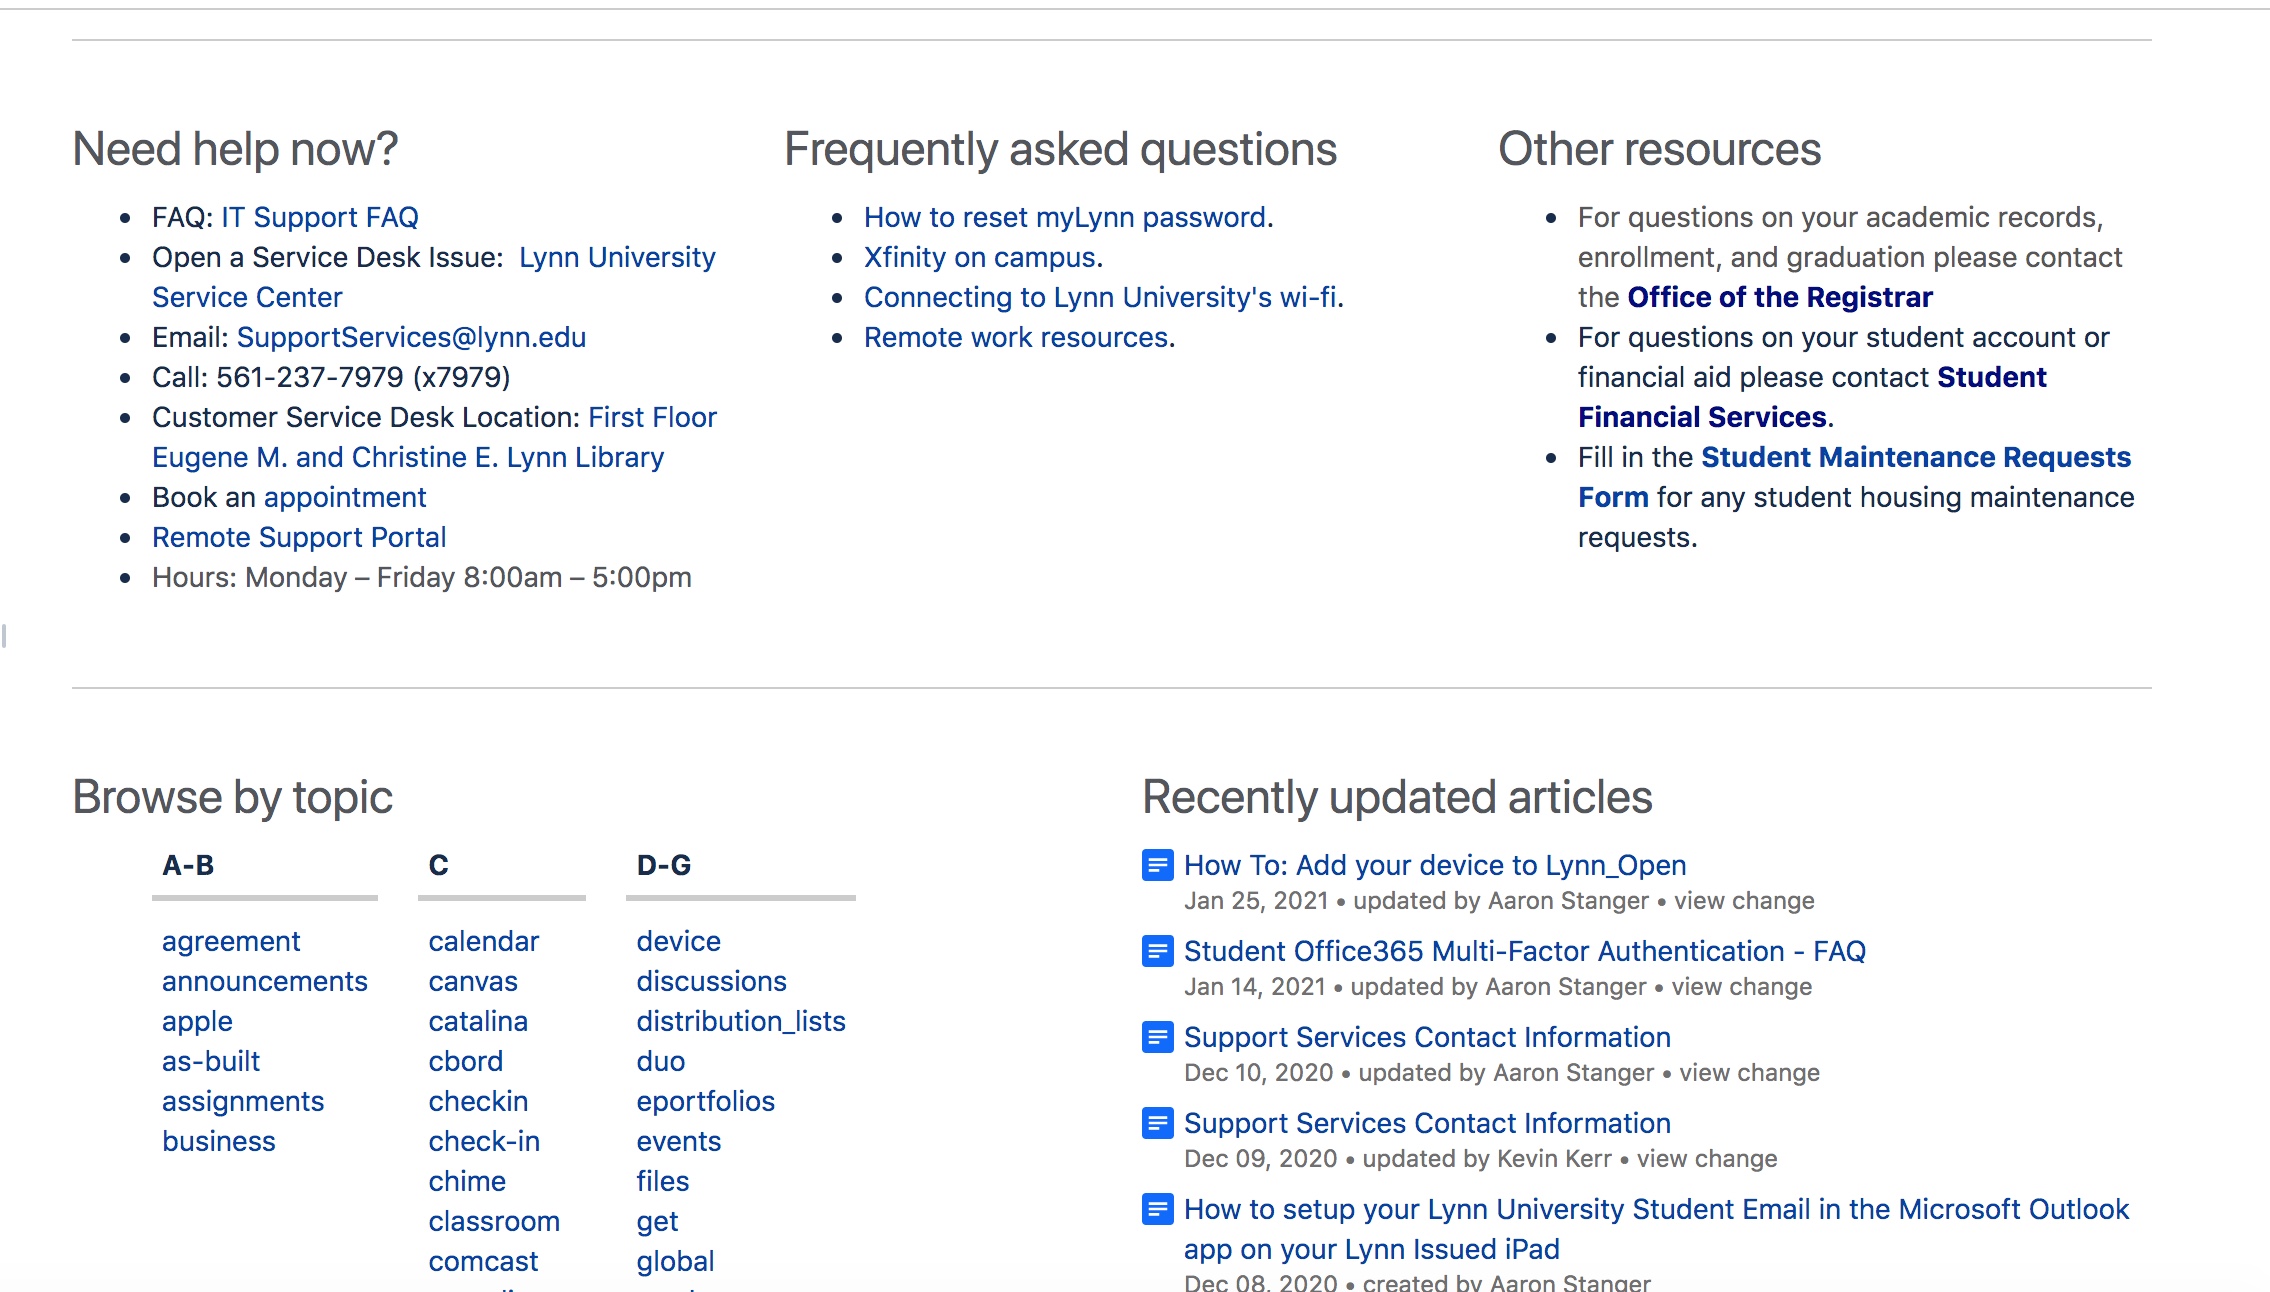
How to access the KB
- Navigate to this link https://kb.lynn.edu/display/ITKBH/Knowledge+Base+Home
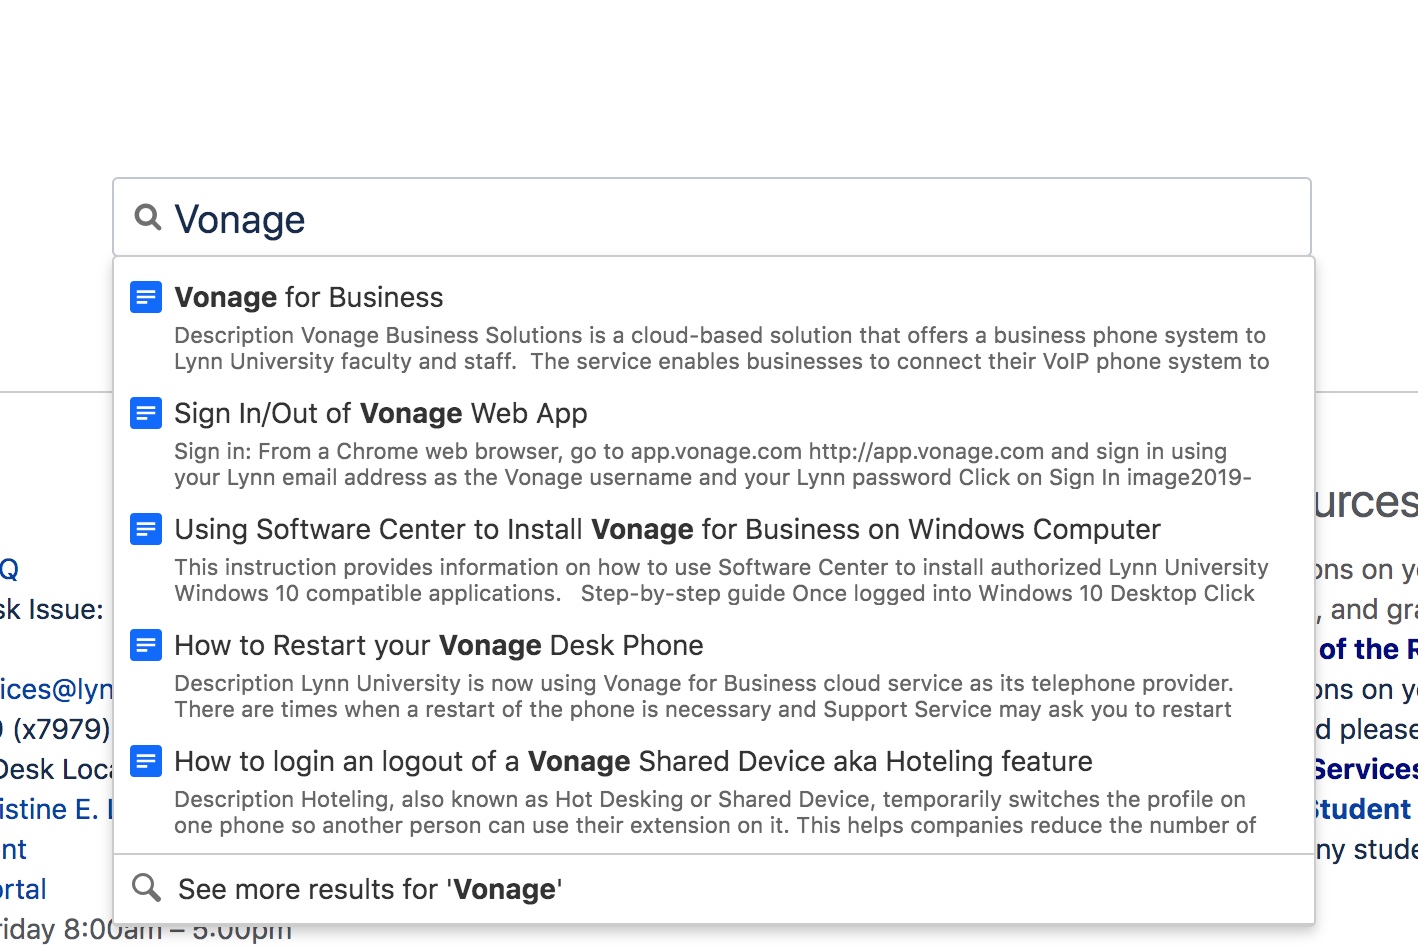
How to search the KB
- Type in your search word(s) in the bar. Options will appear as you type. Select the one you would like to view.
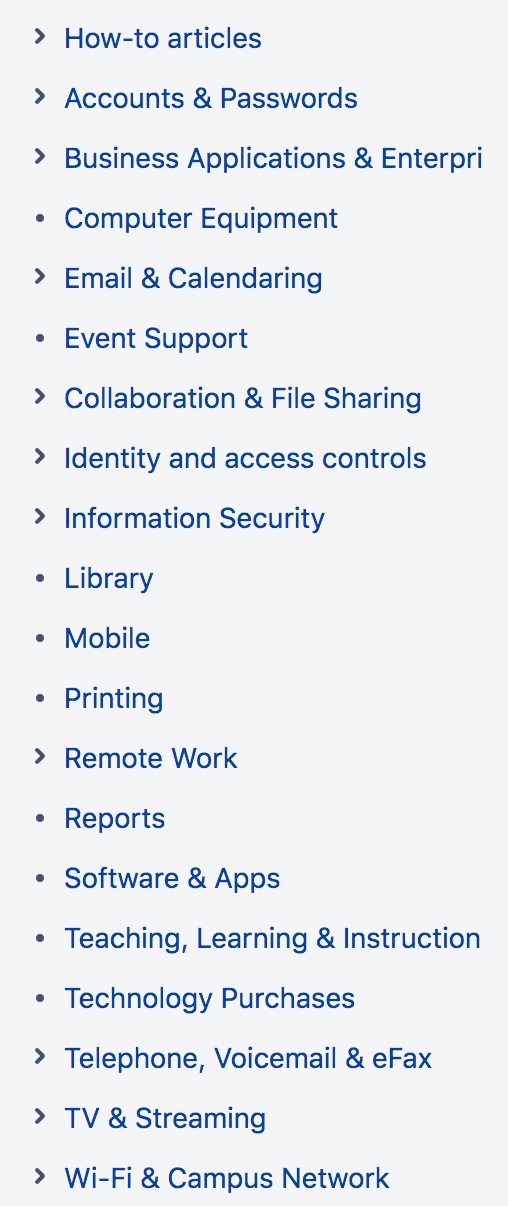
How to navigate the KB
- Using the menu in the left pane on the screen, select the category of programs/services that you would like to view.
- Expand the category to view specific documents.
- In the center pane, you can browse by first letter of the program/service you are looking for.
- You can also see recently updated items.
- This is also a good place to find links for how to contact IT support Services.
Office 365 FAQs
How to login to Office365
- Navigate to this link https://office365.com
- Click Sign in at the top
- Enter your Lynn email address and click Next.
- When redirected to the Lynn Sign on page, enter your Lynn password and click Next.
- If prompted, approve your Multi-factor authentication push notification.
- You are now logged in to Office 365.
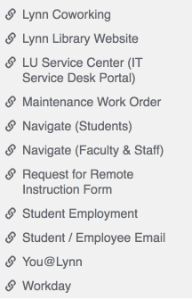
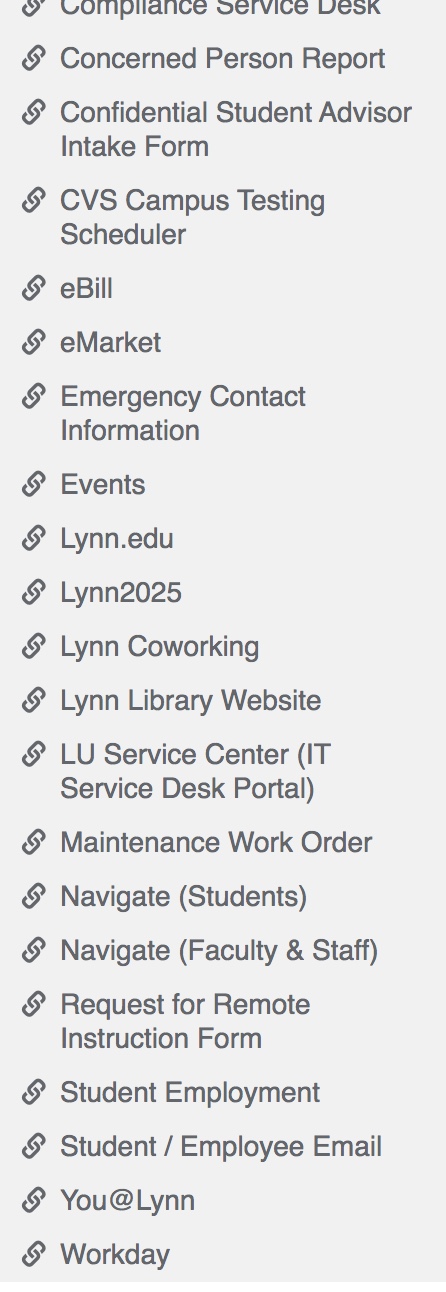
- Another method is to log in through MyLynn. Once logged in to MyLynn, click on the Student/Employee Email link on the left menu pane.
Resources available in Office365
*Based on Employee Type: Outlook, OneDrive, MS Forms, Teams
- To access all of the Office365 applications, click on the 9-dot box at the top-left corner.
- If you do not see your app, click on "All Apps" to see them all.
- Select the app you wish to open. It will appear in a new tab.
- Some of the apps available to all Employees include (Click on name of application for training resources)
- Outlook - Application for accessing University email account.
- OneDrive - Application for cloud-based file storage and sharing functionality
- Word - Application for creating documents
- Excel - Application for creating spreadsheets
- PowerPoint - Application for creating presentations
- OneNote - Application for creating notes
- SharePoint - Application for creating shared spaces for groups
- Teams - Application for working with teams (Instant Messaging, Video Meetings, Shift Schedules)
- Forms - Application for creating fillable forms to share
- Bookings - Application for creating a site for users to book appointment/services
How to request additional resources, access, etc.
- To request additional resources and access, please put in a ticket in the LU Service Center.
- Or contact IT Support Services at 561-237-7979.
Lynn University Services Center FAQs
How to login
- Navigate to MyLynn. Sign in with your MyLynn email address and password.
- In the left menu pane, scroll down and click on "LU Service Center".
How to create an issue
- Once on the main LU Service Center page, there are a number of options
- If you need to book an appointment to visit the IT customer service desk, click the link.
- For Canvas-specific issues, click on the link to be re-directed to the Canvas support page.
- For Workday-specific issues, click on the link to be re-directed to a Workday issue entry page.
- For an issue (Something broken, error, not working and needs to be fixed), click the link to begin a new ticket.
- For a request (I need something that is not broken or not working), click the link to begin a new ticket.
- For a Zoom issue, click on the link to begin a new ticket.
- For an MFA Authentication issue, click on the link to begin a new ticket.

Error or Broken or Not Working (Incident)
*Also for Zoom and MFA Authentication Issue
- Enter a title for your ticket
- If the ticket is for yourself, enter Yes. If you are reporting the ticket for someone else, select No and find their name by typing in and searching.
- Make a selection for how many users are affected by the issue you are reporting (Individual, Multiple Individuals, Multiple Groups)
- Make a selection for how this issue is affecting your work (Work Not Affected, Work Degraded, Work Blocked)
- Type a description of your issue. Be sure to include as much detail as possible, including any troubleshooting steps you may have taken already.
- If you would like to attach a screenshot of the issue, you can do that by dragging the file in or clicking Browse to locate and attach the file.
- Please select a Preferred Contact Method so that IT Support Services may contact you with further details (Email or Phone).
- When finished, click Create.

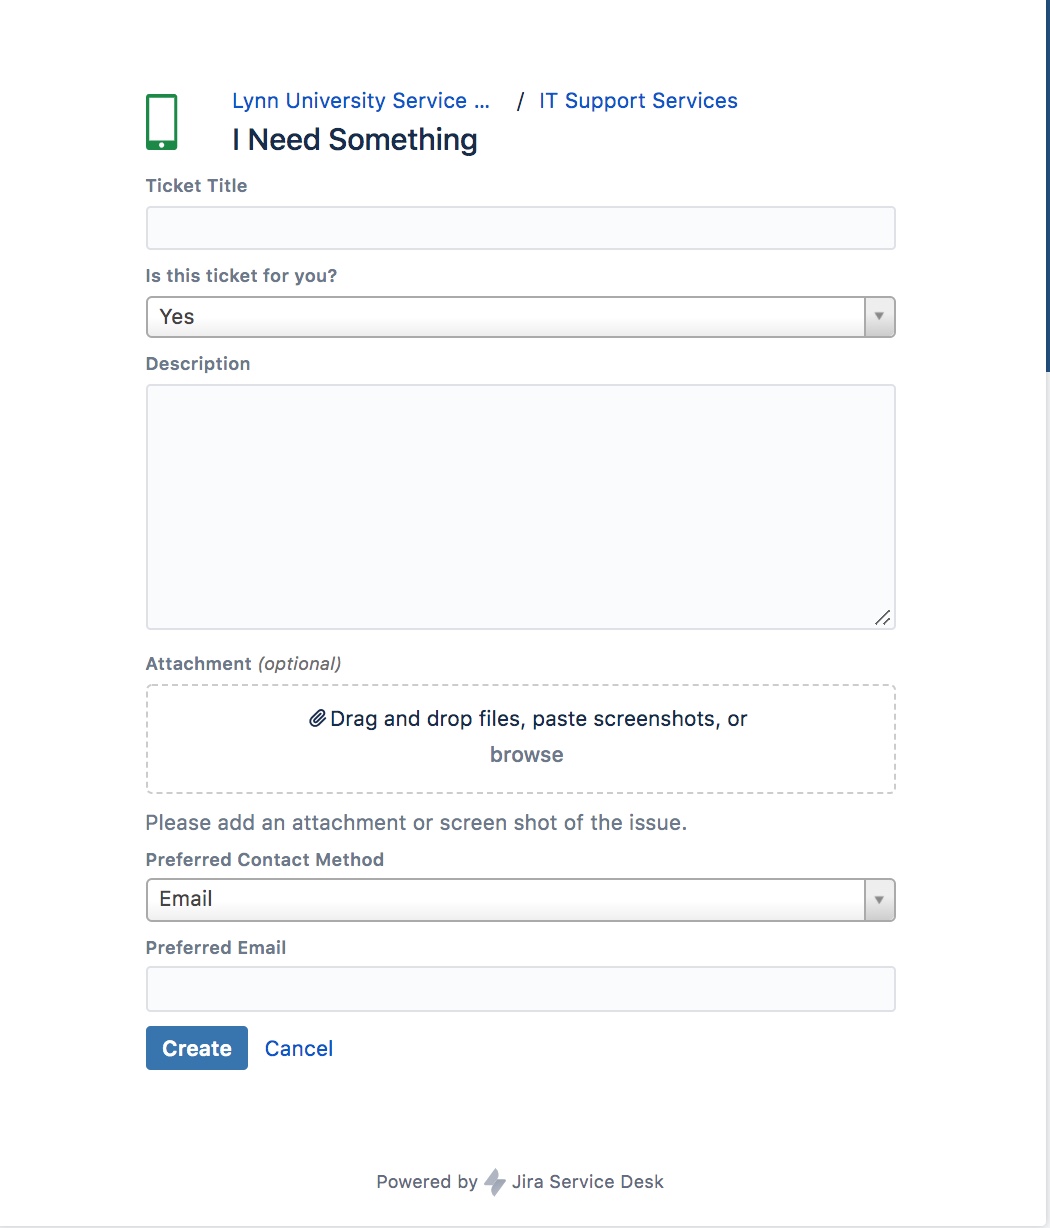
I Need Something (Service Request)
- Enter a title for your ticket
- If the ticket is for yourself, enter Yes. If you are reporting the ticket for someone else, select No and find their name by typing in and searching.
- Type a description of your issue. Be sure to include as much detail as possible, including any troubleshooting steps you may have taken already.
- If you would like to attach a screenshot of the issue, you can do that by dragging the file in or clicking Browse to locate and attach the file.
- Please select a Preferred Contact Method so that IT Support Services may contact you with further details (Email or Phone).
- When finished, click Create.
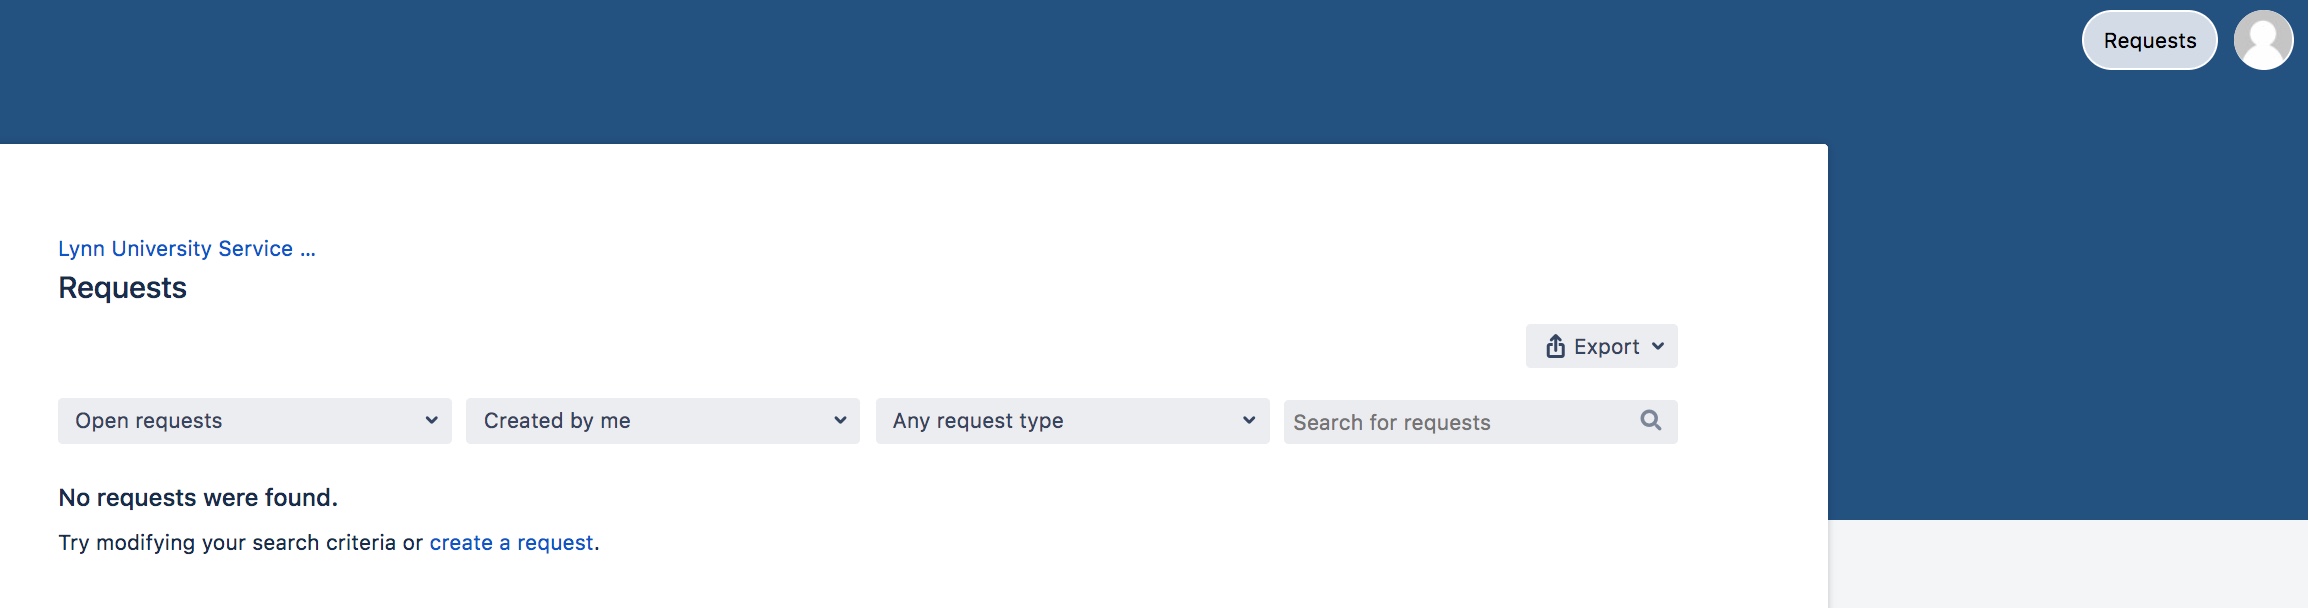
How to update or respond within the issue
- For an issue you have already created, you can access it by clicking the link in the email confirmation you were sent, or by logging in to the Service Center portal and clicking on Requests at the upper-right corner.
- You can send an additional message or see the status of your ticket here.
Related articles