This document will go through the steps of syncing an employee or student's Office365 account with Zoom so their calendar will display within the Zoom desktop and mobile applications.
Logging into Zoom
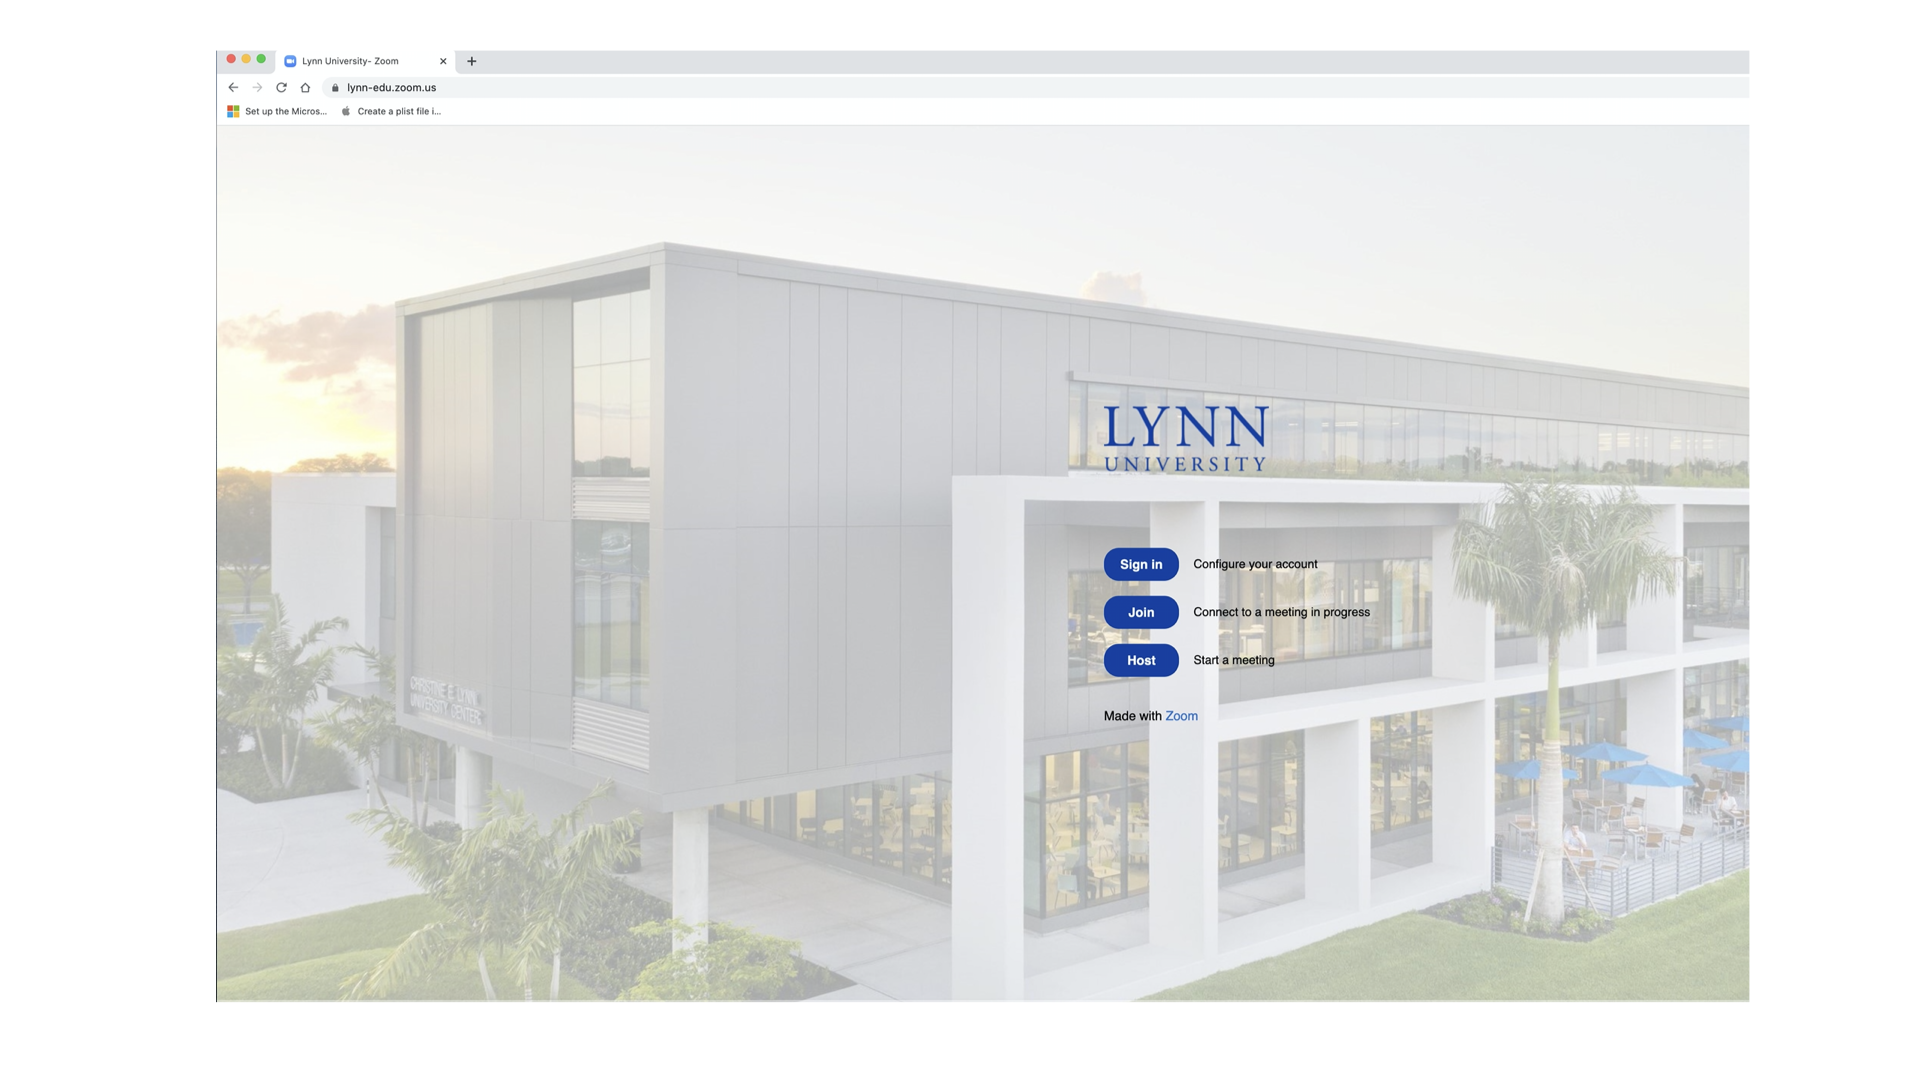
- Open a web browser and go to https://lynn-edu.zoom.us
- Click the blue Sign-In button and enter your Lynn email address and password
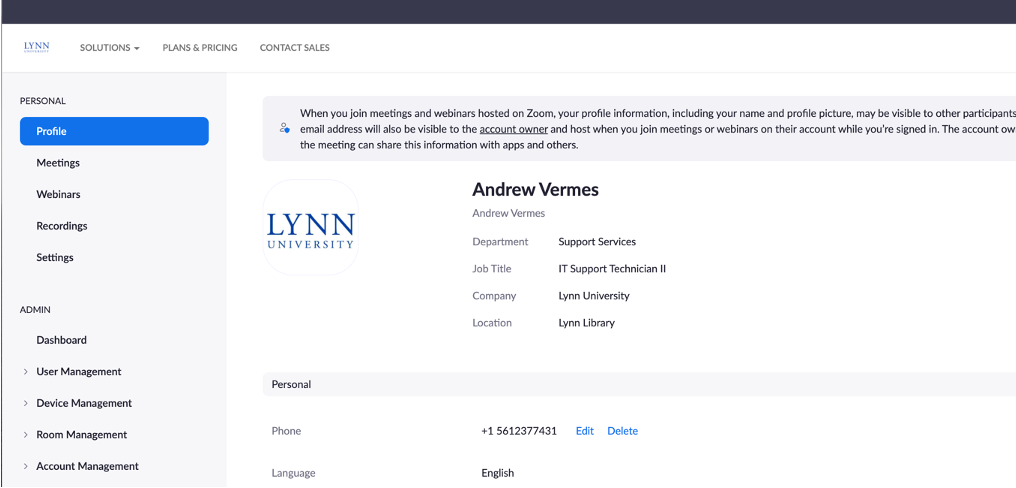
- After login, the Zoom information screen will appear. Click on Profile on the left (It may go there by default).
Syncing your account
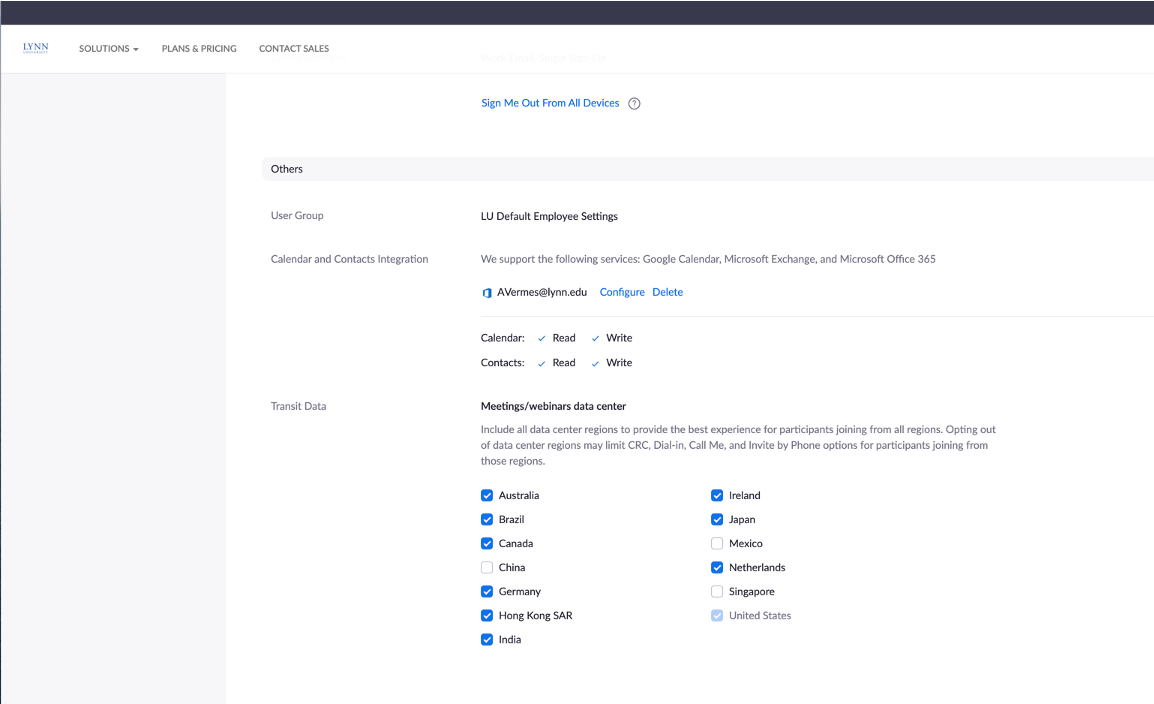
- Scroll down until you see the "Calendar and Contacts Integration" section.
- Click the blue "Configure" button.
- If you have already set up and need to re-sync your account, your email address will display and the configure button will appear to the right.
- In the "Select a Service" pop-up window, select Office 365.
- Click Next.

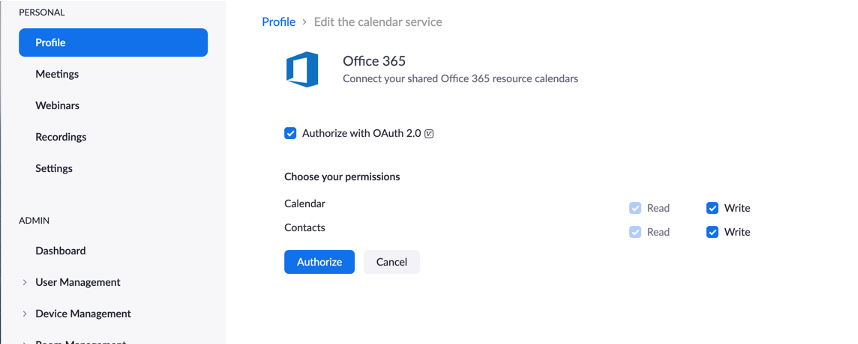
- On the next screen, make sure that the "Authorize with OAuth 2.0" option is selected with the check box. Also, make sure all the checks next to read and write are enabled for calendar and contacts.
- These should be on by default.
- Click "Authorize".
- The Microsoft Sign-In Screen will appear.
- If your email is already displayed, click that option.
- If your email is not already displayed, type in the email address and click next.
- If needed, enter your full email address and password on the sign-in screen.

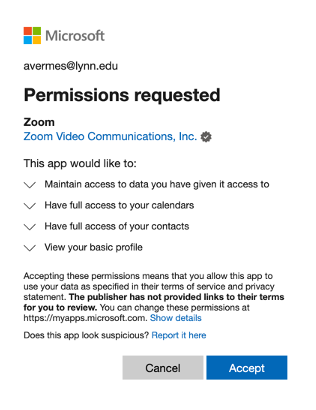
- A window will appear asking for permission for Zoom to access your account.
- Click accept.
- Once this has been completed, the screen will go back to the main Zoom profile page. A notification bar at the top will appear to confirm that the process was completed successfully.
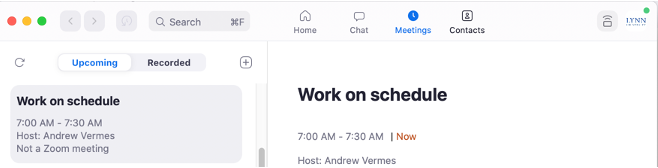
- To verify that it has worked, open your Zoom desktop or mobile application and click on Meetings. Your Zoom and non-Zoom meetings on your Outlook calendar will display in the left column.