Welcome to Lynn University. Contained on this page is a quick start guide for student technology and systems.
Table of Contents
Step 1: Complete Lynn account setup steps
Overview
Setting up your Lynn account means the following:
Account Setup Steps
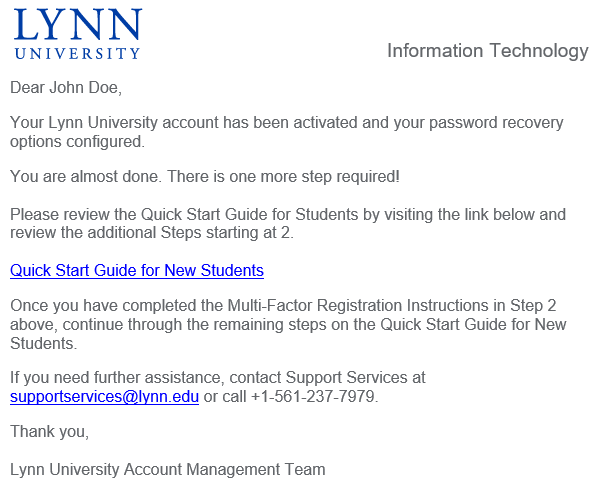
- Find the admissions email (see image below) in your personal email inbox (the one you provided when applying to Lynn).
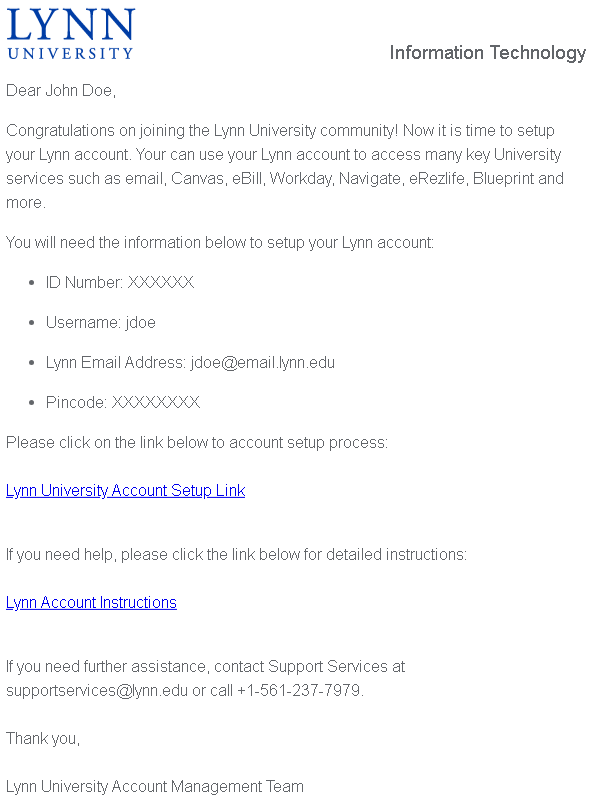
Follow the instructions in your email. Please keep the email ready, as you will need it for the steps below.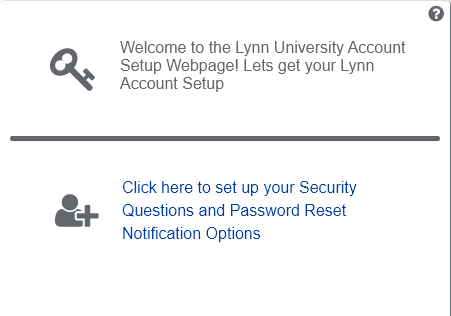
Enter your ID number from the email. It is typically a number from 5 - 8 digits long. Then Click ‘Next’
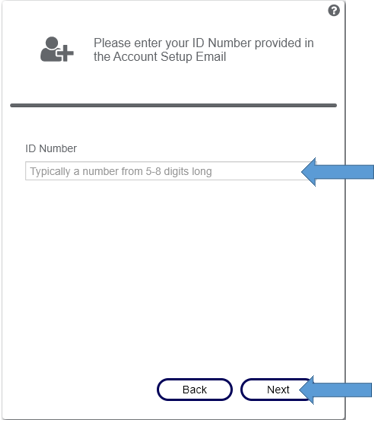
Please Note: Error 1168
If you receive this error, you may have already set up your account. Please proceed to the next step, Complete Multi-Factor Authentication Enrollment

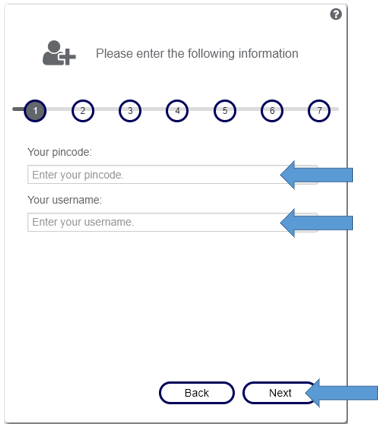
- Here you will need to enter the pincode and username provided on the email. Then click ‘Next’
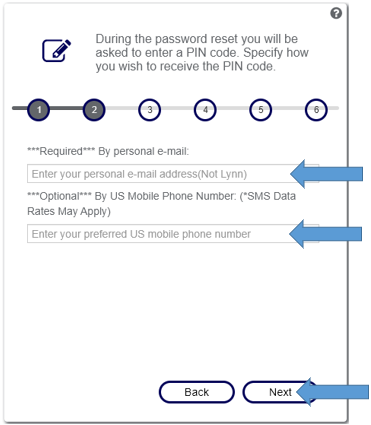
- This page requires you to enter a required personal email address and an optional mobile phone number in the US. This information will be stored in our automated password reset system. Then Click ‘Next
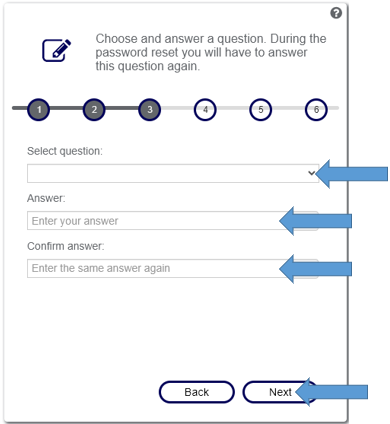
- The next two pages will look very similar and require you to select security questions and provide answers. This information will be stored in our self-service reset password management system(SSRPM) should you need to reset your password in the future. Click ‘Next’ when you have filled out both pages.
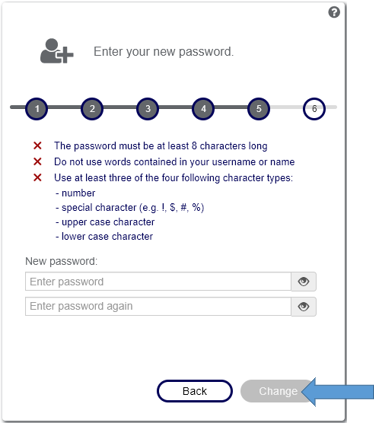
- This next page allows you to set your account password for the first time. Please make sure to follow the password requirements listed on this page. All of the red X’s must be green check marks for you to be able to successfully set your password. Then Click ‘Change’
- At this point, you have now successfully Activated your Lynn account and finished the setup process. Please remember both your Username and your Lynn Email Address, as these are what you will use to access Lynn online resources. If you Click ‘OK’ you will be taken to the Lynn Knowledge base. You can close this browser window.
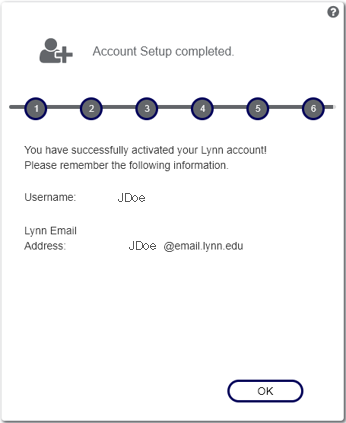
At this point you should receive a confirmation email in your inbox that you have successfully set up your Lynn account.
Step 2: Complete Multi-Factor Authentication enrollment
Overview
Multi-Factor Authentication used for accessing Lynn resources:
Lynn Email Access and MFA Enrollment
IMPORTANT
The authenticator app is required to access your Lynn Email, Canvas, and Workday. Please keep in mind that you will be asked to authenticate using the app every 90 days. This app is also automatically on your Lynn issued iPad. Please do NOT delete the app.
First time MFA Enrollment
- Prepare two devices, one should be a phone or mobile device, the other should be a device with a larger screen (PC, Laptop, iPad)
- On your Phone:
- Download the Microsoft Authenticator App
- Open the application and accept all Terms and Conditions
- If prompted, Allow Notifications
- Download the Microsoft Authenticator App
- On your Other device:
Go to navigate to https://outlook.office.com
- Sign in with your Lynn account
- You should be prompted that "More Information is Required"
- Hit Next until you are presented with a QR Code to scan
- On your Phone
- In the Authenticator App, tap Add Account
- When presented the options tap "Work or School Account" and "Scan QR Code"
- Scan the QR code on the screen of your other device
- Once your profile appears on the Authenticator app, hit next on the other device to have it send a test authentication notification
- You should be prompted to enter 2 numbers and the option to input those numbers should appear on your phone
- After a successful login you will able to access your Lynn University emails
Adding MFA to Another Device
It is highly recommended that MFA is added to another device, such as your school iPad, so you are less likely to lose access.
A computer is not needed this time for setup, you will only need the new device and the first device you set up in the previous section.
- On your new device, download the Microsoft Authenticator app
- If prompted, allow notifications
- Tap Add account
- When presented the options, tap "Work or School Account" and "Sign In"
- Sign in with your Lynn credentials
- You will receive a notification to your other mobile device, the one that set up with Authenticator the first time. Approve this sign in by tapping on the notification, tapping Approve, and confirming the two digits
- You should now have another device setup for use with Multi Factor Authentication
Removing a Device from MFA
If for any reason you wish to remove your device from being used for MFA, you can do so by doing the following:
- Navigate to https://mysignins.microsoft.com
- You should see all the devices that are connected to your account
- Select "Delete" next to the device that you would like to remove
If you experience any issues, please contact IT Support Services:
Create a Support Case: https://services.lynn.edu
Email: supportservices@lynn.edu
Phone: 561-237-7979
Step 3: Accessing Office365 resources
Overview
Accessing your student email and applications:
How to login to Office365
- Navigate to this link https://office365.com
- Click Sign in at the top
- Enter your Lynn email address and click Next.
- When redirected to the Lynn Sign on page, enter your Lynn password and click Next.
- If prompted, approve your Multi-factor authentication push notification.
- You are now logged in to Office 365.
Resources available in Office365
- To access all of the Office365 applications, click on the 9-dot box at the top-left corner.
- If you do not see your app, click on "All Apps" to see them all.
- Select the app you wish to open. It will appear in a new tab.
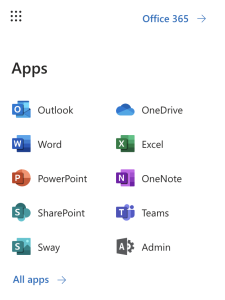
- Some of the apps available to all Students include (Click on the name of the application for training resources)
- Outlook - Application for accessing University email account.
- OneDrive - Application for cloud-based file storage and sharing functionality
- Word - Application for creating documents
- Excel - Application for creating spreadsheets
- PowerPoint - Application for creating presentations
- OneNote - Application for creating notes
- SharePoint - Application for creating shared spaces for groups
- Teams - Application for working with teams (Instant Messaging, Video Meetings, Shift Schedules)
Step 4: GET Mobile
Overview
Download and install Get Mobile:
GET Mobile is an app where students and employees can now use their mobile device to swipe for meals among other things! GET Mobile also provides valuable information about account balances and spending history and enables you to report a lost or stolen Lynn ID card at any time of day or night and also allows you to find places to eat on campus!
Where Can I Use GET Mobile?
The GET Mobile app on your mobile device can only be used in Mary's Kitchen on the first floor of the University Center.
What Can I Do With GET Mobile?
Feature |
|---|
View meal plan balance |
Report/Lock/Unlock my employee ID card if lost or stolen |
View my meal plan usage history |
Find locations to use meal card |
Update my picture on my employee ID card |
Submit picture for new employee ID card |
Employees – Option to use my mobile device as my meal card |
Submit picture for new student ID card |
Update my picture on my student ID card |
Students – Option to use my mobile device as my meal card |
Report/Lock/Unlock my student ID card if lost or stolen |
What Do I Do Next?
- To start, download and install the GET Mobile installed on your mobile device using the "How do I Access GET Mobile on a Mobile Device" instructions below
- Once you have it installed you have another option to access GET Mobile via a web browser if you would like. Use the instructions below, "How do I Access GET Mobile in a Browser".
Accessing GET Mobile
Accessing GET Mobile on a Mobile Device
GET Mobile is available on iOS and Android devices. To download, open the corresponding app store and search for the words "GET Mobile" or click on the icons below if accessing this web page from your mobile device.


First Time Setup
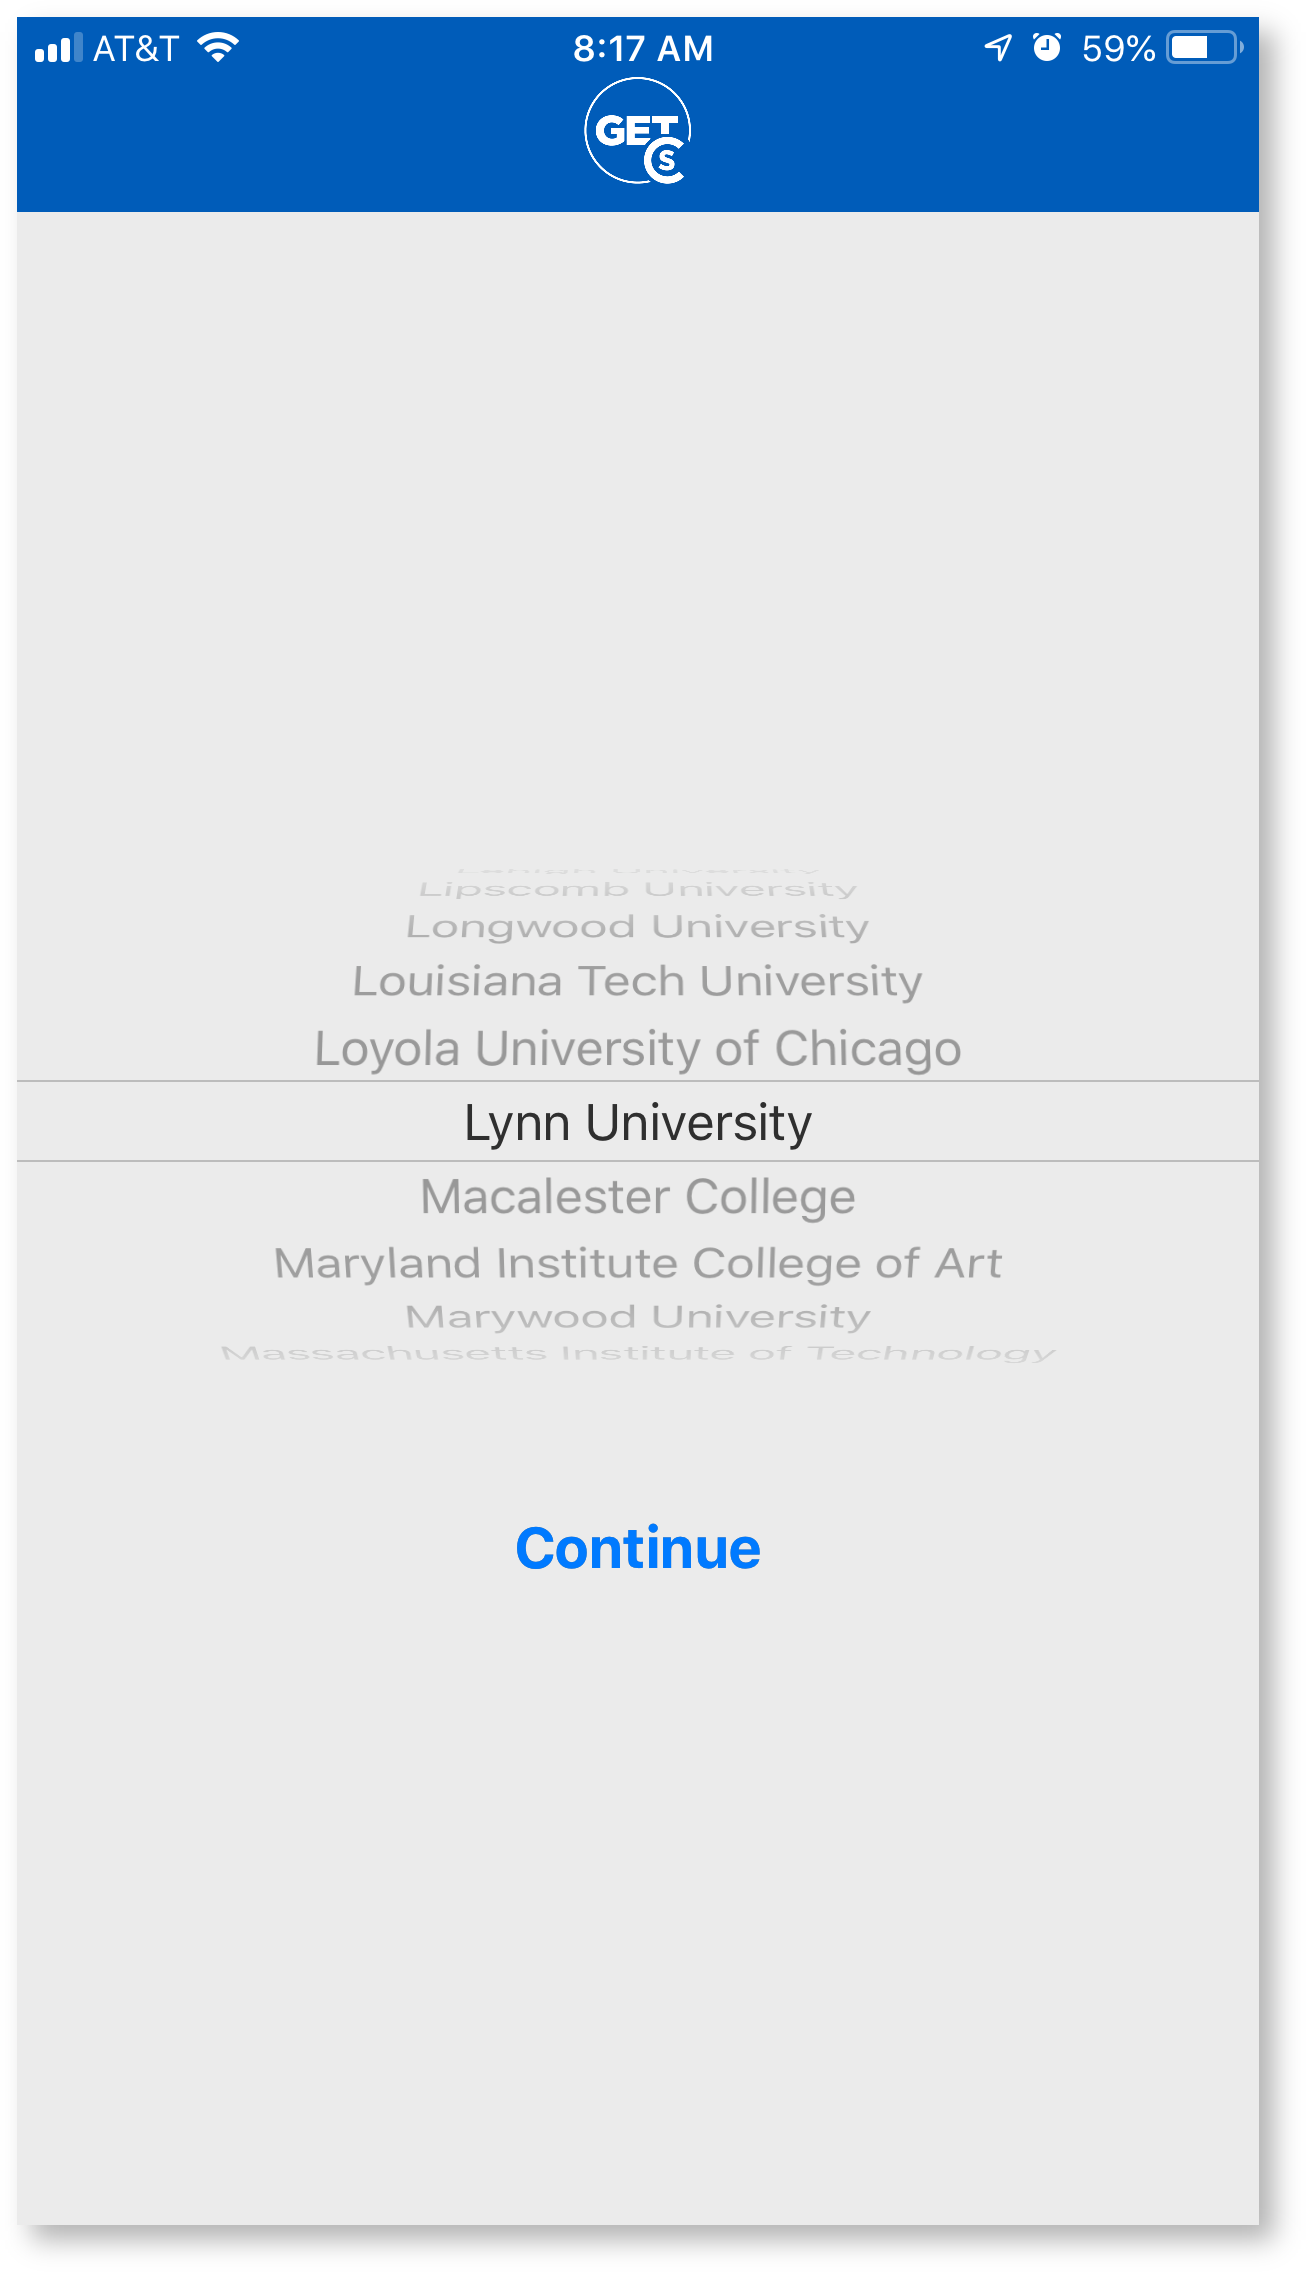
Open the application. Select Lynn University and click continue.
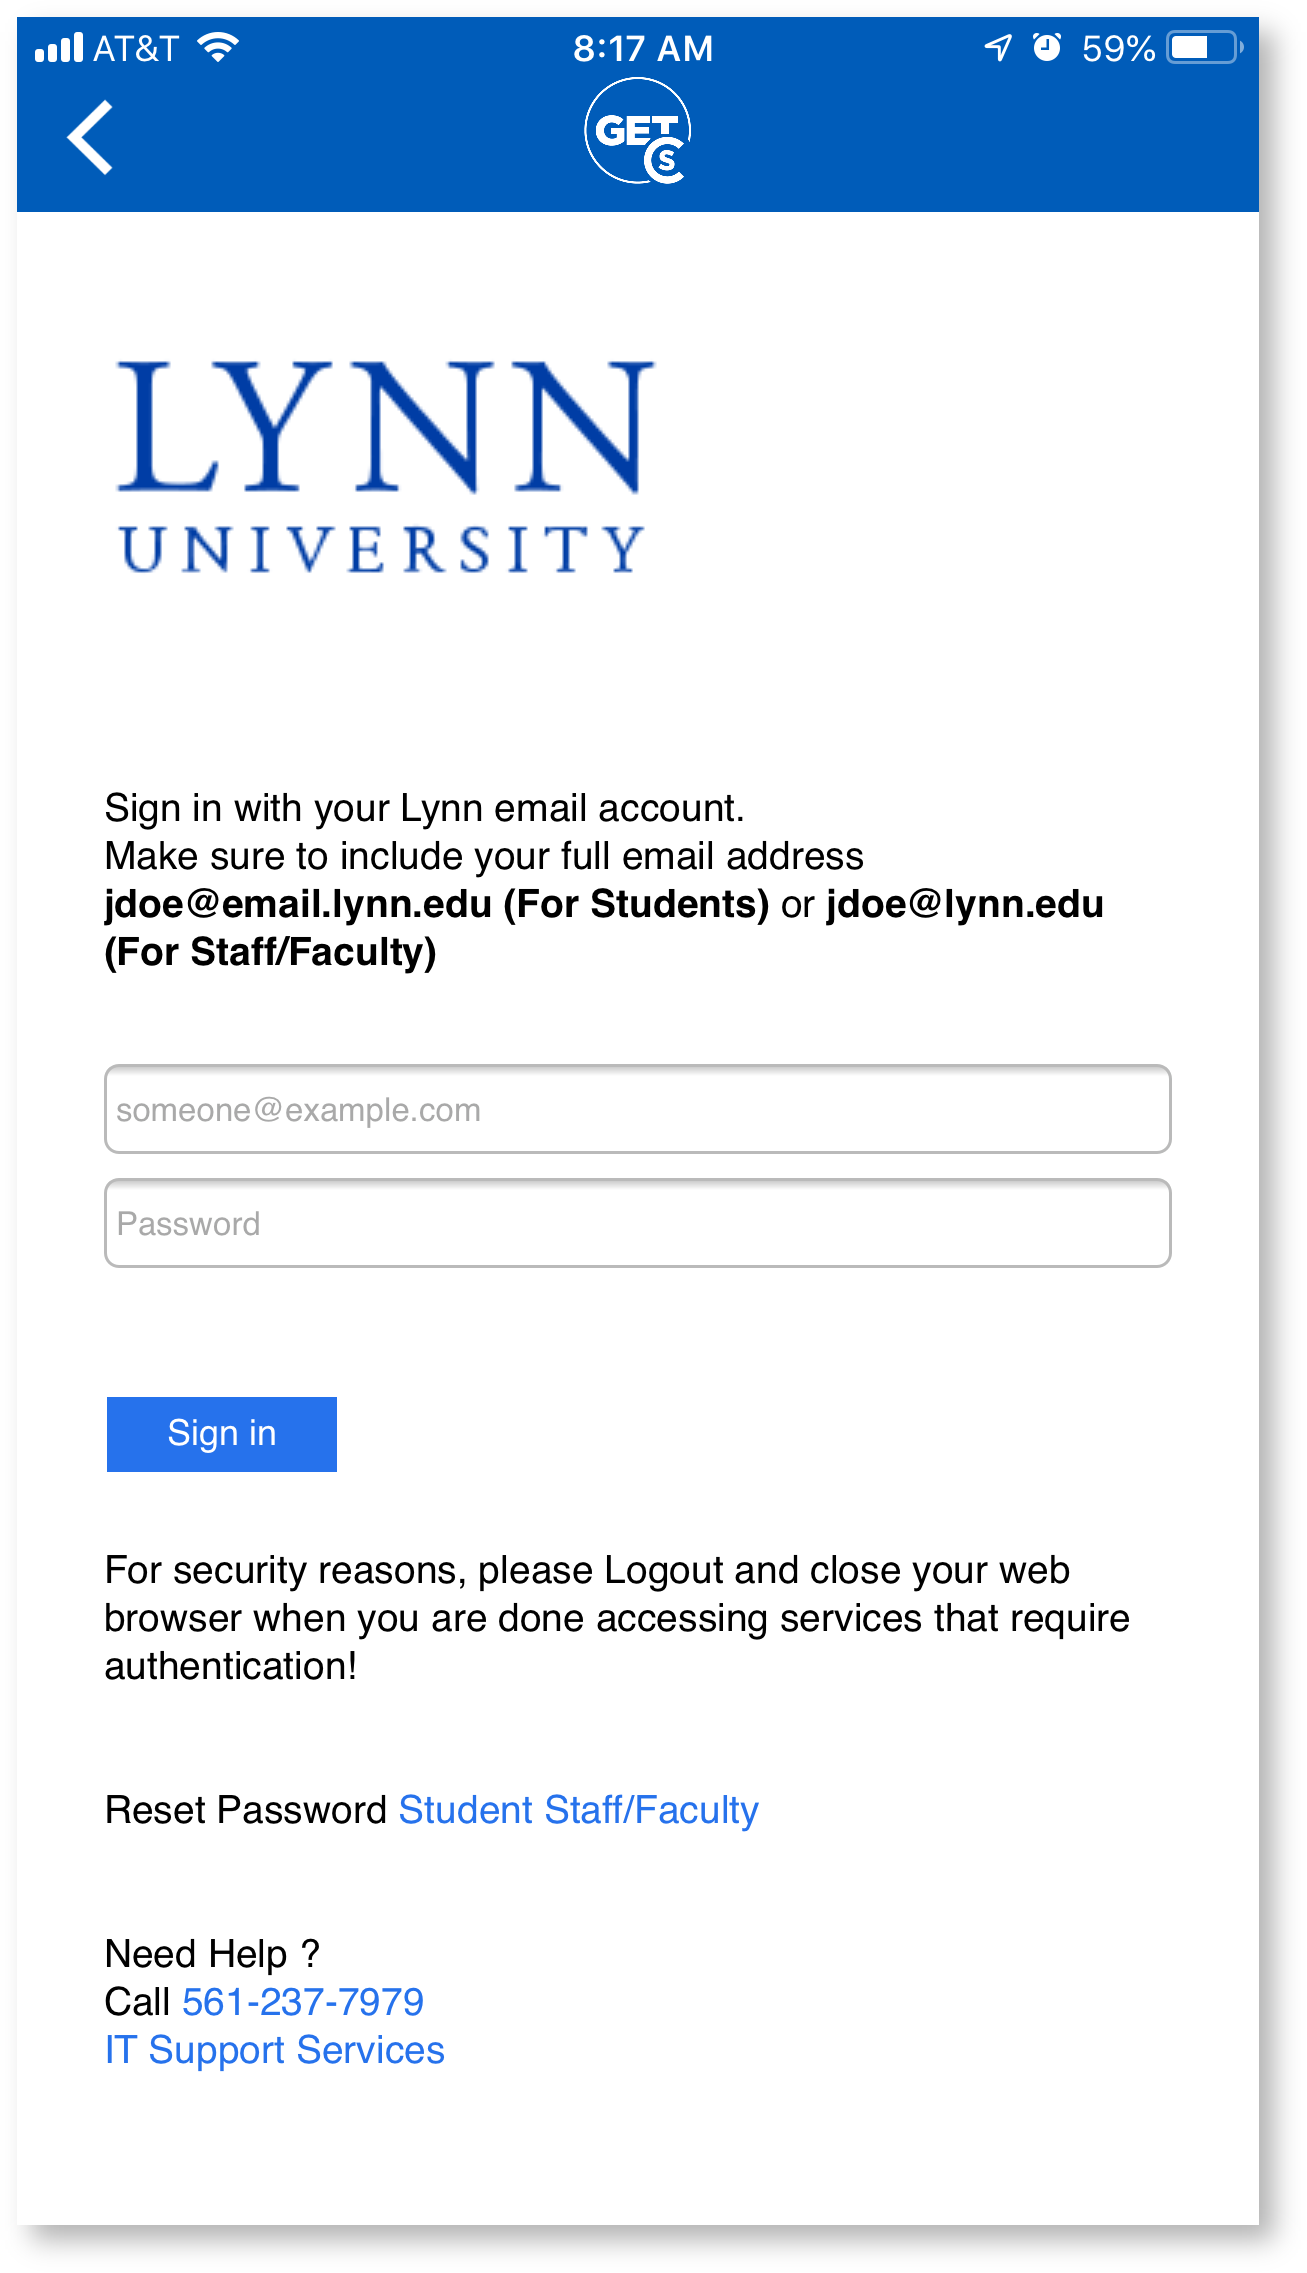
Enter your Lynn email address and your password. Click the Sign in button.
Create a pin.
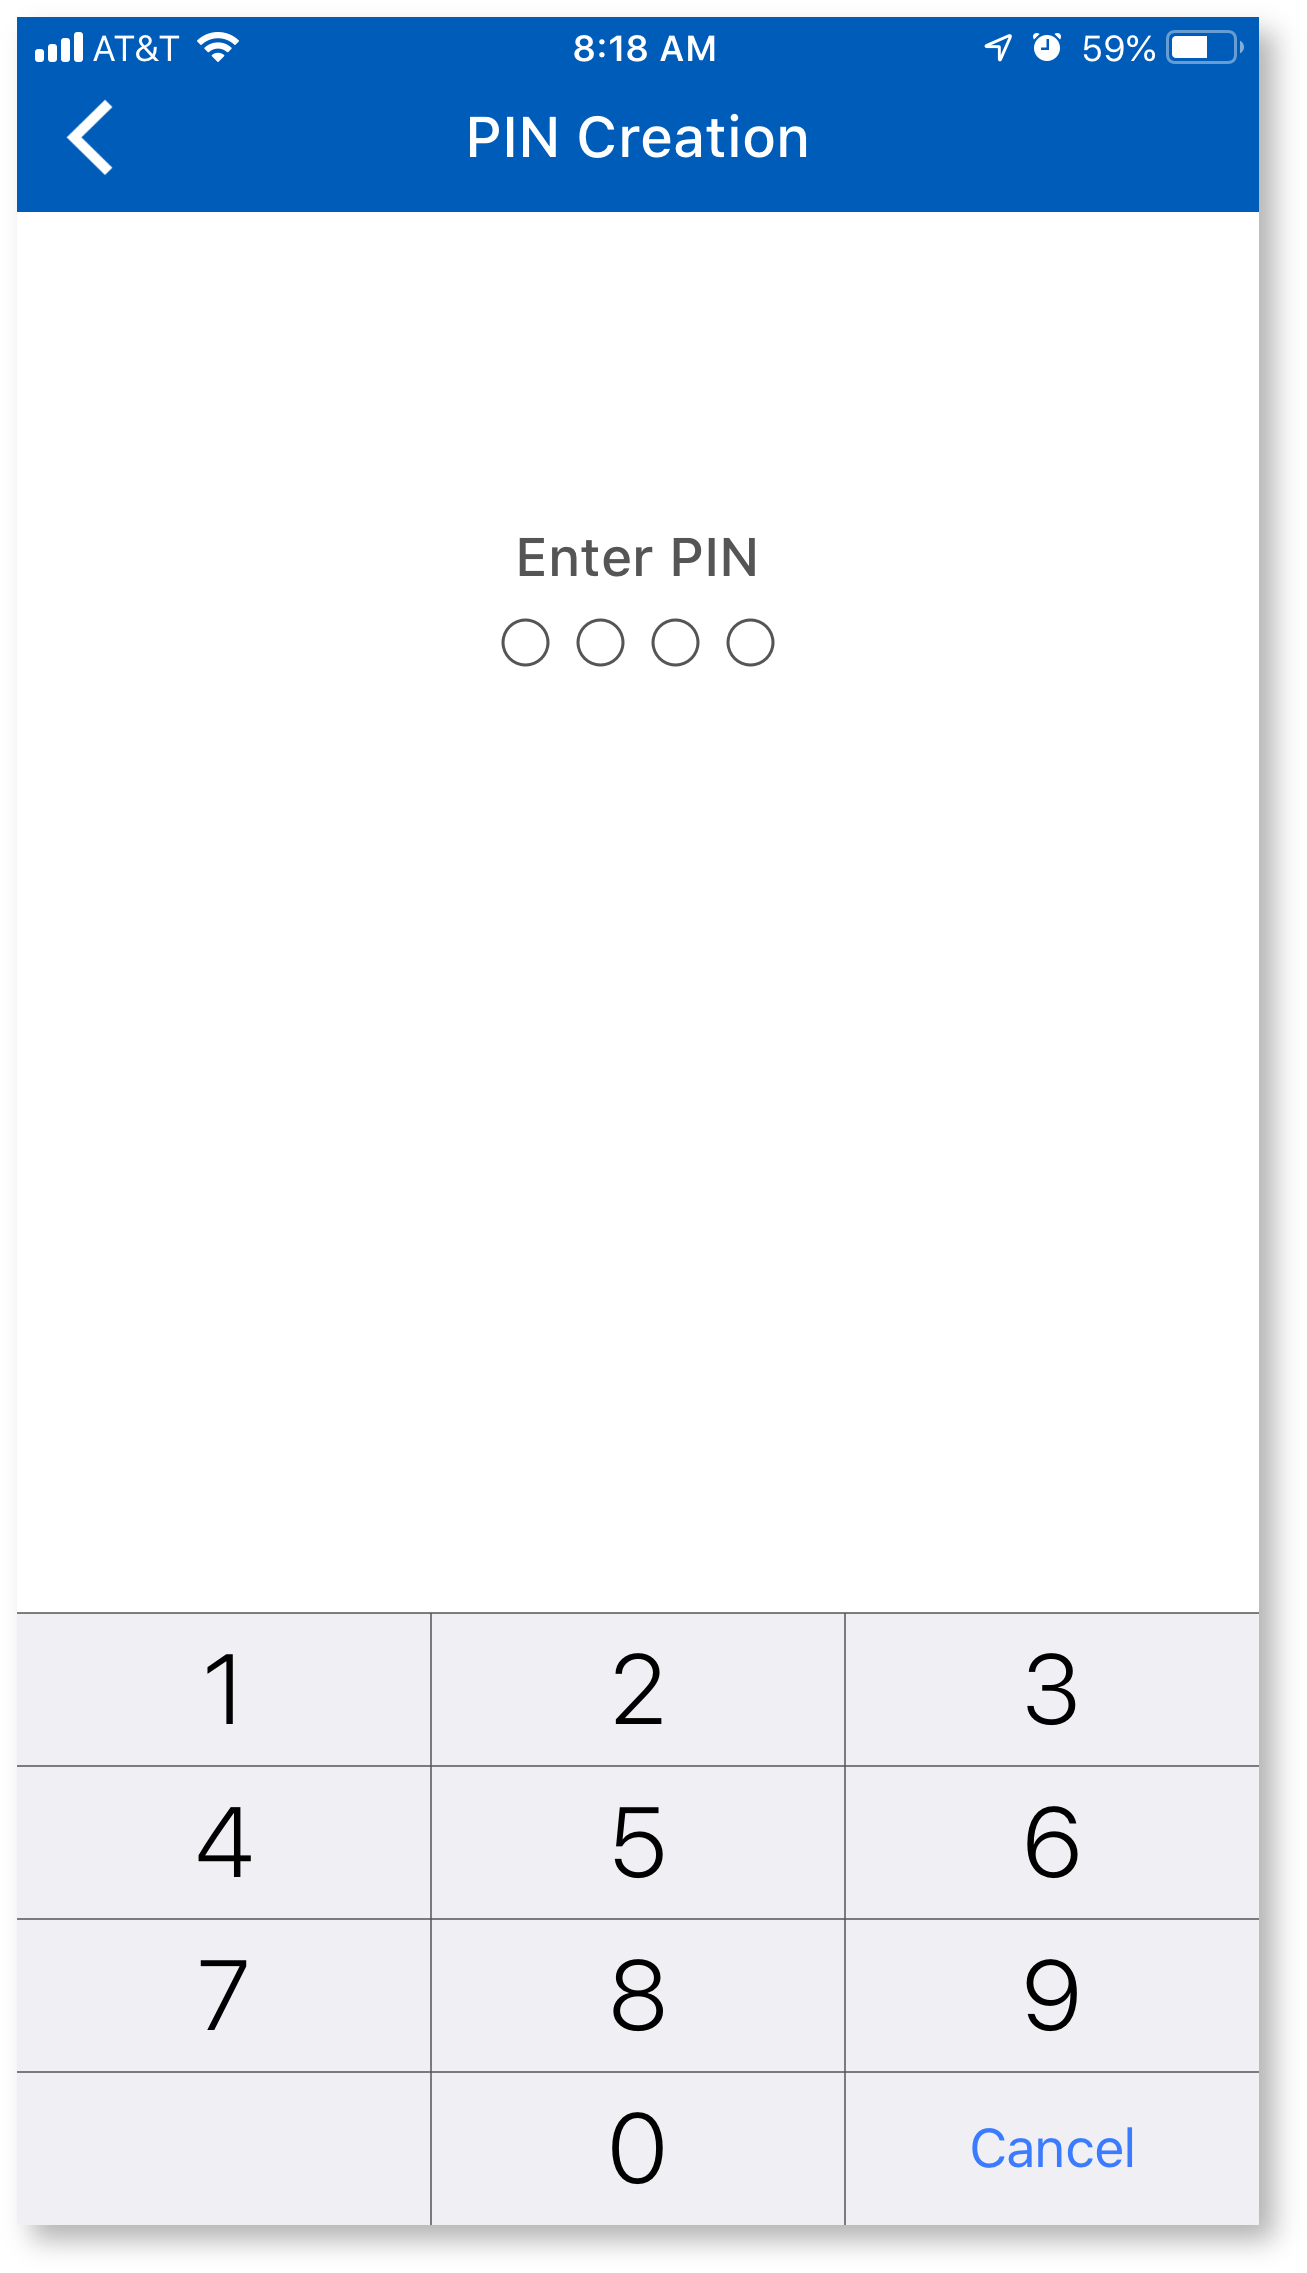
Remember Your PIN.
Note
**If you've misplaced your PIN or the app no longer functions, the quickest way to resolve the issue is to uninstall the app and reinstall it. When you launch the app again you will be prompted to create a new pin.
- FAQ: IT Support FAQ
- Open a Service Desk Issue: Lynn University Service Center
- Email: SupportServices@lynn.edu
- Call: 561-237-7979 (x7979)
- Customer Service Desk Location: First Floor Eugene M. and Christine E. Lynn Library
- Book an appointment
- Remote Support Portal
- Hours: Monday – Friday 8:00am – 5:00pm
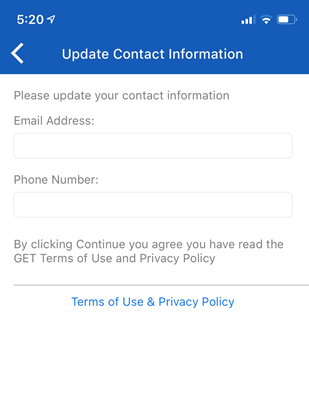
Update your contact Information Page. You can enter the information and click Next to continue. Use your Lynn email address.
You'll now be taken to the home page. For future logins you may be required to authenticate the account using a fingerprint or the PIN you set up for your GET Mobile account.
Accessing GET Mobile in a Browser
GET Mobile is available via a web based interface for Windows and Mac computer users.
To log in, open your browser of choice and visit https://get.cbord.com
Select Lynn University in the drop down menu.
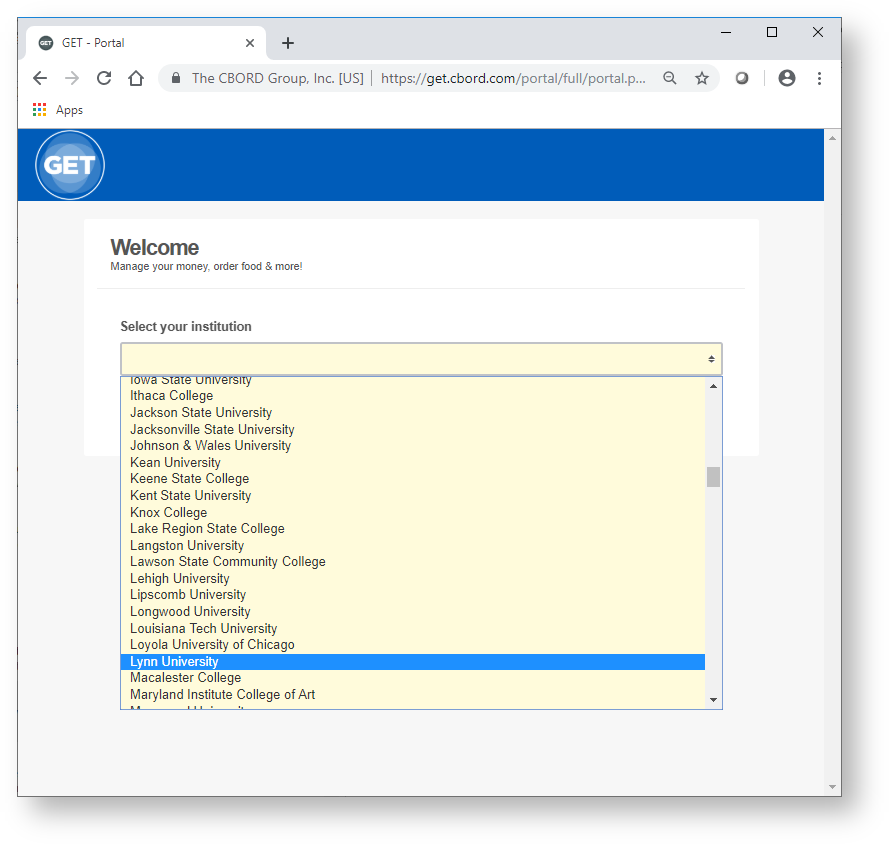
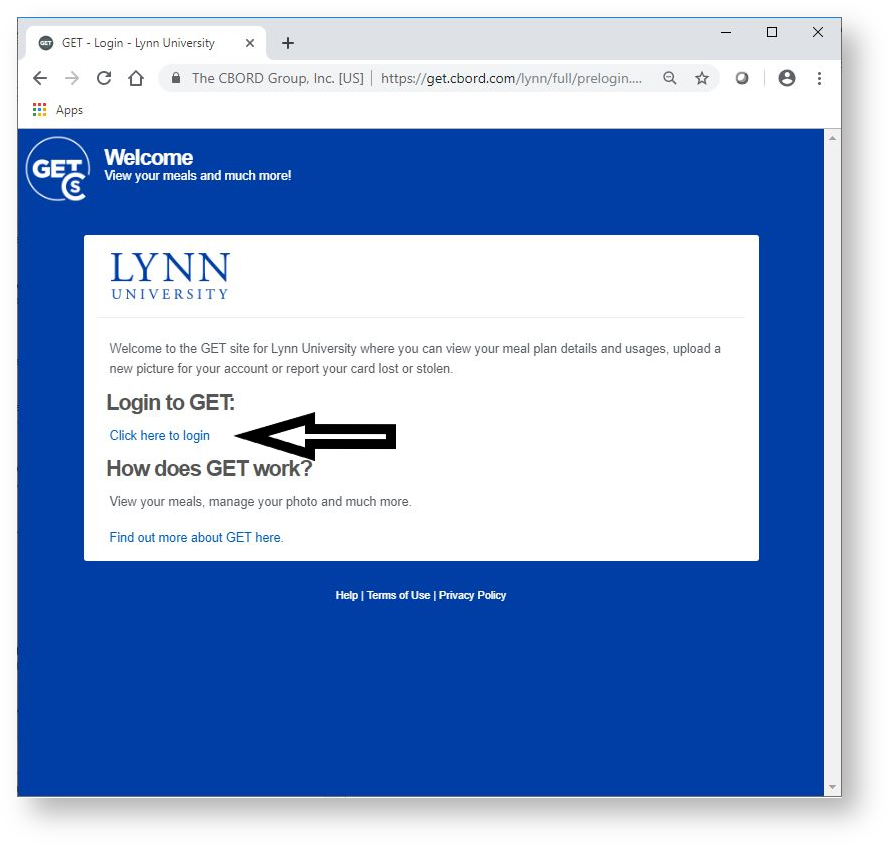
You'll now be taken to the Lynn University GET Mobile options page.
Web Login
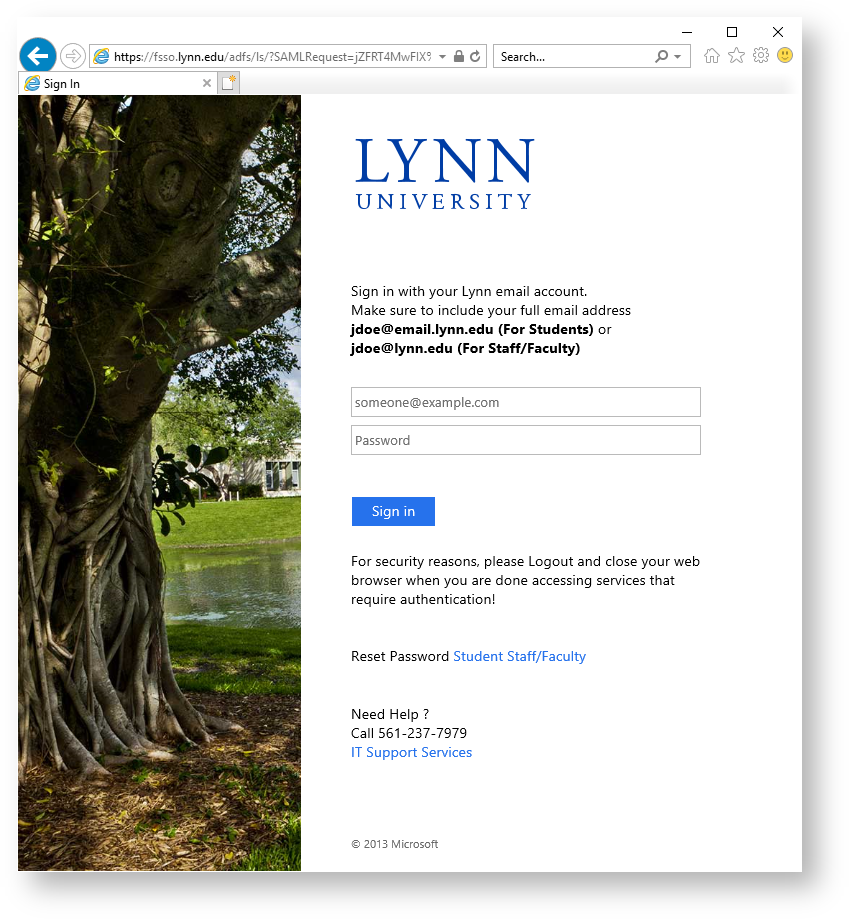
Select the "Login to Get Click here to login" link.
You should be taken to a Lynn University login page. Enter your myLynn username and password.
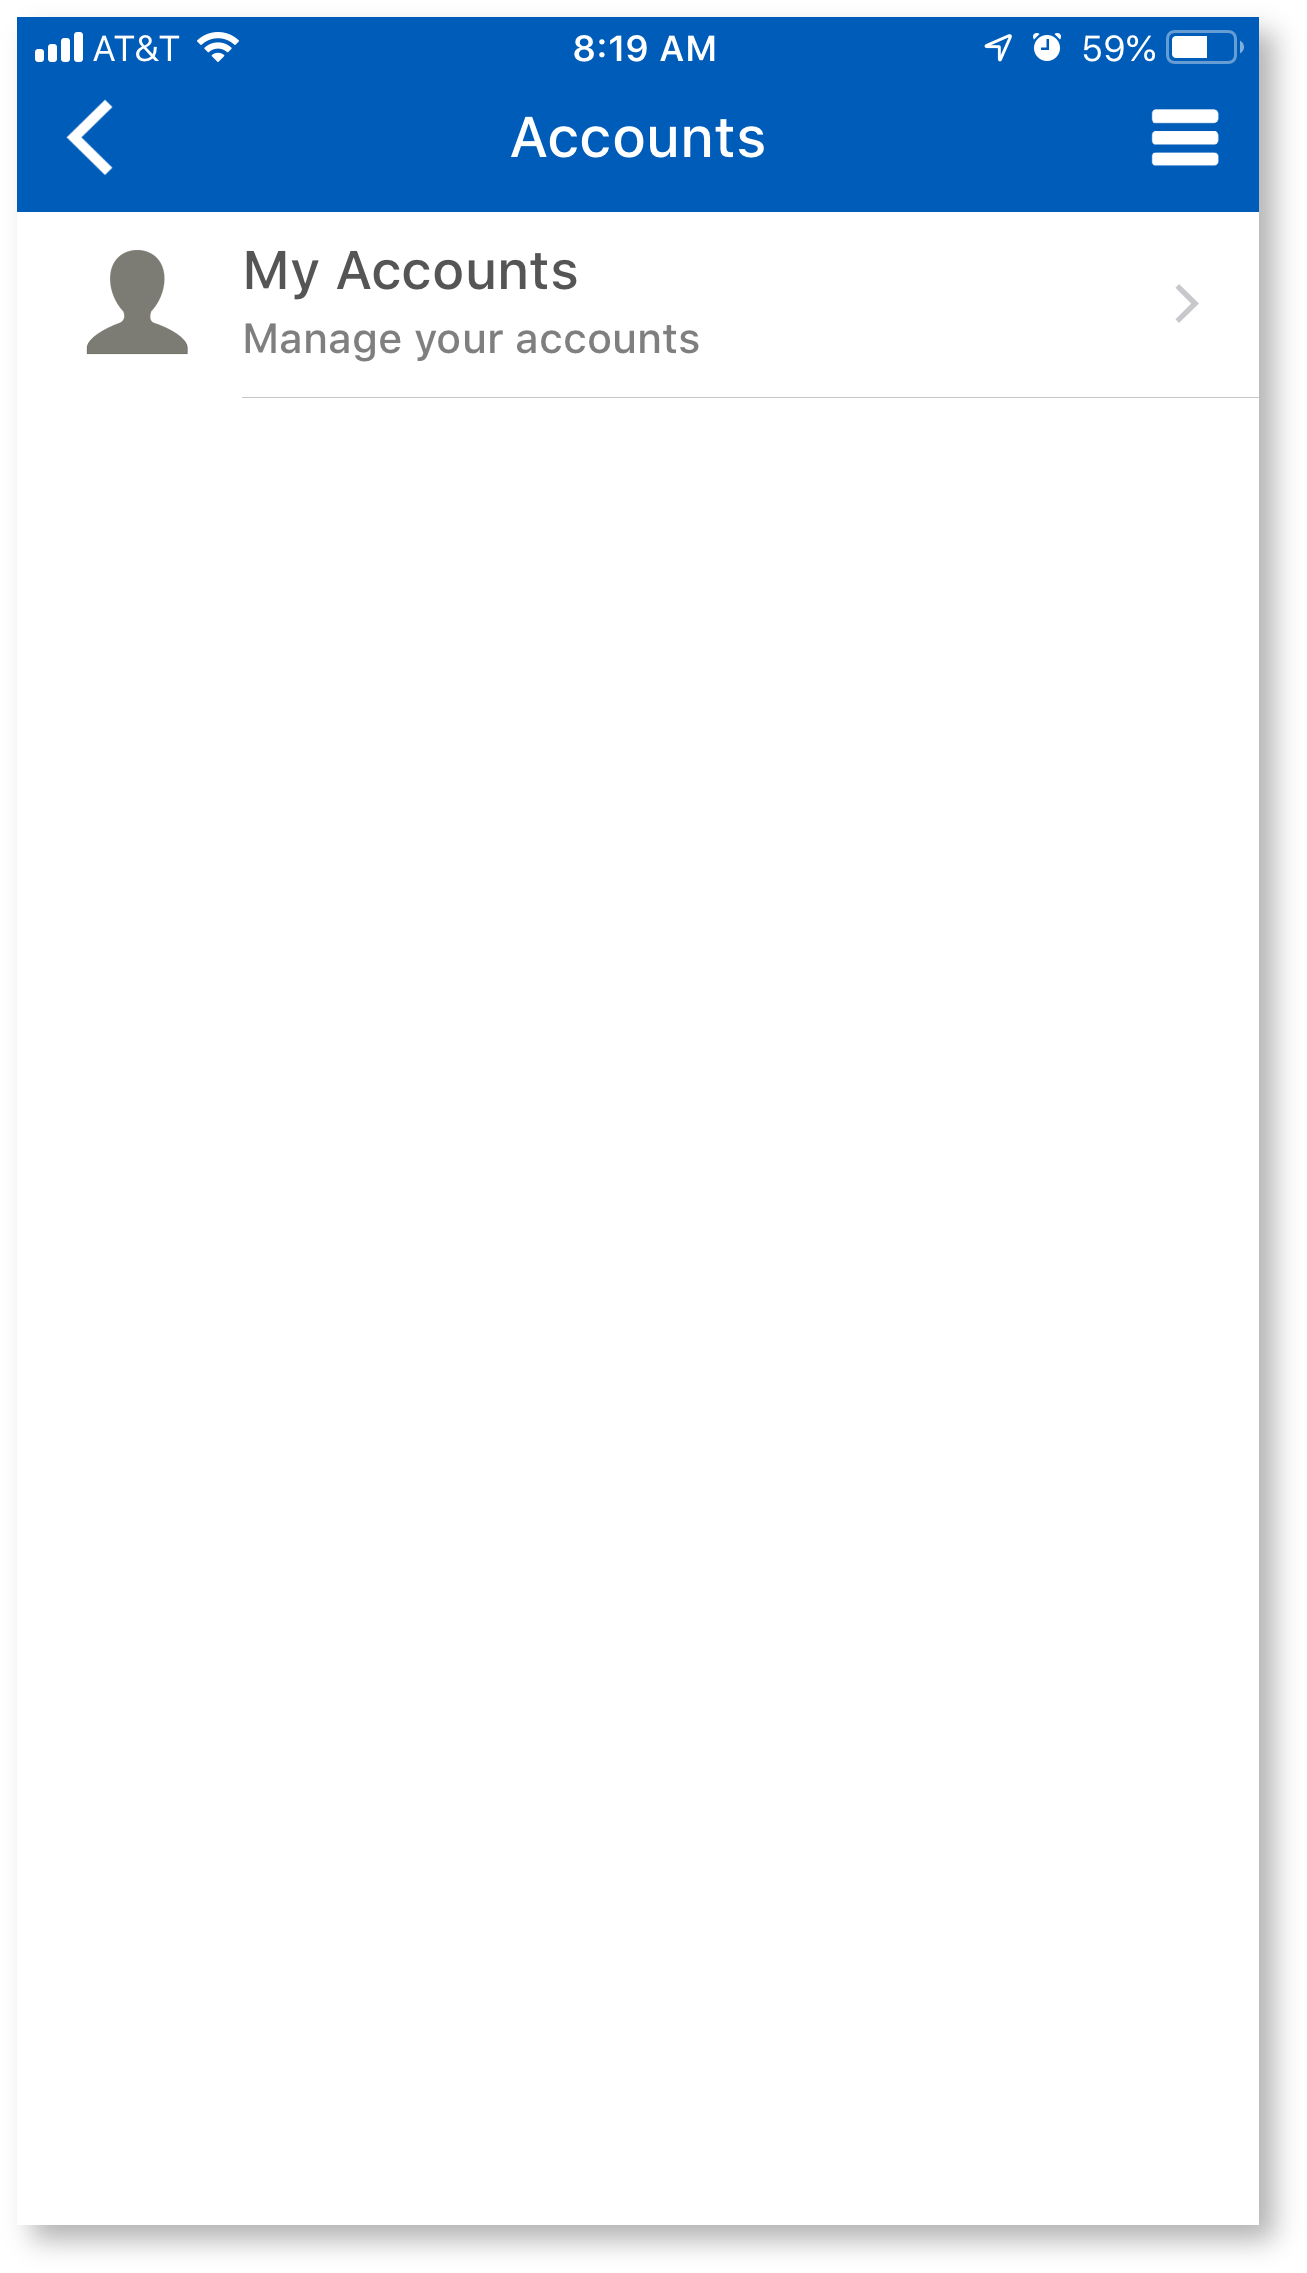
Once logged in, you'll be taken to your account home page.
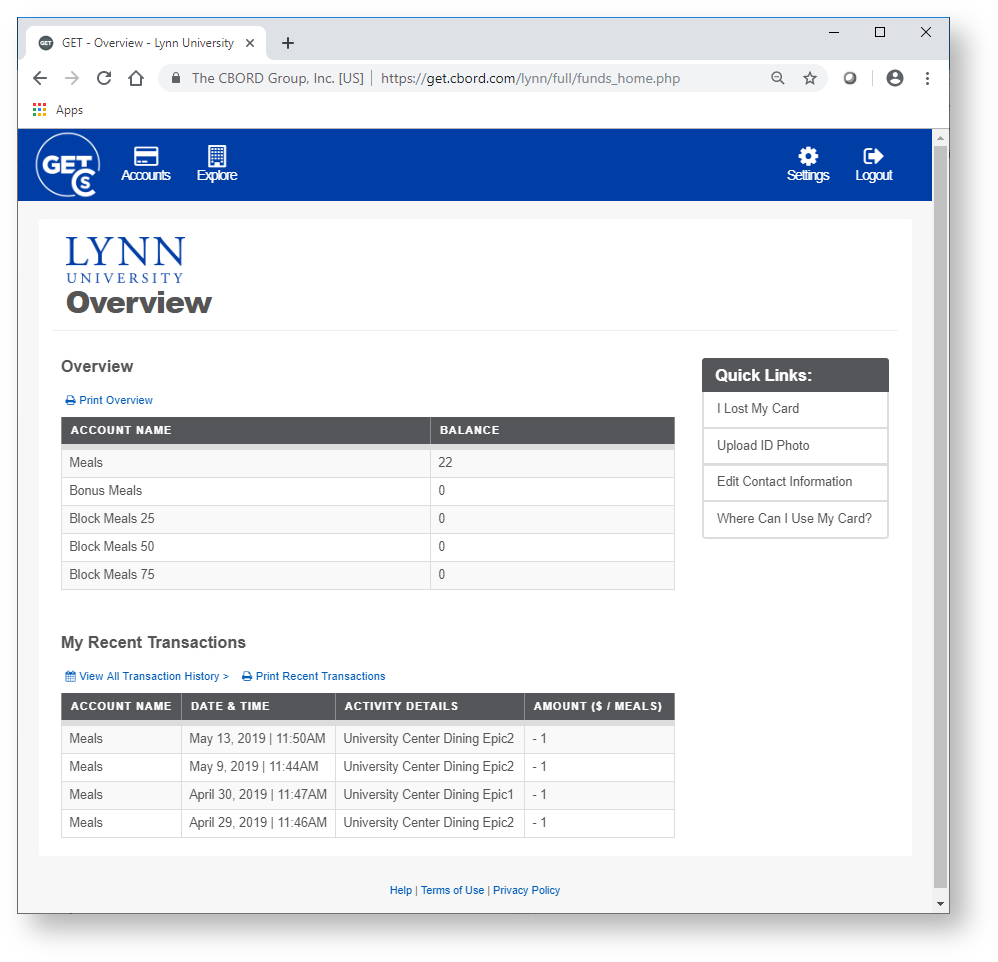
Submitting your ID Photo using the GET Mobile App
Requirements for Photos:
Your Lynn University ID Photo should look similar to the photo on your Driver's License or Passport.
- Take a photo from shoulders up (medium headshot) and do NOT crop the picture.
- Face must be clearly visible and facing forward - no profile shots, no photos on an angle, no sunglasses, and no hats.
- Photo must be in color with a solid light blue or white background.
- You must be the ONLY PERSON within the frame of the photo. No pets, no trees, no friends.
- No graduation caps, hats, gowns or costumes.
- Nothing can be touching or blocking your face - hands, trees, parents, etc.
- No hand gestures.
Step By Steps:
- Launch the GET Mobile App
- Unlock the app with touch ID or enter your pin depending on how you've set your app up
- Tap on the Credit Card image in the middle of the screen underneath the barcode
- Click the icon with three horizontal lines at the top right
- Click on Settings
- Click on Upload Photo
- Tap the Choose Photo button
- Choose one from the library or choose to take the photo
- Take the picture
- Click done
- You will now see you photo that is pending approval
After your photo has been reviewed and approved by the Campus Card office you will be notified by your university email with further instructions.
- If you are attaching an image that you had previously you'll need to meet the following requirements
- Photo must be JPEG, PNG, or GIF file type.
- Maximum file size accepted is 1 MB.
***Your first Lynn ID Card s provided at no charge. For each lost or stolen card, you are required to pay a replacement fee.
Getting Help
Login Password Help
The GET Mobile app will look for your myLynn username and password once you have selected Lynn University.
Need Help?
If you are continuing to have trouble logging into the application you may contact the Support Service Desk at:
Support Services Contact Information
- FAQ: IT Support FAQ
- Open a Service Desk Issue: Lynn University Service Center
- Email: SupportServices@lynn.edu
- Call: 561-237-7979 (x7979)
- Customer Service Desk Location: First Floor Eugene M. and Christine E. Lynn Library
- Book an appointment
- Remote Support Portal
- Hours: Monday – Friday 8:00am – 5:00pm
Login PIN and Transaction Help
If you would like to report discrepancies with the the meal plan assigned or usage information found within the app, please contact Student Financial Services at 561-237-7185 or stopping into the Green Center to visit Student Financial Services (SFS) during university business hours. SFS will be able to confirm that you have the correct meal plan assigned based on what was purchased.
If you would like to report technical issues with the mobile app or the website you may contact the Support Service Desk at 561-237-7979 or stopping into the Library to visit the Support Service Desk on the first floor during university business hours.
Additional Resources
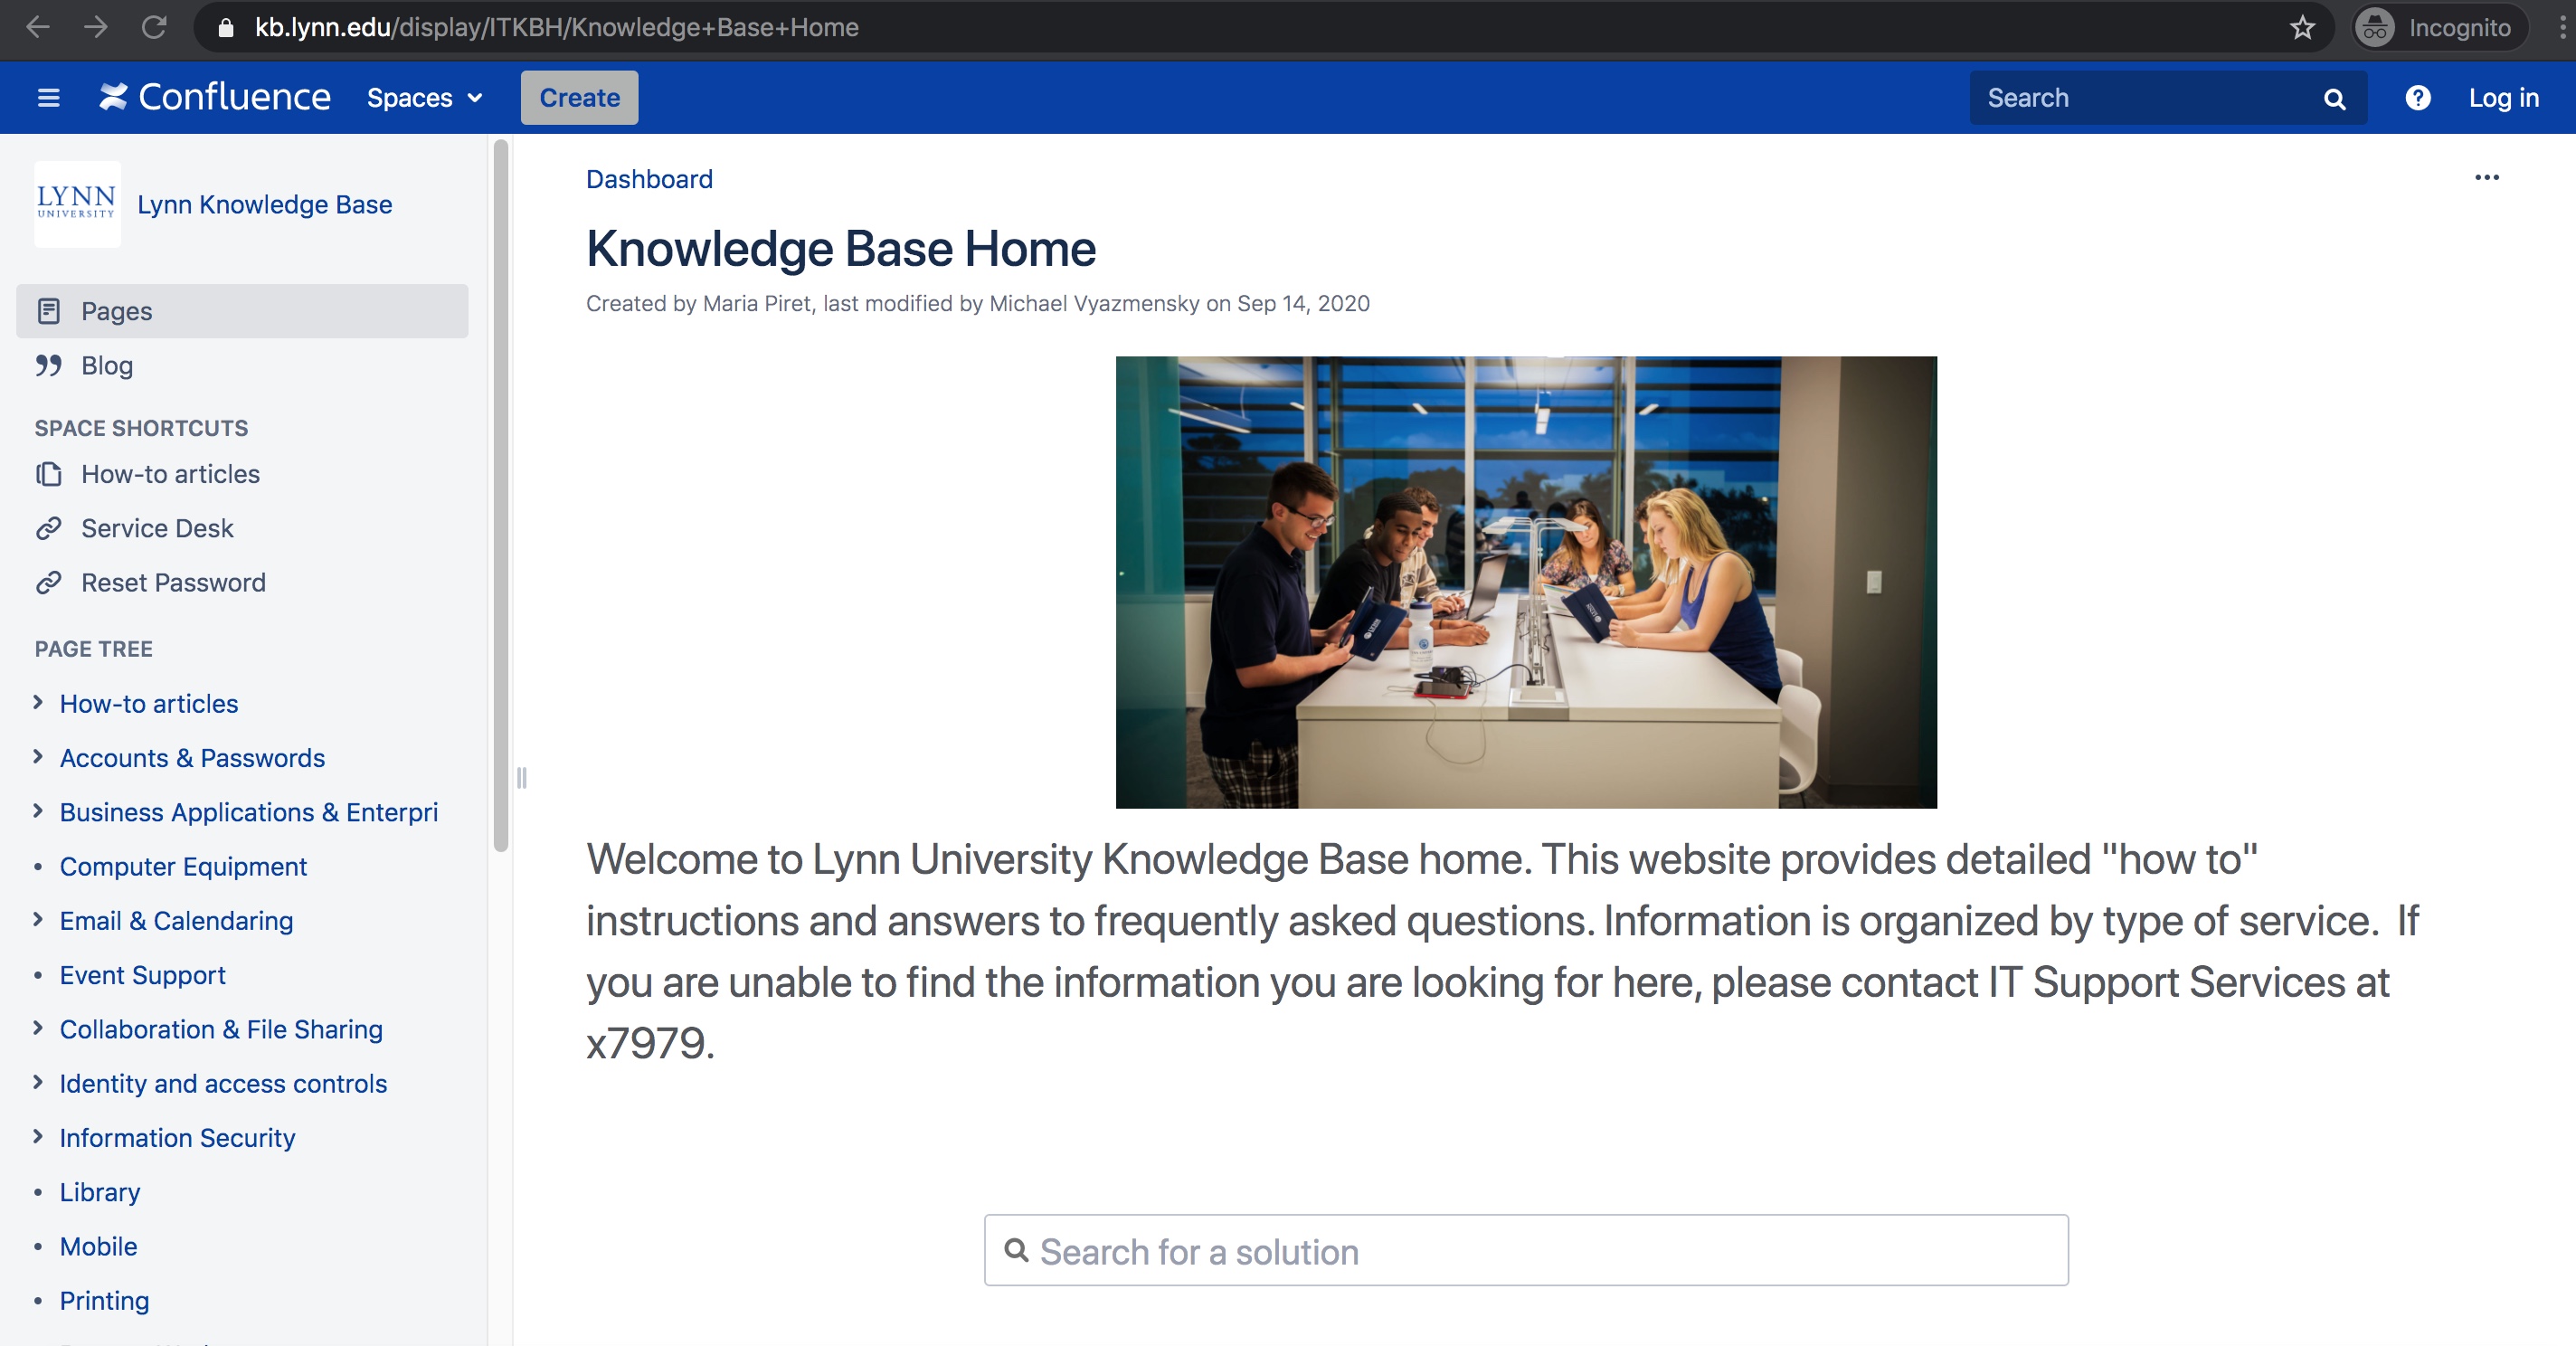
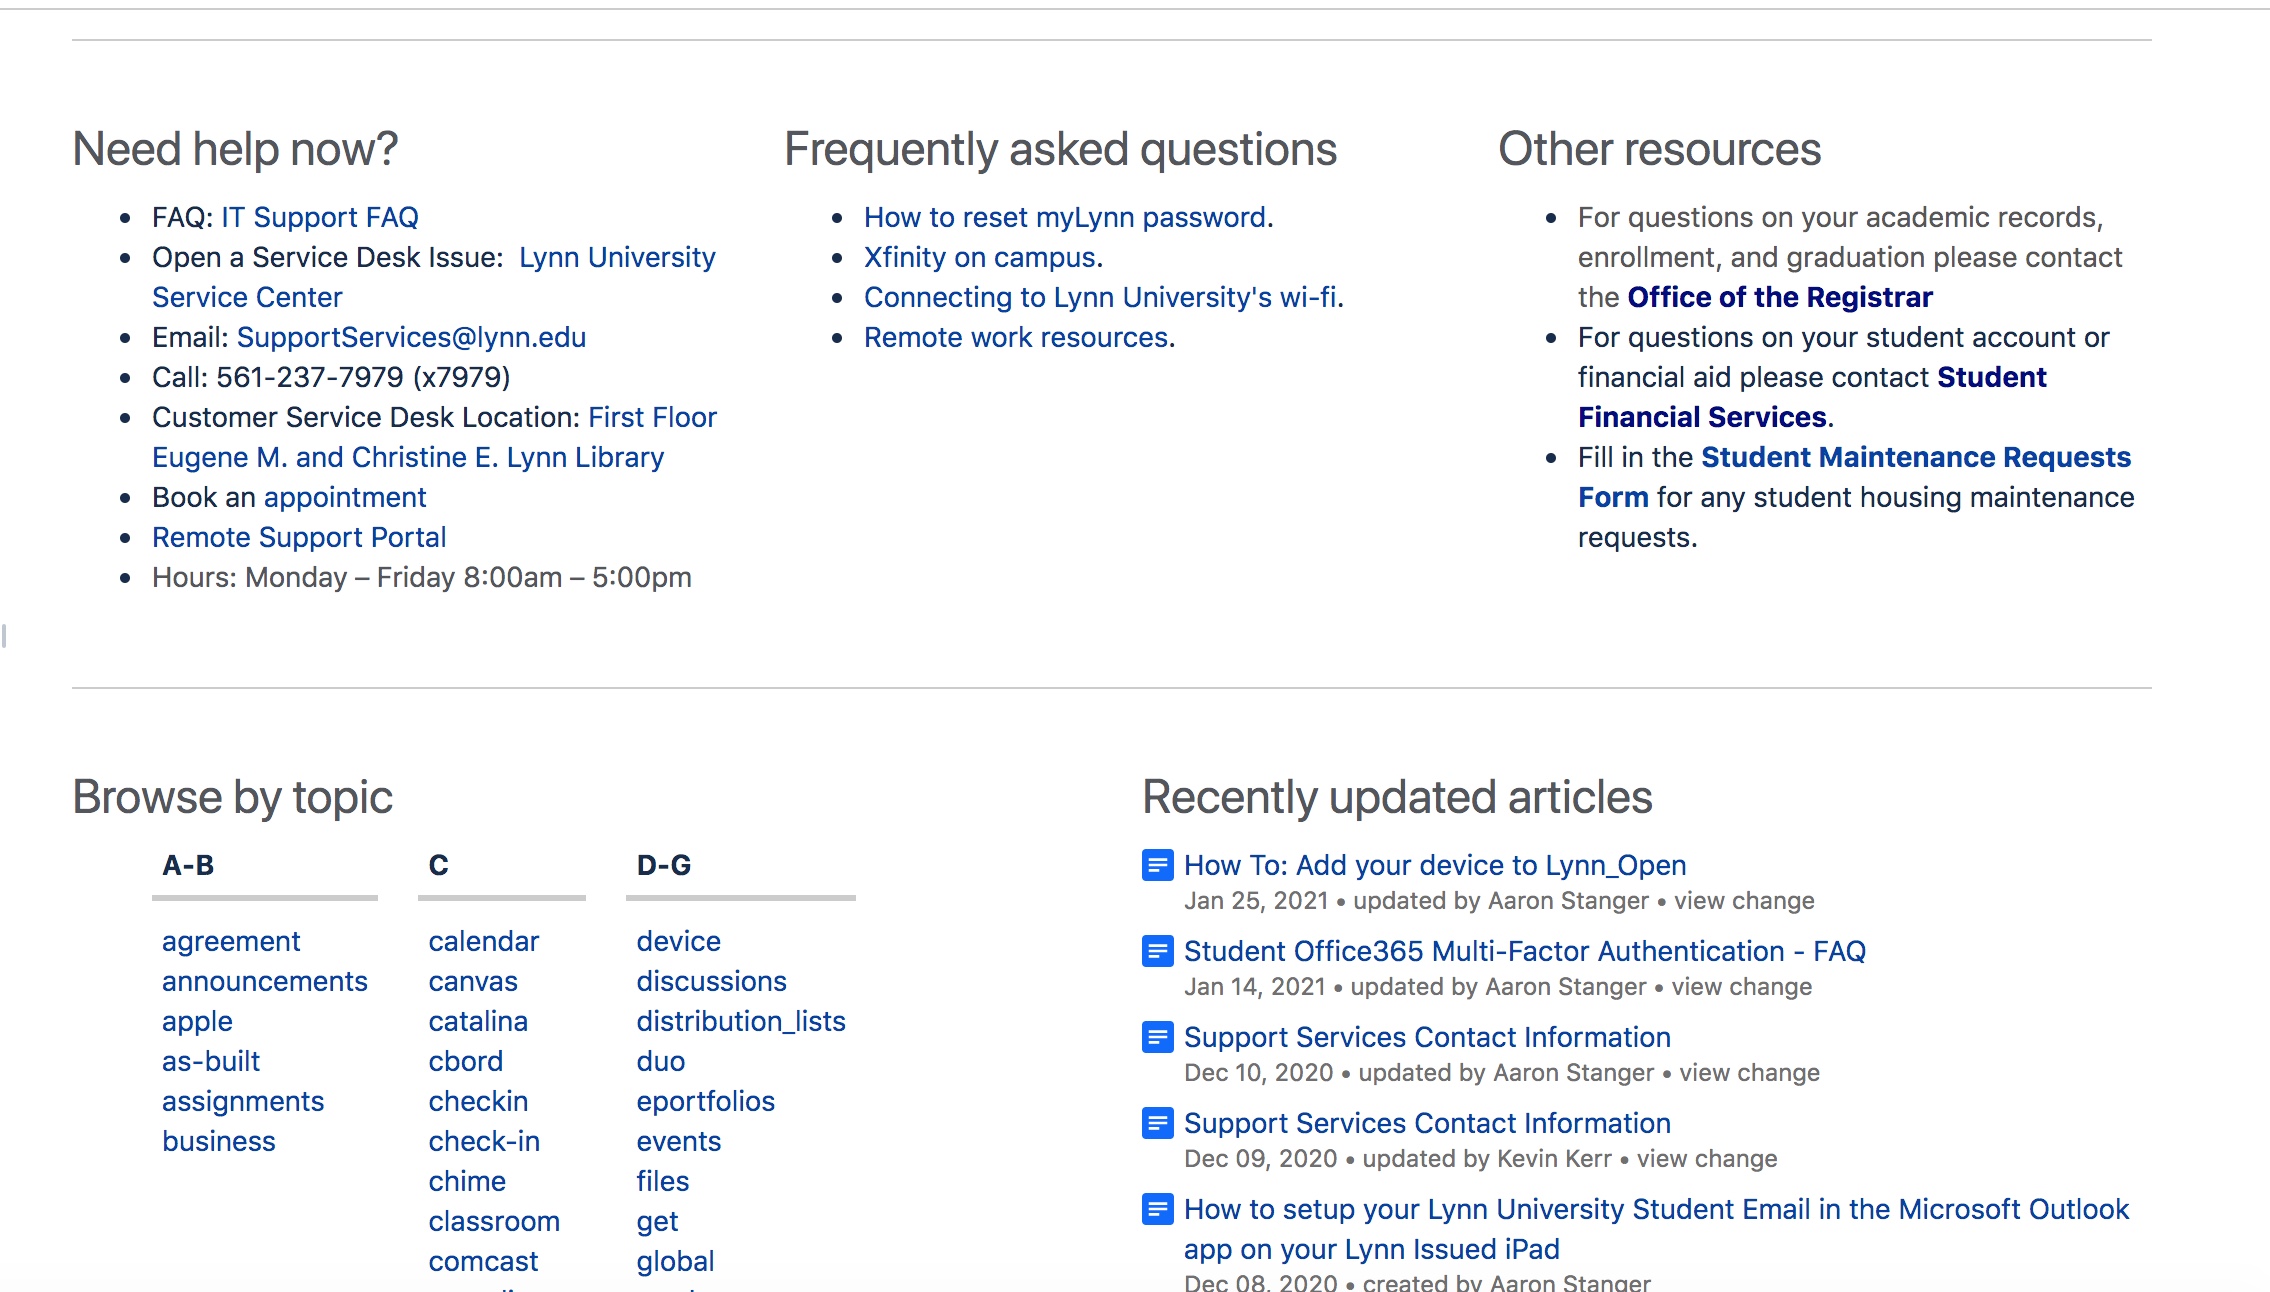
Lynn University Knowledge Base
How to access the KB
- Navigate to this link https://kb.lynn.edu/display/ITKBH/Knowledge+Base+Home
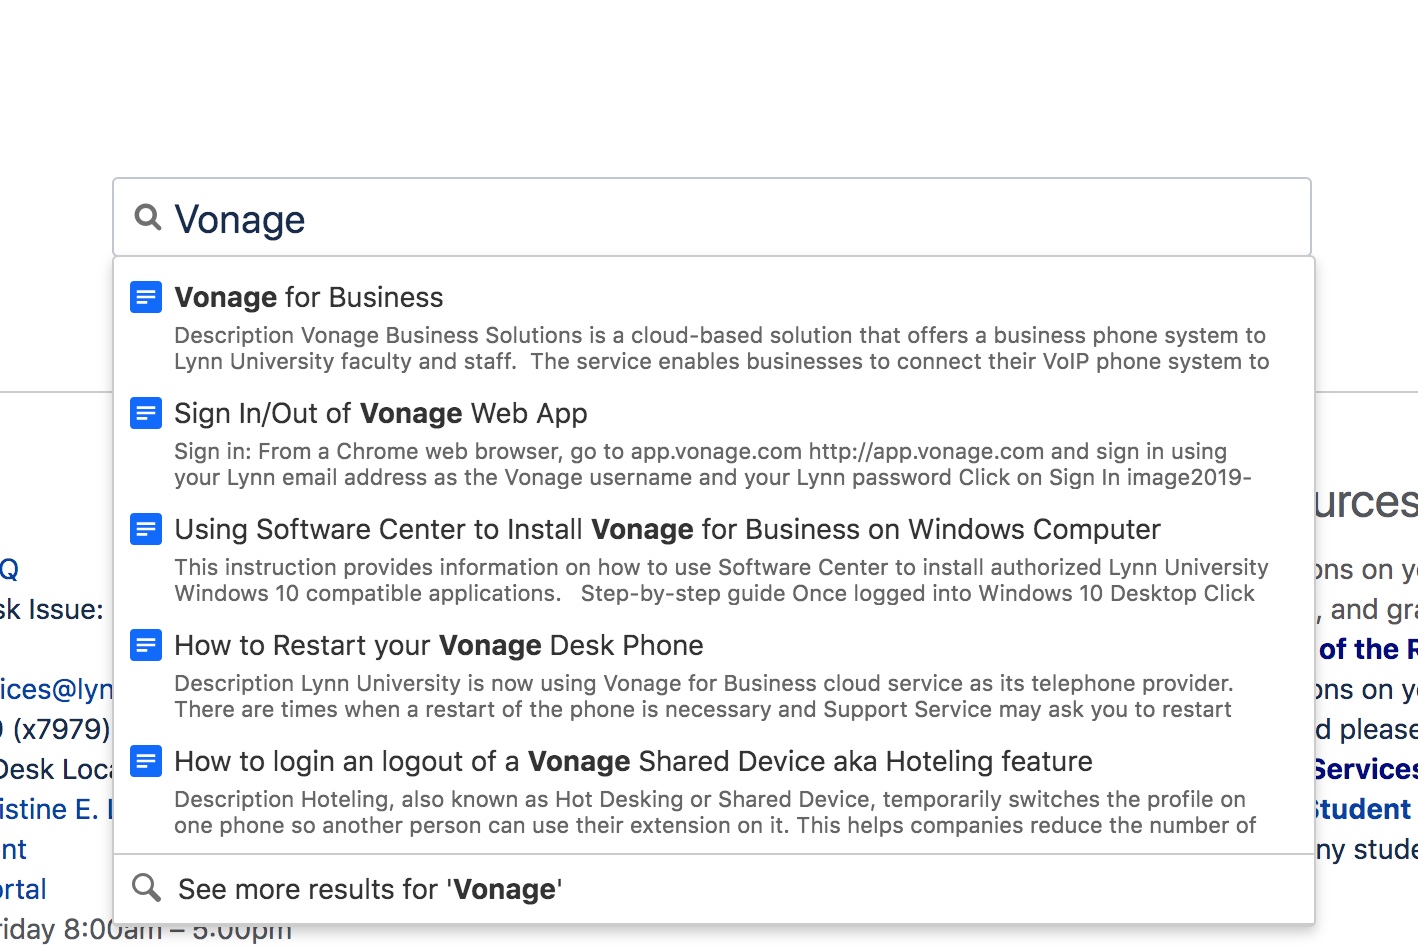
How to search the KB
- Type in your search word(s) in the bar. Options will appear as you type. Select the one you would like to view.
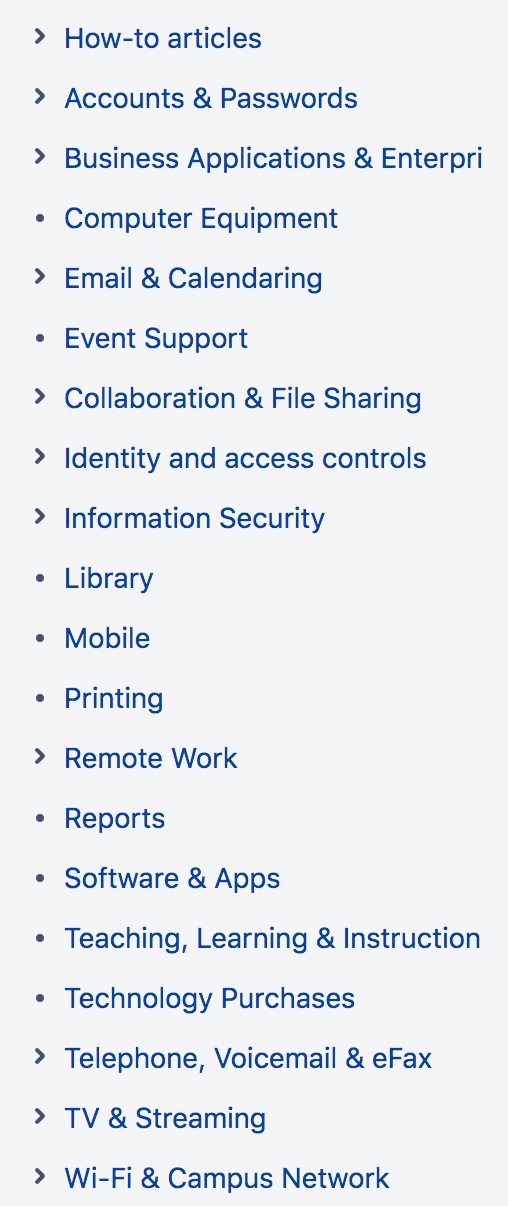
How to navigate the KB
- Using the menu in the left pane on the screen, select the category of programs/services that you would like to view.
- Expand the category to view specific documents.
- In the center pane, you can browse by first letter of the program/service you are looking for.
- You can also see recently updated items.
- This is also a good place to find links for how to contact IT support Services.
Lynn University Services Center FAQs
How to login
- Navigate to MyLynn. Sign in with your MyLynn email address and password.
- In the left menu pane, scroll down and click on "LU Service Center".
How to create an issue
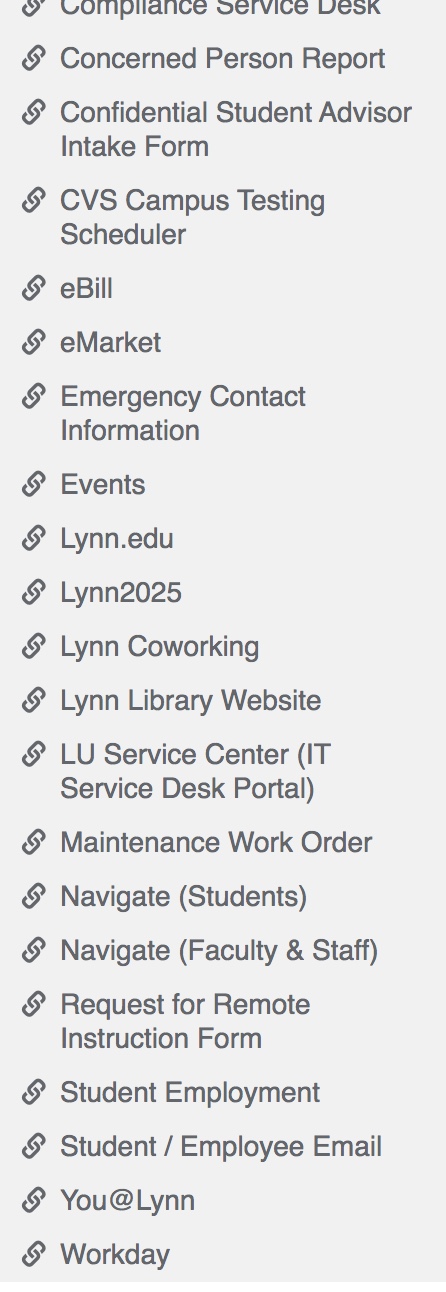
- Once on the main LU Service Center page, there are a number of options
- If you need to book an appointment to visit the IT customer service desk, click the link.
- For Canvas-specific issues, click on the link to be re-directed to the Canvas support page.
- For Workday-specific issues, click on the link to be re-directed to a Workday issue entry page.
- For an issue (Something broken, error, not working and needs to be fixed), click the link to begin a new ticket.
- For a request (I need something that is not broken or not working), click the link to begin a new ticket.
- For a Zoom issue, click on the link to begin a new ticket.
- For an MFA Authentication issue, click on the link to begin a new ticket.

Error or Broken or Not Working (Incident)
*Also for Zoom and MFA Authentication Issue
- Enter a title for your ticket
- If the ticket is for yourself, enter Yes. If you are reporting the ticket for someone else, select No and find their name by typing in and searching.
- Make a selection for how many users are affected by the issue you are reporting (Individual, Multiple Individuals, Multiple Groups)
- Make a selection for how this issue is affecting your work (Work Not Affected, Work Degraded, Work Blocked)
- Type a description of your issue. Be sure to include as much detail as possible, including any troubleshooting steps you may have taken already.
- If you would like to attach a screenshot of the issue, you can do that by dragging the file in or clicking Browse to locate and attach the file.
- Please select a Preferred Contact Method so that IT Support Services may contact you with further details (Email or Phone).
- When finished, click Create.

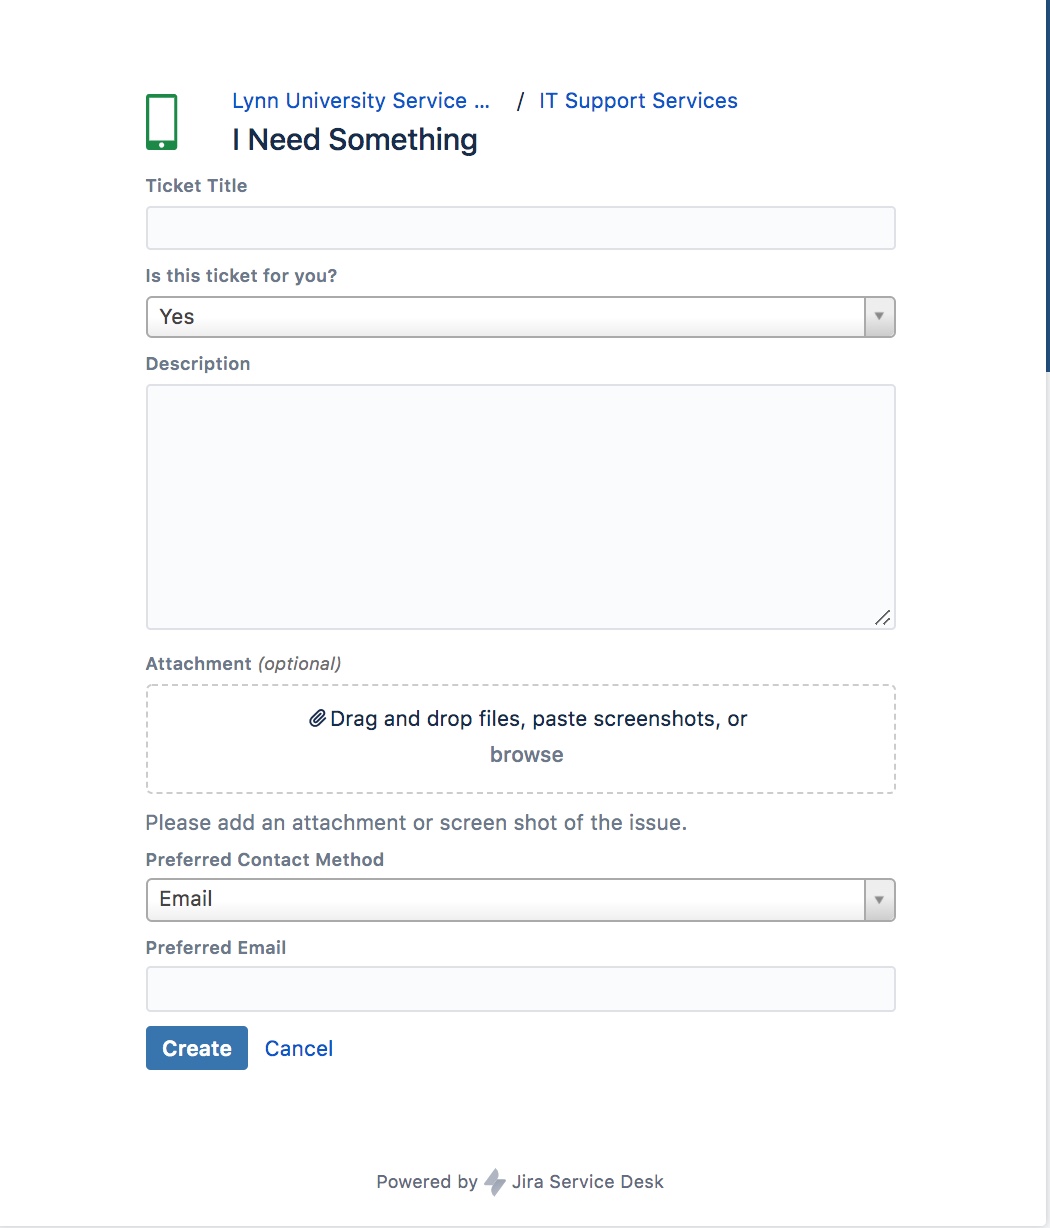
I Need Something (Service Request)
- Enter a title for your ticket
- If the ticket is for yourself, enter Yes. If you are reporting the ticket for someone else, select No and find their name by typing in and searching.
- Type a description of your issue. Be sure to include as much detail as possible, including any troubleshooting steps you may have taken already.
- If you would like to attach a screenshot of the issue, you can do that by dragging the file in or clicking Browse to locate and attach the file.
- Please select a Preferred Contact Method so that IT Support Services may contact you with further details (Email or Phone).
- When finished, click Create.
How to update or respond within the issue
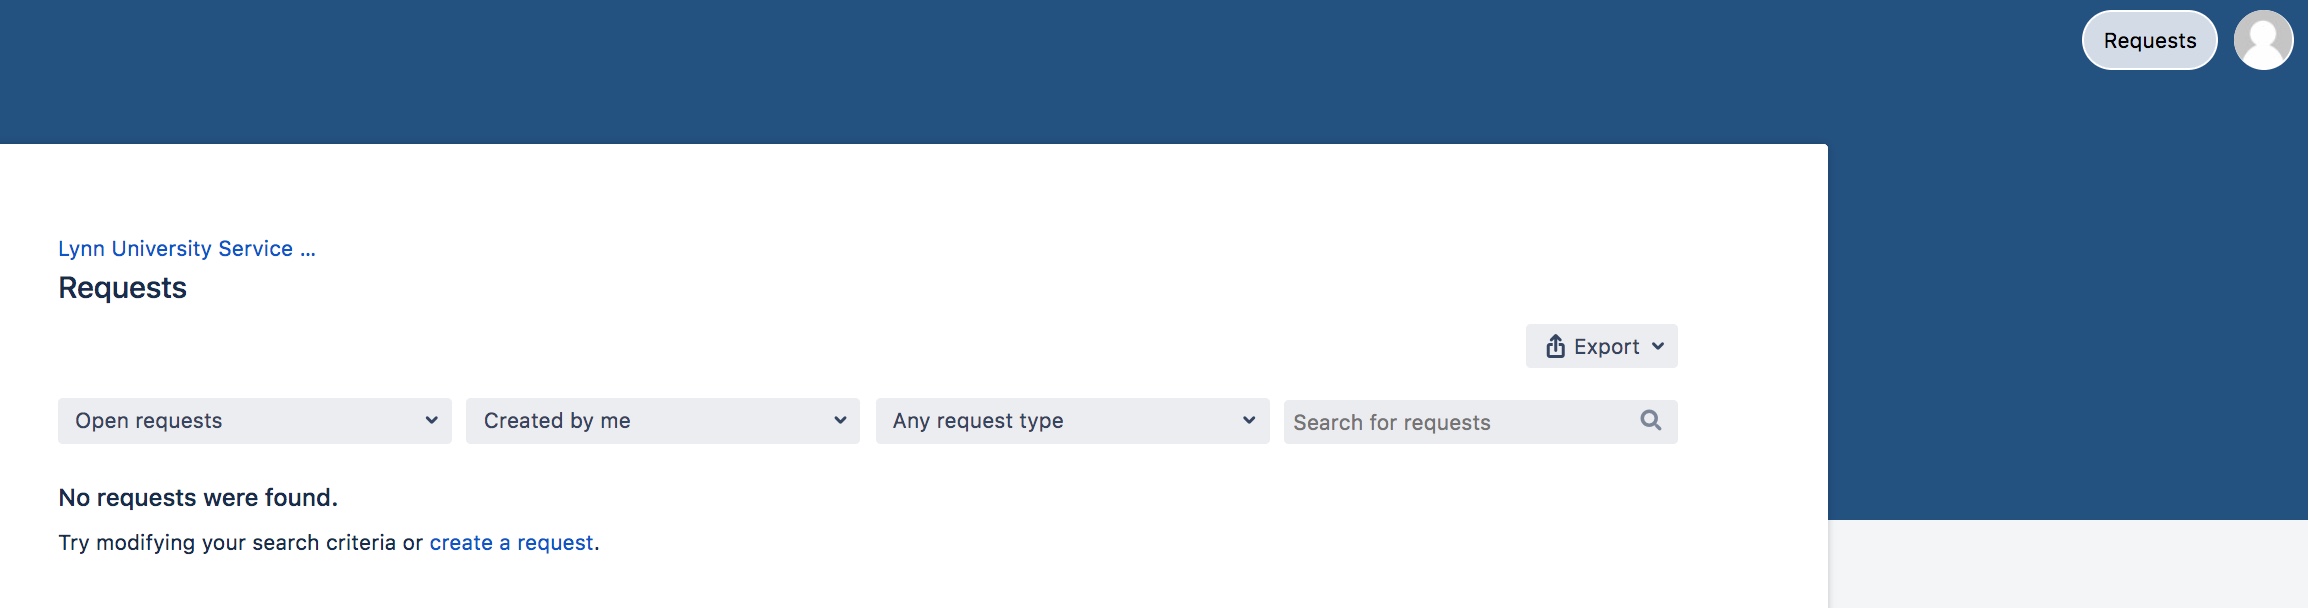
- For an issue you have already created, you can access it by clicking the link in the email confirmation you were sent, or by logging in to the Service Center portal and clicking on Requests at the upper-right corner.
- You can send an additional message or see the status of your ticket here.