How to hire a student worker
In order to hire a student worker, you must have an open position to hire the student into. If you do not have an open position, you will need to create a position (see create position for student worker documentation).
- From your home page click on My Team.

- Click on My Org Chart.

- In your Org Chart, locate the unfilled position you want to fill and click in the related actions icon in the top right.

- Clicking on the related actions icon
 will open a pop-up box with a variety of options. Select hire followed by hire student.

- Type the name of the student you are hiring and click enter to populate the student's name in the field. Click the Okay button at the bottom left of the screen.

- You will be directed to a screen with information about the student. Click hire at the bottom left of the screen.

- Enter the hire date. Important: it typically takes 2 weeks from Employee Services being notified of the new hire in Workday before they will be cleared to work. The hire date should therefore be at minimum future dated for 2 weeks' time.
Enter the hire reason; typically this will be 'new hire' or 'rehire'.


- The fields under Job Details will already be populated with the information entered when the position was created. Click on the Additional Information arrow to expand the field.

- In the Additional Information field, the job title defaults to the job profile name and the hours default to 40.

- Enter the actual job title in the Job Title field – Business Title will automatically update. Enter 35 in the Default Weekly Hours and 20 into the Schedule Weekly Hours field. The FTE (full-time equivalent) will automatically default to less than 100%.

- Scroll down to fill-in the End Employment Date. This will typically be the last day of the Spring Semester or earlier if you know the date the student is finishing their job/completing college.

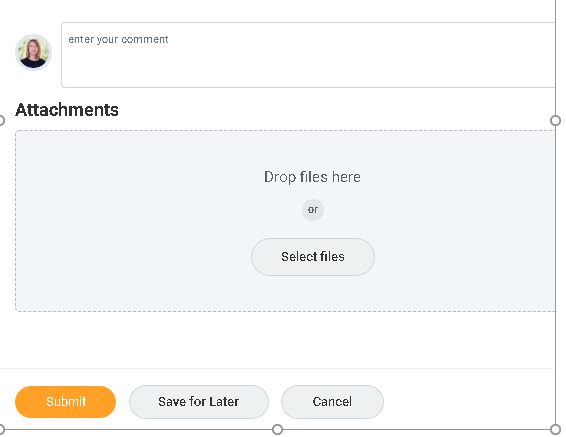
- There is no requirement to enter a comment or attach a document. Scroll down to the bottom and click submit.
- You will be 'up next' to propose compensation for the new student hire. Click on open.

- The hourly rate defaults to the amount entered when you created the position – in this example $10 per hour. If this is correct click submit at the bottom of the screen.
If you need to edit the hourly rate (e.g. if you are hiring a graduate and need to change the rate to $11 per hour), scroll to the hourly section, click on the pencil to edit the field and amend the hourly rate. Click on the checkmark to save and click submit at the bottom of the page.


- Change Organization Assignment is 'up next', click on open.

- Check that the cost center has correctly defaulted to your budget. If the position is a non-work study position, click Submit at the bottom of the screen and go to step number 21.
IMPORTANT: For work study positions, you must hire a work study eligible student and complete steps 17 to 20.

- Steps 17 - 20 are for work study positions only. You must hire work study eligible students into work study positions.
Scroll down to the 'Other' section near the bottom of the page. Click on the pencil to edit the field.

- Click on the
 symbol and select the appropriate type of Work Study.


- In this example, FWS Regular has been selected. When you click on the checkmark to save, the selection will appear.


- Click submit at the bottom left of the screen. Comments and attachments are not required.

- Your manager will be up next to approve the new hire details you have entered. You can also click on the Details and Process tab to review the information you have submitted.

- After your manager approves the new hire the business approval (workflow) will go to Employee Services for approval and to complete the following steps –
- Student conduct review
- Background check
- Complete new hire paperwork submitted by the student
- Complete employer section of the I9 form
- At any time in the hire process you can go to your Supervisory Organization and click on the staffing tab followed by the hire business process to see what steps have been completed. Click on Remaining Process to see what steps still need to be completed before the student has successfully finished the hire process.


- Important: your student will be visible in Workday before the hire process has completed but this does not indicate they are cleared to work. Your student can only start work after you have received approval from Employee Services. Typically, this is 2 weeks after Employee Services is notified of the hire in Workday.
- During the hiring process your student will receive an email with information to log into Workday.
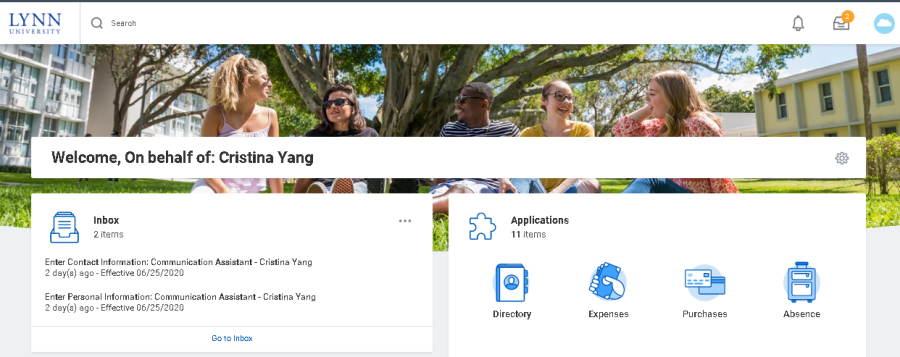
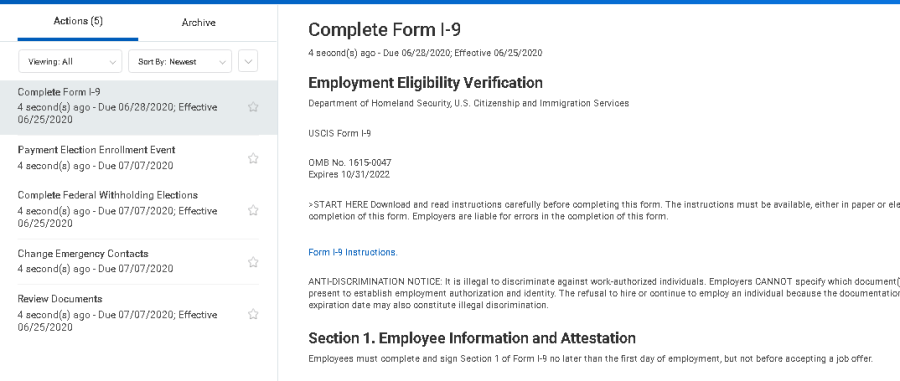
- In the student's Workday inbox they will need to –
- electronically sign Lynn University's policies
- complete the employee part of the I-9
- complete a W4
- complete payment elections
Note: Students can update their W4 and direct deposit at any time in Workday while they are employed.
- Once Employee Services has completed required review and the student has completed their paperwork, you will receive an inbox item notifying you that your student has been fully approved to start work.