Managers can create, edit, and assign workeremployee-specific schedules to workers direct reports using the Assign Work Schedule task. The options available depend on your organization's configuration and business process security policies.
...
Please make sure the schedules assigned align with the employee's job profile.
On this job aid:
View the Schedule for a Worker
View the Schedule History for a Worker
| Anchor | ||||
|---|---|---|---|---|
|
To assign a work schedule:
- Search for and select the Assign Work Schedule task.

- Select the Worker and Start Date for the schedule assignment.
- Optionally, select an End Date.
- Choose if you want to start from an existing schedule or from a blank schedule.
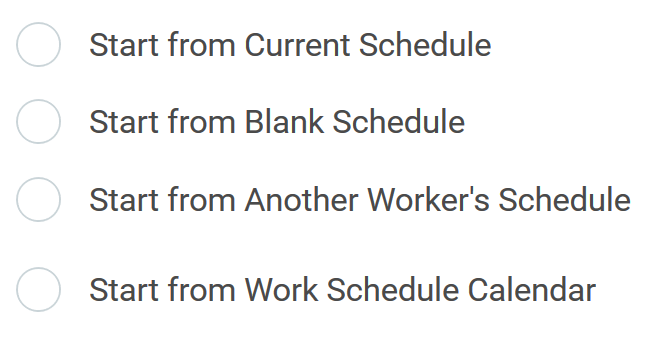
- Employee Services already have created standard schedule templates. Under
- Click OK to proceed.
In the Schedule Patterns grid, you can use the Add Row and Subtract Row buttons to add or delete weeks from the schedule pattern.
...

Info icon false title Note Example: If you wanted to give a worker Friday off every other week, you would create a second row on the grid and enter no hours for Friday. The work schedule will alternate between the two schedule rows.
- In the Order column, use the arrows to move rows up and down within the grid.
- To define shift start and end times, click the Pattern Details button on the right side of the row.


- Before you begin defining pattern details, you will need to select a Schedule Pattern Type.
- If you are defining a simple schedule with only one meal, the default selection of Single Shift and Meal is appropriate.
- If you need to define multiple shifts or multiple meals, select Multiple Shifts and Meals.

Define the start and end times for shifts and meals each day, or indicate a 24-hour shift by selecting the 24-Hour Shift checkbox.

Info icon false title Note Note: If you selected a Pattern Type of Multiple Shifts and Meals, you can use the Add Row buttons to add additional start and end times per day for shifts and meals.
- When you are satisfied with your selections, click Done and then OK to save the schedule.

Anchor view_schedule view_schedule
View the Schedule for a Worker
| view_schedule | |
| view_schedule |
To confirm the schedule has been assigned correctly, you can use the View Schedule for Worker task.
- Search for and select the View Schedule for Worker task.

- Select the Worker and Date.

- Click OK to proceed.
- Verify that the worker's schedule displays correctly on the calendar.

| Anchor | ||||
|---|---|---|---|---|
|
You can use the Schedule History for Worker task to view the history of schedule assignment events.
- Search for and select the Schedule History for Worker task.

- Select the Worker.

- Click OK to proceed.
- Review the schedule events in the grid. To see event details, click an event's Related Actions.
