This application is used by office staff to check if the students have met their requirements for fall and Spring orientation.
This is a web application available online via browser. The link to the web page is available to check-in computers at the gym on orientation days. Staff can access the application via URL. Please contact IT for the URL.
Note
Check-in is Mandatory for New and Returning Undergraduate Day Students.
**This process will be done during orientation from August 13th this year for all Undergraduate Day students New and Returning**
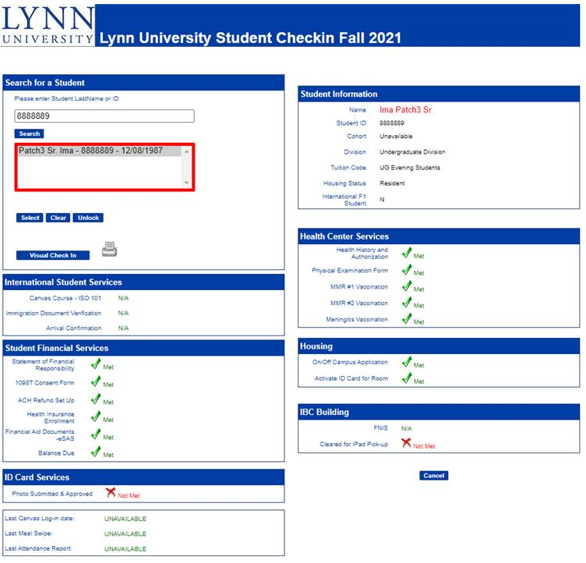
VISUAL CHECK IN PROCESS Step-by-step guide
Enter the students ID number or last name, and then click “Search”

Once their name appears, highlight it and click on “Select.”
The student’s record will populate.

Note: If you see the message "This profile is in use. Please Unlock and try again" in the Student Information area, please click the “Unlock” button above to unlock the student’s record. Re-enter the student’s ID number in the search window and click search.

Notify the student of any requirements they have not met, and advise them to visit the corresponding offices to them resolved.
Verify student information in the screen. Any changes must be completed by the registrar office.

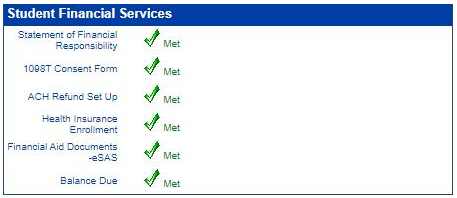
- Verify the student is not missing any documents or account payments. If they do, they must clear their account with Student Financial Services
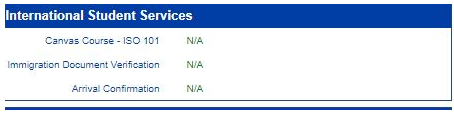
- International students need to check with the International Student Office for the new student orientation and other documentation.
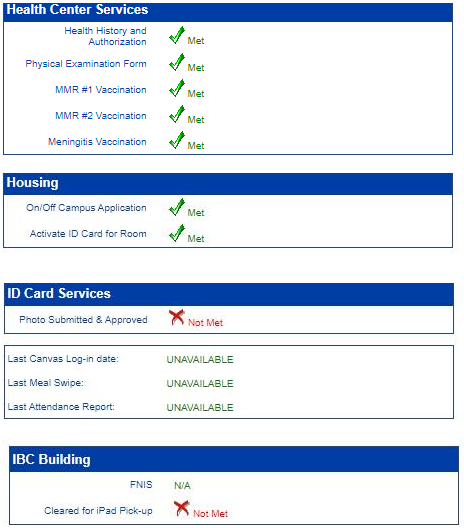
- Students also need to make sure they have all required documents for the Health Center, Housing and Resident (Resident students) and their picture ID. Students missing these requirements must check with those departments/stations.
To complete the visual check-in process, print a requirements summary report out for the student by clicking on the printer icon or just visually check them in by clicking on the “Visual Check In” button in the top left section.

When you are finished click on the clear button to enter a new student’s ID.

Related articles