ONBOARDING WITH WORKDAY STUDENT
Use this guide to complete all of your onboarding items in Workday Student! Refer to the Student Profile QRG for more information about navigating Workday.
Onboarding Tasks
Sign-in to Workday
When you log in, you'll see your home page. From here you can navigate to the following:
- Your Inbox
- Your Notifications
- Your Applications
- Your Profile - Refer to the Student Profile Quick Reference Guide for more information about navigating Workday.
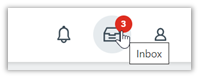
- To begin your onboarding tasks, navigate to your Inbox.
- Click the Inbox icon in the top right corner of the screen
-
- OR click the box in the center of the screen with the title Awaiting Your Action Add Intended Institution and Program of Study
- Click on the Add Intended Institution and Program of Study task.
- View the text and use it to guide you in searching for the Add My Intended Institution and Program of Study task.
- Type Add my Intended Institution and Program of Study into the Search bar.


- Select your intended program of study and institution.


- Click OK, and then click Done.
- Return to your Inbox.
- On the Add Intended Institution and Program of Study task, click Submit.
After you submit this and other tasks, new tasks will populate your Inbox. Click the orange Refresh button to have new items appear in your task list.
Annual FERPA Notice
- Click on the Annual FERPA Notice task.
- Click on the link to the Annual FERPA Notice. Read the information that displays.
- Click the check box to the right of I agree.


- Click Submit.
Student Code of Conduct
- Click on the Student Code of Conduct task.
- Click on the link to the Student Code of Conduct. Read the information that displays.
- Click the check box to the right of I agree.


- Click Submit.
Student Financial Responsibility Statement
- Click on the Student Financial Responsibility Statement task.
- Click on the Student Financial Responsibility Statement link. Read the information that displays.
- Click the check box to the right of I agree.


- Click Submit.
Consent to Receive Form 1098-T Electronically
- Click on the Consent to Receive Form 1098-T Electronically task.
- Click on the link contained in the last sentence of the instructions. Read the information that displays.
- Click the checkbox to the right of Yes, I have read and consent to the terms and conditions.


- Click Submit.
Review My Home Contact Information
- Click on the Review my Home Contact Information task.
- Click the Edit button to add or edit your contact information. You will see the existing contact information, and the visibility for the information. Contact Information is private by default.


- Click the Add button to add contact information.


- Click Submit when you are finished.
- Once you have made all of your changes, return to the Review My Home Contact Information task.
- Click Approve.
Review My Friends and Family
- Click on the Review My Friends and Family task. Read through the instructions.


- Click the Add button.
- Select Relationship Type (you must select an Emergency Contact relationship type before any other types can be selected and before you can complete this task.)
- Click the box next to Is Third-Party User if you want this contact to be a third-party user. A third-party user is someone you allow to have access to your student account to make payments or view information.


- In the Contact Information section, add the contact's first name, last name, and at least one method of contact. NOTE: For Emergency Contacts, you must enter an address and a phone number. For Third Party Users you must enter an email address.


- Click OK, and then click Done.
- Return to the Review my Friends and Family task.
- Click Submit. Click Done.
Manage My Privacy Settings
- Click on the Manage My Privacy Settings task.
- Read through the recommendations and select a privacy setting.
- Scroll down below the privacy setting options for additional information and options. You can check items here to enable additional items to be visible on your profile. The items already checked are visible by default.


- Click Done.
Review My Personal Information
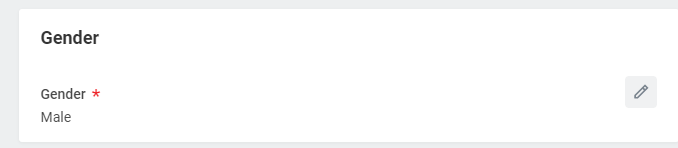
- Click on the Review My Personal Information task.

 Review the information available. If you need to make changes, click the Edit button.
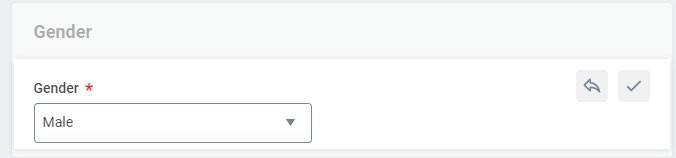
- To make edits navigate to the information you want up update click on the pencil icon to unlock the section.

- Update the information and then click the check mark icon to save your changes.

- Once you have made edits, or if you don't need to make edits, click Approve.
Review Permissions for My Third Party
- Click on the Review Permissions for My Third Party task.
- Click Add Permissions to select the permissions for the Third-Party user to have access to on your account


- Confirm the third party to whom you want to grant permissions.
- Click OK.


- Select the permissions for the third party user by clicking the checkbox next to the permission. You may grant the following permissions:
- Make a Payment
- View Financial Aid Package
- View Account Activity
- View Student Statement
- View Current Classes
- View Student Grades
- Generate Unofficial Transcript
- Click OK.
- In the FERPA Waiver pop-up, write in the purpose of the waiver, and click Confirm.


- Click Submit.
- Return to the Review Permissions for my Third Party task.
- Click Approve.
Once all onboarding tasks are completed, your inbox will display You have no actions at this time