...
- Click the Create Expense Report button under Actions.
- Select either Create New Expense Report, Copy Previous Expense Report, or Create New Expense Report from Spend Authorization. Your selection determines what information displays on the new expense report.
- Click OK, then Add.
Complete all required fields, including Date, Expense Item, Quantity, Per Unit Amount, Total Amount, and Business Topics, if applicable.

Note: See the Worktags section below if your organization requires a project, cost center, and/or location to be associated with your expense report.
- Scroll down to add any needed attachments in the Attachments from File section.
- Click Submit.
Anchor

Add Worktags
Worktags are keywords that provide reporting dimensions or metadata for your expense reports. These help the expense report route correctly. Based on your organization's configuration and policies, you may need to add additional worktags.
- Cost Center & Region: Workday may auto-populate this field; it should only be modified as needed.
- Region: This field may or may not be needed, based on your configuration. Click the prompt and select your work location.
Additional Worktags: Users in Professional Services-related cost centers may be required to associate an expense report with a project worktag (even if you are not charging expenses to customer-billable projects).
Note: The number of projects you can choose for your expense report may vary, based on your organization's configuration. An inactive (closed) project will not appear in available projects.
Itemize Your Expenses
Your organization may require you to itemize your expenses. For example, your hotel bill may include your room rate, room service, internet fees, and more.
From the Expense Lines tab within an expense report:
...
- To add a Project, tap Project from the Additional Worktags prompt.
Select your Project, then tap Done.
Note: The number of projects you can choose for your expense report may vary based on your organization's configuration. An inactive (closed) project will not appear in available projects.
- Once you've completed the expense report information, tap Done.
- Tap New Expense to begin attaching expenses to the report.
- Tap Existing Expenses. You can also choose to add new expenses in this step by tapping New Expense.
- Choose the pre-existing expenses you want to include in the report by tapping the checkmark next to each expense item you saved.
- Tap Next.
- Tap Review.
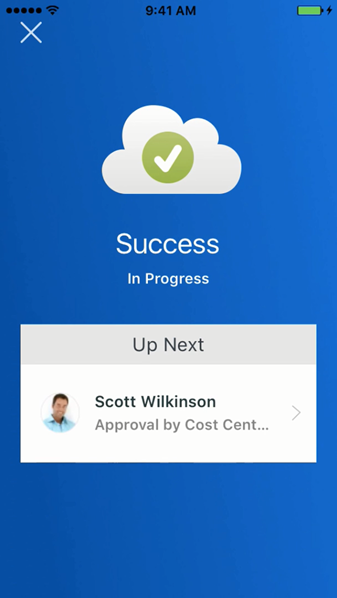
Review your expense items for accuracy, correct any errors, and then tap Submit. A confirmation screen shows your expense report has been routed for approval.
Note: You can also add expense items to reports from your list of expenses by tapping the checkbox and Add to Report. This will display immediately after entering the expense item. If no report exists at this time, you'll be prompted to create one.
iPad
Use the Expenses app to track expenses, upload receipts, and submit expense reports.
From the Home screen:- Tap View Apps > Expenses.
- From here, you can tap Scan Receipt to scan your receipt and have Workday automatically add expense data, or tap Enter Quick Expense to fill in expense information manually. You can also tap Create Expense Report to start a new expense report.
- Tap Enter Quick Expense to enter the expense manually.
- Tap the Paperclip icon to choose a photo or import an attachment.
- Enter a Date (this may have auto-filled when creating the expense).
- Add the Expense Item, along with any other supporting information for the expense.
- Tap Done, then Save (the newly entered expense should save automatically).
...
- Tap Available Expenses from the Expenses application.
- Tap the checkmark icon to add the expense item to an Expense Report.
- Tap the Add to Report button, then Create New Report.
- Include required information such as, Company, Expense Report, Date, Cost Center, and Region.
- Optionally, tap the Additional Worktags prompt. Add information your organization may require, like Location and Project.
To add a Project, tap Project from the Additional Worktags prompt, then select your Project.
Note: The number of projects you can choose for your expense report may vary based on your organization's configuration. An inactive (closed) project will not appear in available projects.
- Tap Done.
- Tap Review.
Review your expense items for accuracy and correct any errors, then tap Submit. A confirmation screen shows your expense report has been routed for approval.
Note: Upon review, you may be prompted to enter Business Topics into the expense item details. Enter the topic into the prompt, tap Save and Review to continue processing your expense report.
View file name CreateExpRpt-VID-33.mp4 height 250