...
On your Home Page under Your Top Apps, click View all Apps,
From the Benefits and Pay application:
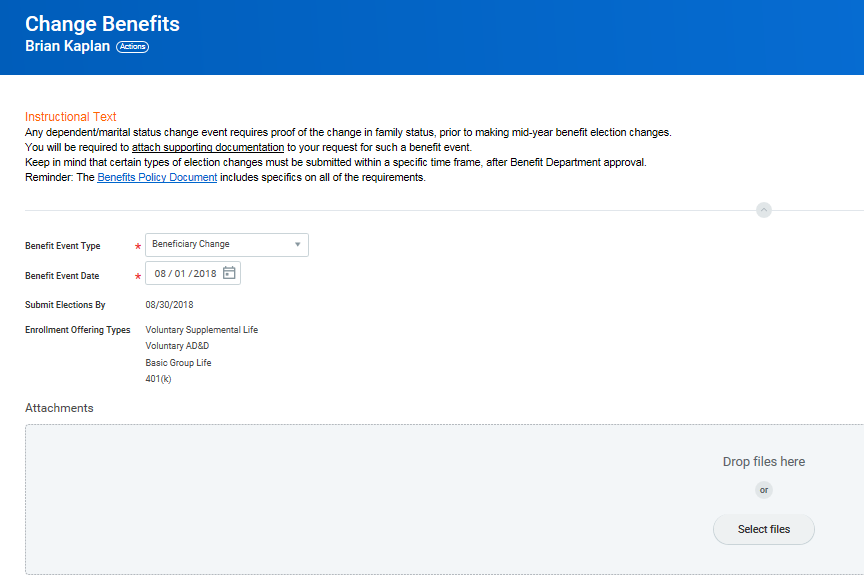
- Click the Benefits button under Change.
- Select the Benefit Event Type.
- Click the Calendar icon to enter the date of the benefit event.
Attach required documents, if applicable.
Warning Certain life events require you to submit documentation. A system will display an error if the required documentation is missing.
Info icon false title Note As you select benefit events, the system will determine the due date to submit elections and the enrollment offering types available to you.
- Click Submit, then clickDone. A task will route to your Inbox, if applicable.
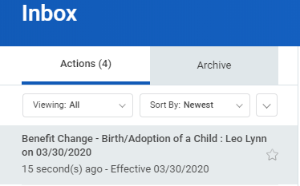
- Navigate to your Inbox.
- Click the Benefit Event task. In this example, the task is related to the birth/adoption of a child.
- Once you click on the task, on the right side of your screen, complete and continue through all required benefit screens. Click Continue to move to the next benefit screen.
On the last page, you will see a summary of your benefit changes, including an impact on your biweekly contribution. Scroll down Select the I Agree checkbox, if required, to provide an electronic signature, confirming your changes.
Warning Your electronic signature is required before you can submit your benefit elections. Go to the Electronic Signature section and select "I Agree" to Submit your elections. Or, you can Save for Later to complete your elections at a later date.
- Click Submit.
- Click Done to complete the task or Print to launch a printable version of the summary for your records.
...


