A life event refers to a change in your circumstances. This job aid covers generic events.
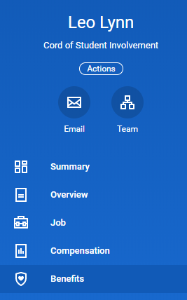
There are different ways you can navigate your Benefits. You can use the Benefit application on your home page, you can go to your profile, click actions, and select Benefits, or you can select Benefits from your profile menu.
On this Job Aid:
Report a Coverage Change Event
View and Edit Benefit Elections
View Dependents' Benefit Elections
Report a Coverage Change Event
Life events do not always line up with enrollment periods. If you need to change your coverage because of a birth, death, marriage, divorce, or similar life event, you can update your benefits to fit your needs better.
On your Home Page under Your Top Apps, click View all Apps,
From the Benefits and Pay application:

- Click the Benefits button under Change.

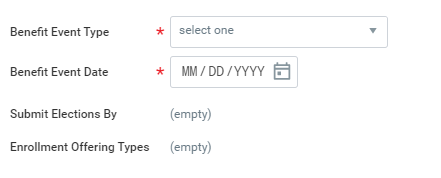
- Select the Benefit Event Type.
- Click the Calendar icon to enter the date of the benefit event.

Attach required documents, if applicable.
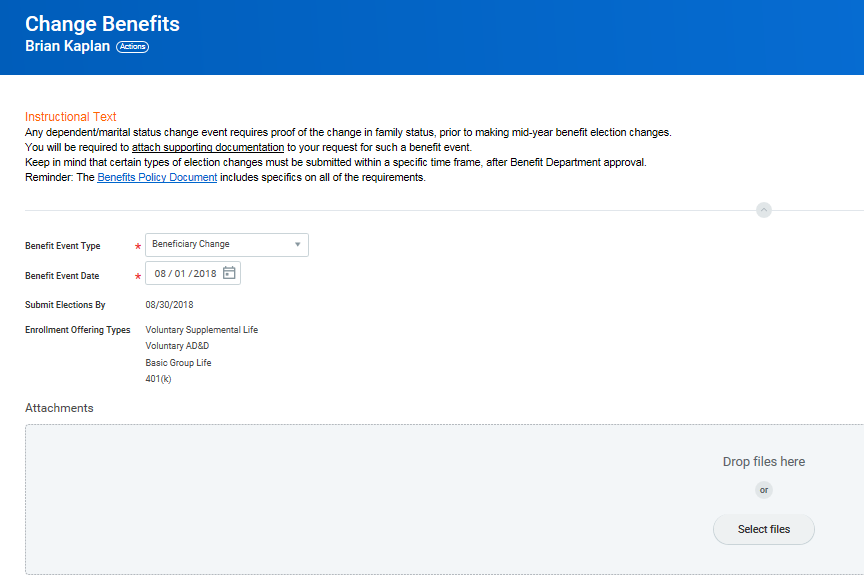
Certain life events require you to submit documentation. A system will display an error if the required documentation is missing.

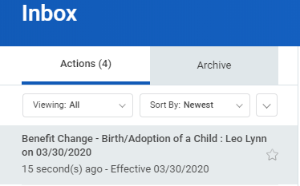
- Click Submit, then click Done. A task will route to your Inbox, if applicable.

- Navigate to your Inbox.

- Click the Benefit Event task. In this example, the task is related to the birth/adoption of a child.
- Once you click on the task, on the right side of your screen, complete and continue through all required benefit screens. Click Continue to move to the next benefit screen.
On the last page, you will see a summary of your benefit changes, including an impact on your biweekly contribution. Scroll down Select the I Agree checkbox, if required, to provide an electronic signature, confirming your changes.
Your electronic signature is required before you can submit your benefit elections. Go to the Electronic Signature section and select "I Agree" to Submit your elections. Or, you can Save for Later to complete your elections at a later date.
- Click Submit.
- Click Done to complete the task or Print to launch a printable version of the summary for your records.
View and Edit Benefit Elections
Employees can change benefit elections when a qualifying event occurs, such as a change in marital status, the birth or adoption of a child, or a beneficiary change.
From the Benefits application:
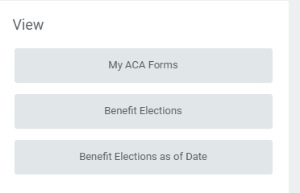
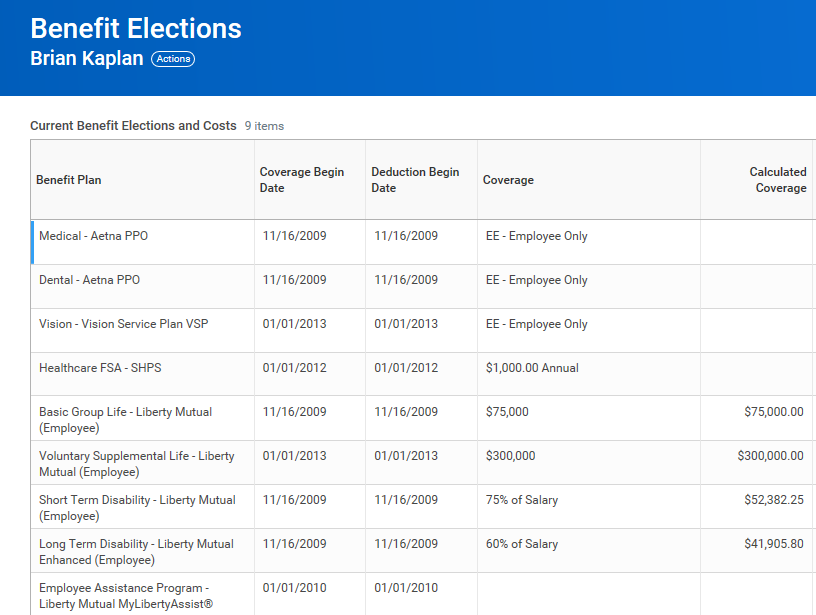
- Click the Benefit Elections button under View.
- Review your benefit elections and costs.
 Click your Related Actions button next to your name.
- Select Benefits > Change Benefits.
- Enter all required information, denoted by asterisks, and make any permitted changes.
- Click Submit.
Add Dependents
A dependent is someone, like a child or a spouse, who receives benefits under your plan.
From the Benefits application:
- From your profile, select benefits.
- Click the My Dependents tab.

- Click Add.

- Select Dependent options. Click the Edit icon or click in the field to modify. Asterisks denote required fields.
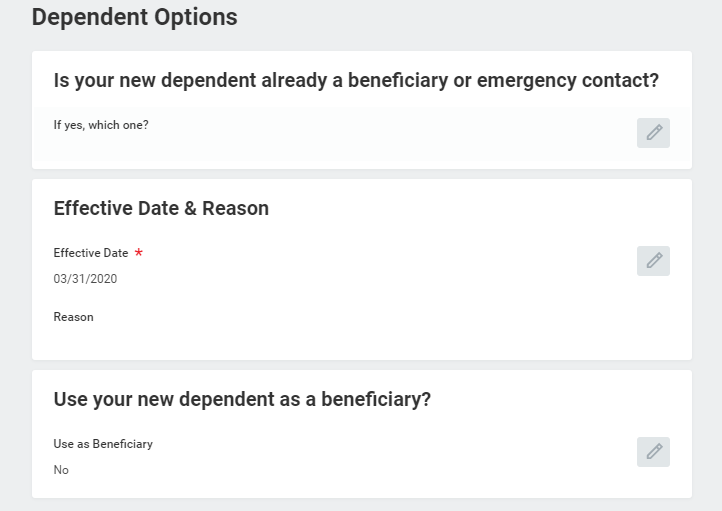
- Click Submit.
- A green checkmark will appear to signal the process was completed successfully. Click Done.
View Dependents' Benefit Elections
From the Benefits application:
- Click the Dependents button under Change.
- Review your existing dependents and their benefit plan coverage.
Manage Beneficiaries
A beneficiary is a designated individual who would receive your benefits if something were to happen to you. You can change, edit, and add beneficiaries from the Benefits application.
From the Benefits application:
- Click the Beneficiaries button under Change.
- View existing beneficiaries for enrollment benefit plans or modify the existing information by clicking Edit.
- Click Add to add a new beneficiary. The Add Beneficiary page displays.
- Select Existing Dependent or Emergency Contact, Create a New Beneficiary or Create a New Trust as Beneficiary.
- Click OK.
- Enter all required information, denoted by an asterisk.
- Click Submit.
Print Benefits Statement
From your Home Page:
- Click the Profile image > View Profile.
- Click the Actions button.
- Select Benefits > View My Benefit Statement.

- Click the prompt in the Benefit Event field.
- Select the desired Benefit Event you would like to view and print.
- Click OK.
- Click the Print icon.

- The selected Benefit Event will open as a PDF document, which can be saved and printed.