...
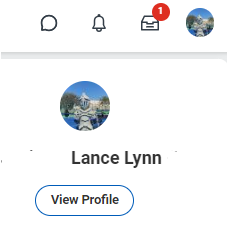
Click your picture (or cloud icon) on the top right of the screen to access the profile page.
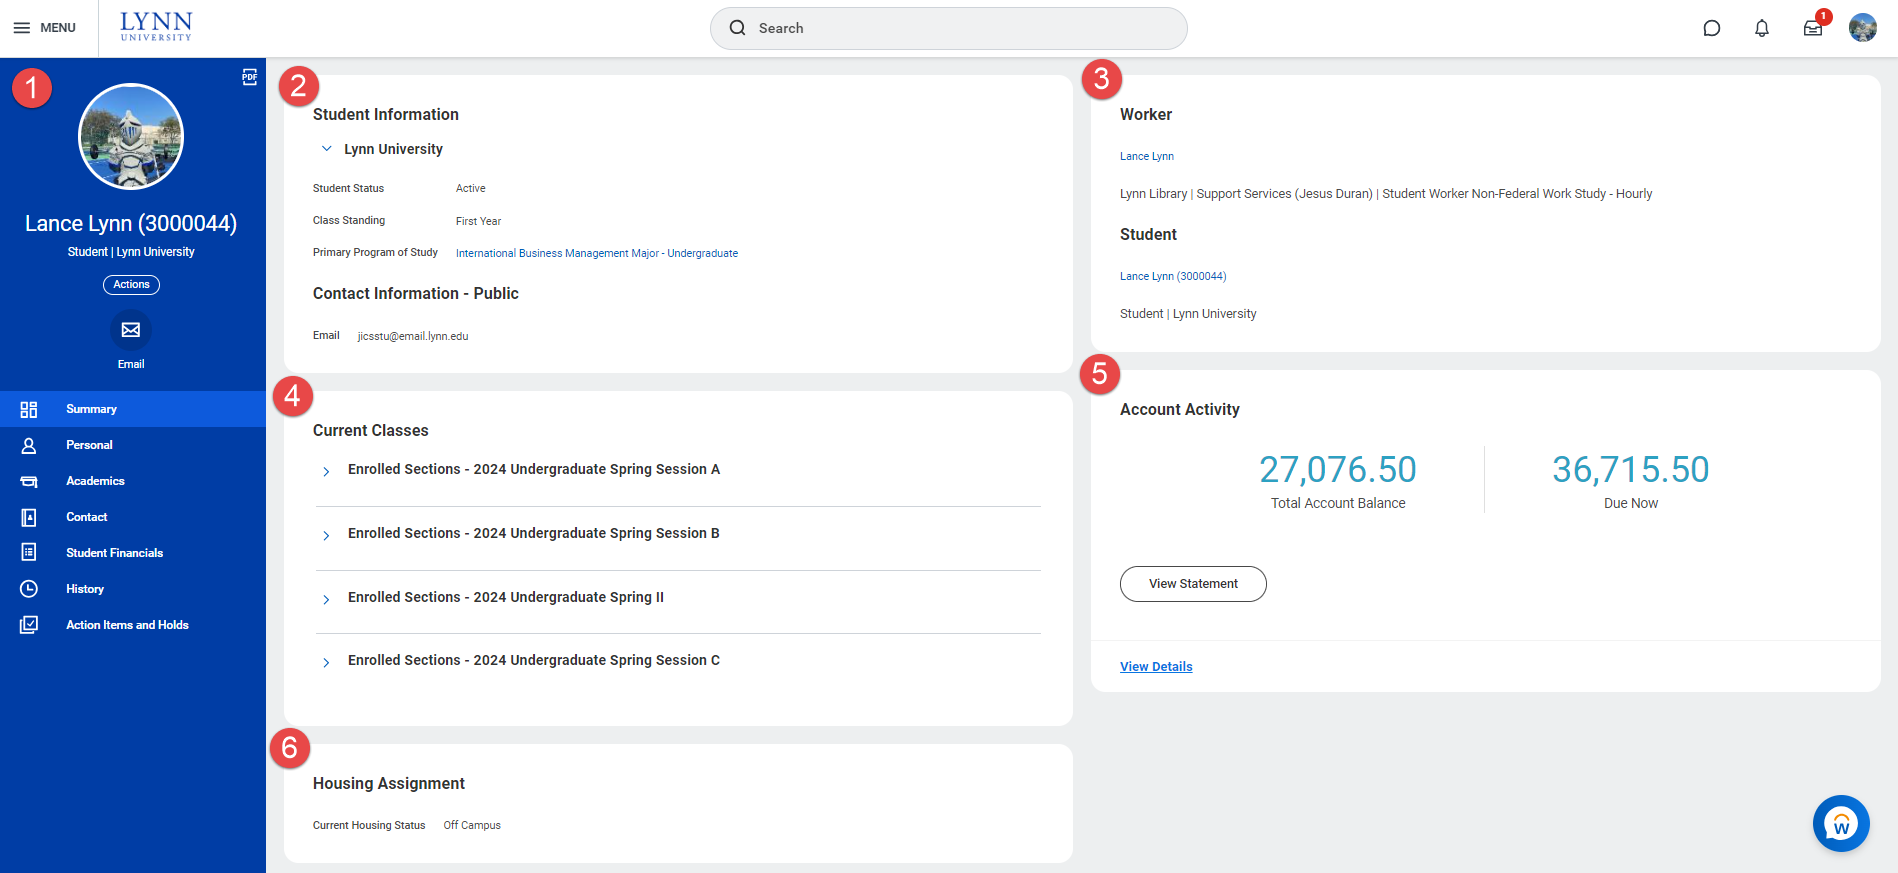
When you arrive at your Student Profile, you’re presented a summary of your Student record:
- The Blue Ribbon Menu
- Student Information
- Summary card (if you have other profiles like worker, you can switch between your profiles in this area)
- Current Classes
- Account Activity
- Housing Assignment
Blue Ribbon Menu
...
Action | |
|---|---|
| Personal Data | The Personal section of the Actions menu offers you access to View/Change your Contact Information, Personal Information and Names. You can also view the IDs on the system. |
| Change Residency | This action will not change your resident/commuter status. This task is used to determined your Florida residency status for financial aid purposes. |
| Find Payments | This action will allow students to search for payments on their account. |
Popular Student Apps
Academic Application
 1. Press Academic Dashboard to open.
| Info |
|---|
The Academics Dashboard is a customizable app with common actions and reports as: Actions to Do, Important Contacts Support Network, My Holds, Current Schedule and links for Planning and Registration, Academic Records, Advising, and General Help. This tasks and reports will appear, and students can customize it to their liking. |
To Customize the Academics Dashboard as needed:
- On the title bar of the application, press the setting icon
 to add, delete and rearrange reports and tasks.
 - The Configure Worklets screen will be in display:
a. To add a worklet, press the ![]() sign button (the minus sign to delete
sign button (the minus sign to delete ![]() ), press on the prompt
), press on the prompt![]() and select from the All list or search by typing the name of the Worklet. (Some of the tasks and reports are not available as worklets.)
and select from the All list or search by typing the name of the Worklet. (Some of the tasks and reports are not available as worklets.)
b. All worklets can be rearranged by pressing the up and own arrows in the order column.

| Info |
|---|
The Academic Dashboard can be customized by typing Configure My Worklet Landing Page on Workday's search bar then selecting Academics in the Landing Page. |
Favorite Application
![]() The Favorite app can link what student have added in Workday. The app can be found on the Menu Bar, links, magnifying icon, related action icon and etc.
The Favorite app can link what student have added in Workday. The app can be found on the Menu Bar, links, magnifying icon, related action icon and etc.
How to save a course link in Favorites? - Example
- From the Find Course Reports; hover at the end of the course link and press the related actions icon, press Favorites from the Actions Menu and press Add.

- To Open: Press the Favorite App from the Navigation Menu where the course will be stored. Press the link to open the course information.

View Profile - Student Profile Page
Student profile page displays categories and a quick Actions Menu to view and edit Student information.
- Student can view their profile by pressing their picture (top right corner) and press
 to have a full access.
| Info |
|---|
The Workday Worker profile will default if the student is also a UMMC EMPLOYEE. To switch to the student profile, press Summary Category, then under Student section, press student name to display profile. |
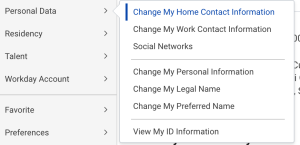
Actions Menu
The Actions Menu displays a shortcut menu for Personal Data to have a fast view / change home, Work Contact Information, Personal Information, Legal and Preferred Name and ID information.
Student Profile Categories
On each individual Student profile page, categories will be on display at the left side of the screen; those categories are:

- Displays the student information, academic progress and account activity. (UMMC employees can switch to their student profile by clicking their name link under the student section).

- Names: presents legal name and Preferred Name. The Action button located under the student picture which allows students to start the Legal Name change process as well as edit their preferred name which will change in Workday and MySite.
- Personal Information: presents Gender, Date of birth, Martial Status, Hispanic or Latino, Race/Ethnicity and Citizenship Status which all of them can be edited.
- Residency: presents residency status
- IDs: Documents such as National IDs (Social Security Number) can be verified and edited.
- Documents: Other documents can be added under Students Documents and Personal Documents tabs. (Pre-Registration attest documents can be found under the Reviewed Documents tab).
![]()
- Students information including Institutional Contact Information, Home and Work address, Phone Numbers and Email can entered.
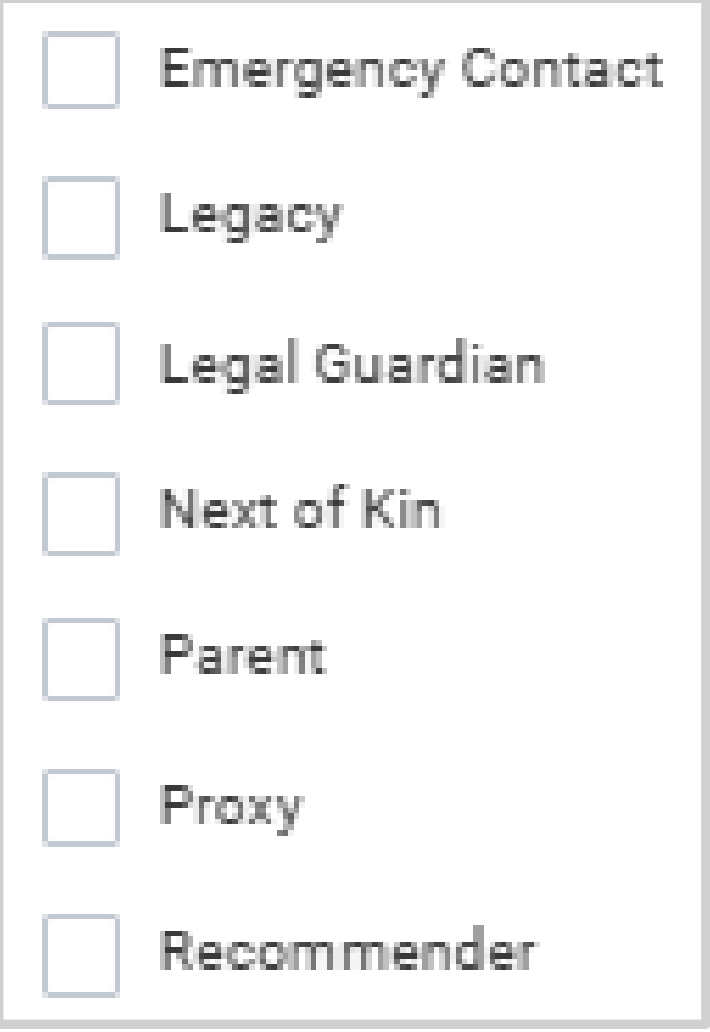
- My friends and Family: emergency contact
- Emergency contact: can be entered by Relationship Type.
![]()
Presents students academic information:
- Overview: presents General information of the program of study being pursued and important dates surrounding that program of study.
- Current classes: lists information for all currently enrolled courses and activities for the current academic period. Both students and administrators are able to drop/withdraw courses based on date controls and security.
- Plan: Not all schools provide a plan in Workday. In case an advisor has created one it would be listed to assists the student in registering for courses. Courses can be registered without any plans.
- Academic History: Lists all courses the student has completed along with the Academic period totals, Cumulative totals and student standings, which include Attempts, Unites Earned, GPA units (Period and Cumulative GPA) and Class Standing information to which makes up with the students transcript.
- Academic Progress: is a list of all academic requirements needed to graduate from UMMC for the program (s) of Study a student is pursuing. Along with the Academic Requirements; students will see a percentage of satisfied requirements, Cumulative GPA, Unused Registrations and Overall Academic Progress.
- External Records: Education Test Results reported to UMMC.

- Students have access Make a Payments, View Statements, find out Total Account Balance and what is Due Now.
![]()
- Students have the ability to see if there are any action item to complete, active holds and resolved holds under the categories for Financial Aid, Admissions and Onboarding; as well as Instructions on how to resolve the hold will be listed on all students holds.
| Info |
|---|
Pages of students profile can be exported to an adobe PEF file or save/printed by pressing the |
Popular Student Apps
Academic Application
1. Press Academic Dashboard to open.
| Info |
|---|
The Academics Dashboard is a customizable app with common actions and reports as: Actions to Do, Important Contacts Support Network, My Holds, Current Schedule and links for Planning and Registration, Academic Records, Advising, and General Help. This tasks and reports will appear, and students can customize it to their liking. |
To Customize the Academics Dashboard as needed:
- On the title bar of the application, press the setting icon to add, delete and rearrange reports and tasks.
- The Configure Worklets screen will be in display:
a. To add a worklet, press the ![]() sign button (the minus sign to delete
sign button (the minus sign to delete ![]() ), press on the prompt
), press on the prompt![]() and select from the All list or search by typing the name of the Worklet. (Some of the tasks and reports are not available as worklets.)
and select from the All list or search by typing the name of the Worklet. (Some of the tasks and reports are not available as worklets.)
b. All worklets can be rearranged by pressing the up and own arrows in the order column.
| Info |
|---|
The Academic Dashboard can be customized by typing Configure My Worklet Landing Page on Workday's search bar then selecting Academics in the Landing Page. |