Both hourly and salaried staff members will be submitting requests for time off, including vacation, sick, and jury duty, using the Time Off application. These time-off requests are submitted at the time of entry and will be delivered directly to your Workday Inbox.
On this job aid:
Approve, Deny, and Send Back Absence Requests
As a manager, you have the option to approve, deny, or send back absence requests.
To view an absence request:
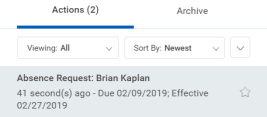
- Navigate to your Inbox.

- Click the Absence Request Inbox item.
- (Optional) Click the View Balances button to view an employee's time off balances.
- Click Approve, Send Back, Add Approvers, or the More
 button. From the More menu, you can select Deny or Cancel.
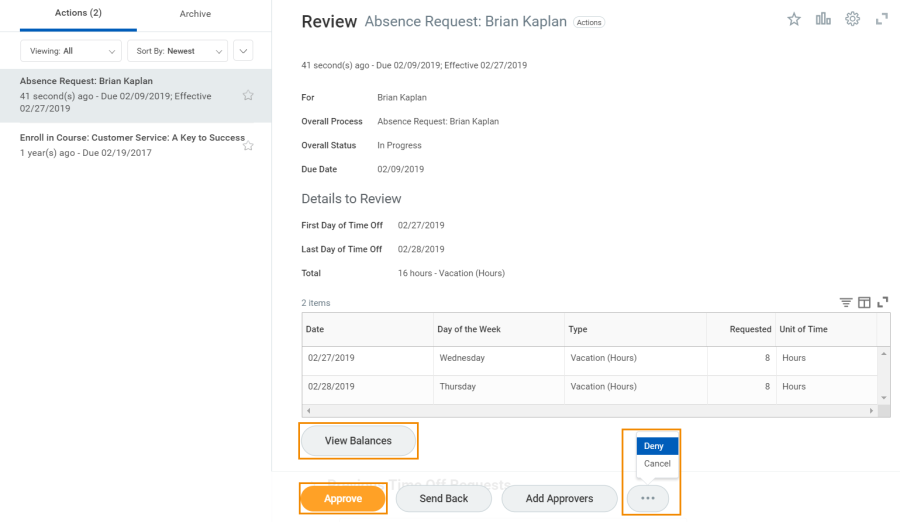
- If denied, you must enter comments for the employee. The item will be routed back to the employee's inbox.

- If approved, click the Detail and Process arrow to view the employee's time off summary.
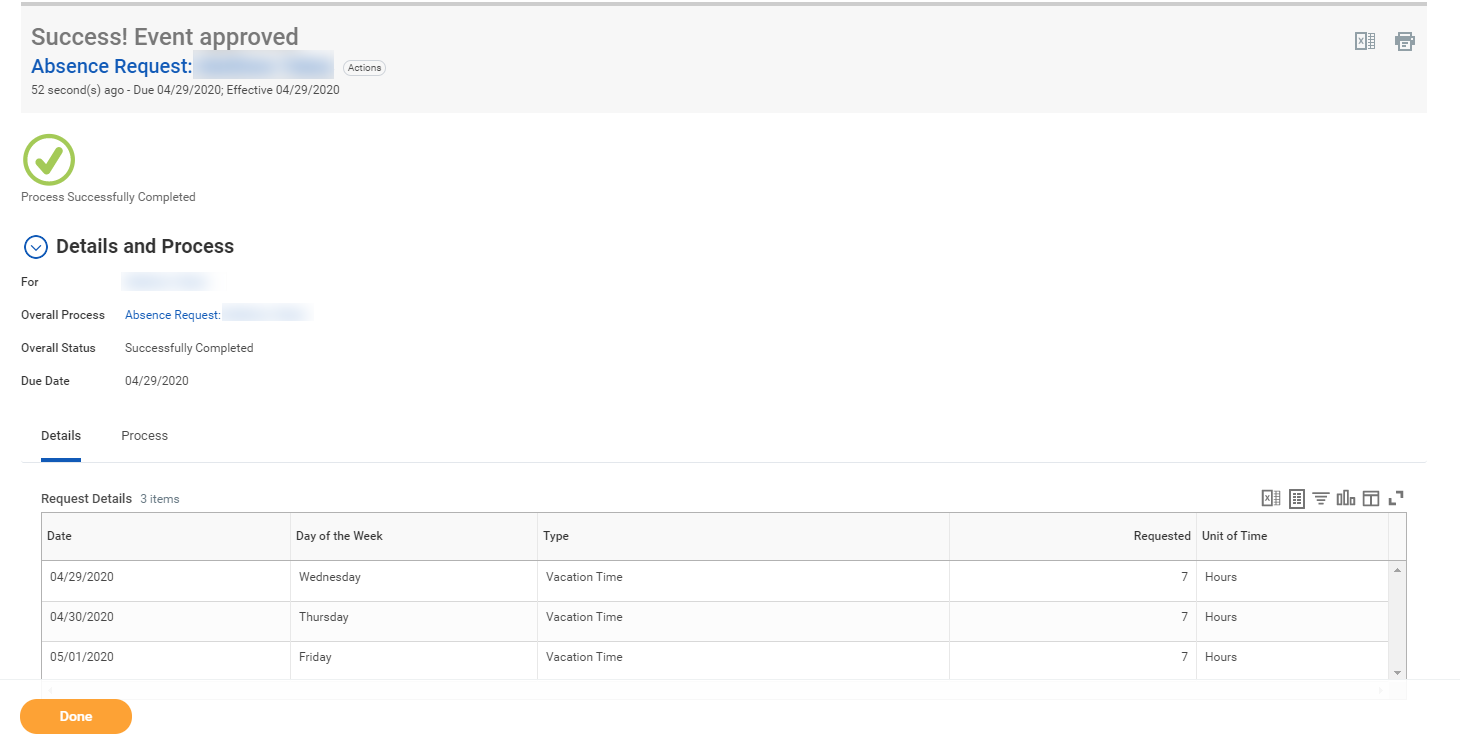
Click Done.
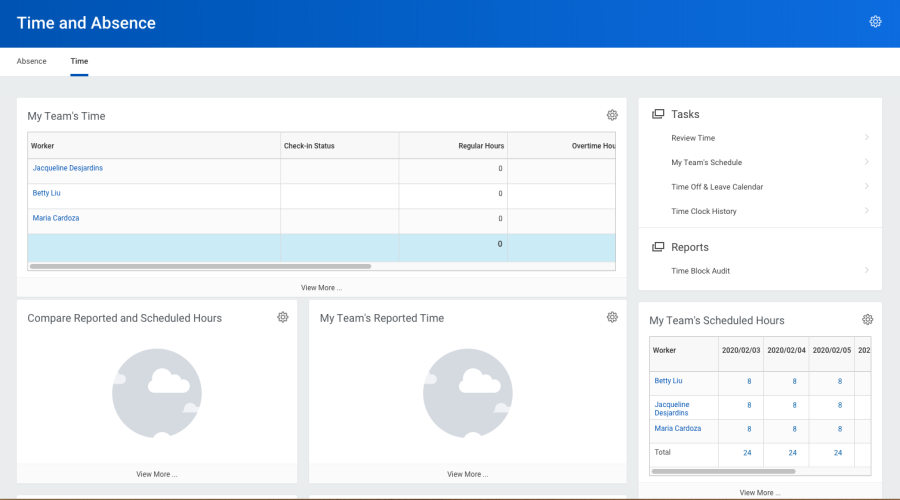
Time and Absence Dashboard
The Time and Absence dashboard gives managers quick access to several reports and tasks for managing team absences.
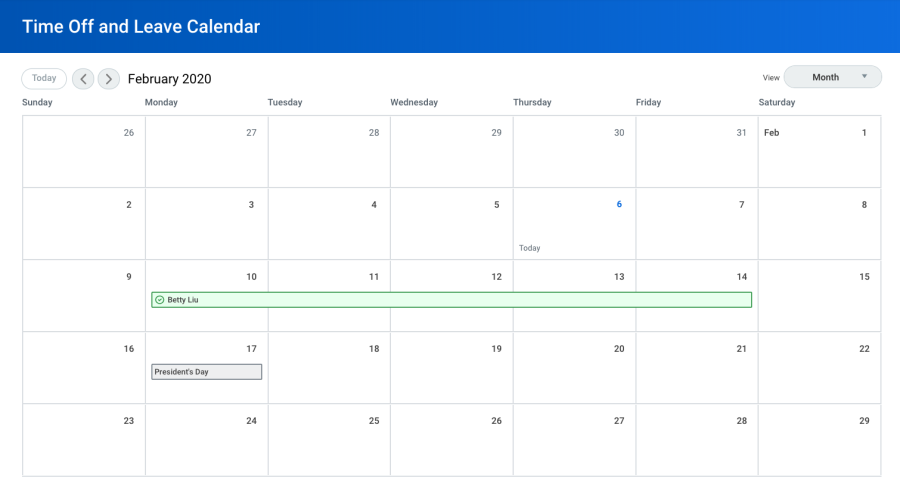
View Team Absences
Managers can view all of their team members' absences at a glance on the unified absence calendar.
From the Time and Absence dashboard:
- Click Time Off and Leave Calendar under Tasks (expand More (#) if the task does not appear).


- The unified absence calendar displays. Employee absence requests are marked with the employee's name.
Enter Absence for a Direct Report
Managers can easily enter an absence on behalf of their direct reports using the Enter Absence task.
From the Time and Absence dashboard:
- Click the Absence tab at the top of the dashboard.
- Click Enter Absence under Tasks (expand More (#) if the task does not appear).
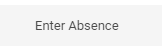
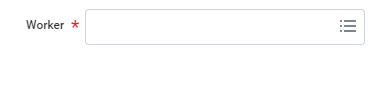
- Select the direct report you are entering absence from the Worker prompt.
- Click OK.
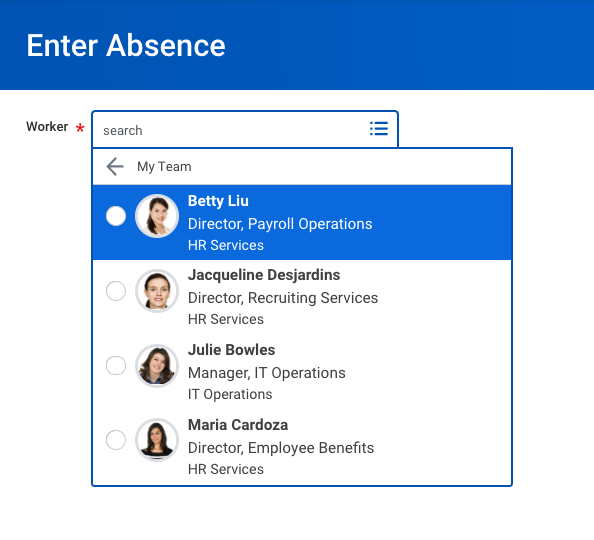
- Click on one or more days for the worker's absence or click and drag to select multiple days. Click on a selected day to deselect it.
- (Optional) Click the Select Date Range button to enter an extended date range. This is useful when entering an absence request that might extend into a different month or over a long period.
- Click the Request Absence button. The number of days you requested displays dynamically on the button to help confirm your request.
Enter the type of absence requested from the Type prompt. Your options will include both Time Off and Leave of Absence types.
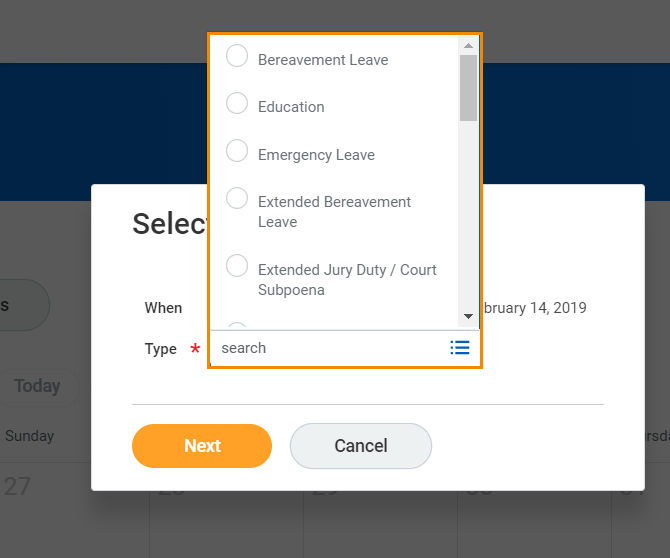
- Click Next.
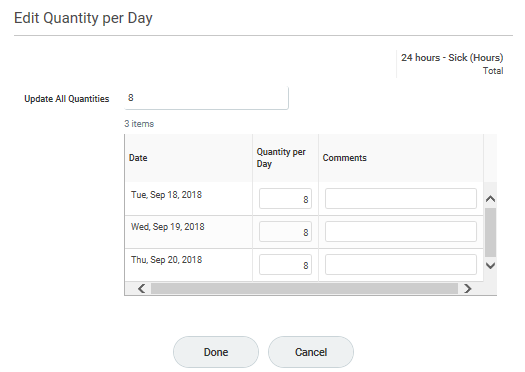
- The Quantity per Day may default to a set amount or to your daily scheduled hours, depending on whether balances are tracked in days or hours.
- (Optional) To change the amount, click Edit Quantity per Day. Enter the desired quantity per day amount and any comments needed. Click Done.
- Attach any appropriate supporting documents by dragging them to the Attachments field or clicking Select files.
- Click Submit.
Correct Time Off for a Direct Report
To correct a time-off request for a direct report, you must have the appropriate security permissions enabled for the task. Additionally, you can only correct submitted and approved time-off requests.
From the Time and Absence dashboard:
- Within the Absence tab, click Correct Absence under Tasks (expand More (#) if the task does not appear).

- Select the direct report from the Worker prompt.
- Click OK.
- Click a time off entry to open the details.

- Select the days off you want to correct or click the Remove Row icon to remove the days.
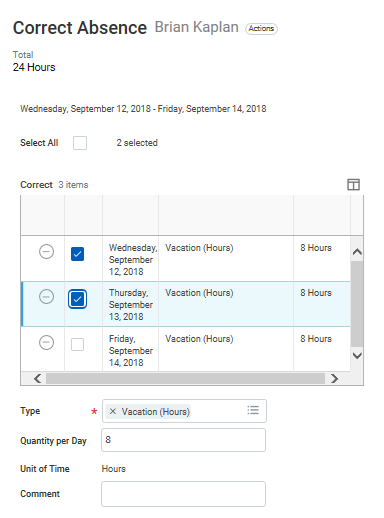
- Revise the requested hours in the Quantity per Day field.
- Enter a comment if needed.
- Click Submit.
Correct Leave of Absence for a Direct Report
To correct a leave of absence request for a direct report, you must have the correct permissions enabled for the task. You can only correct a submitted and approved leave of absence request.
From the Time and Absence application:
- Click Correct Absence under Tasks (expand More (#) if the task does not appear).
- Select the direct report from the Worker prompt.
- Click OK.
- Click the leave of absence entry on the calendar.
- Click the Absence Event's Related Actions.
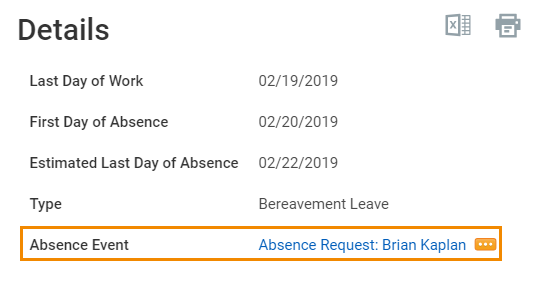
- Click Business Process > Correct.
- Edit the Last Day of Work, First Day of Absence, Estimated Last Day of Absence, and Type as needed.
- Enter a comment. This step is required for a correction.
Click Submit, then Done.
Return an Employee from a Leave of Absence
When an employee comes back to work after a leave of absence, the manager will enter information about their return.
From the Time and Absence dashboard:
- Click Return Worker from Leave under Tasks (expand More (#) if the task does not appear)

- Select the direct report on leave from the Worker prompt.
- Click OK.
- Enter the First Day Back at Work.
- Enter the Actual Last Day of Absence. The First Day Back at Work must be after the Actual Last Day of Absence.
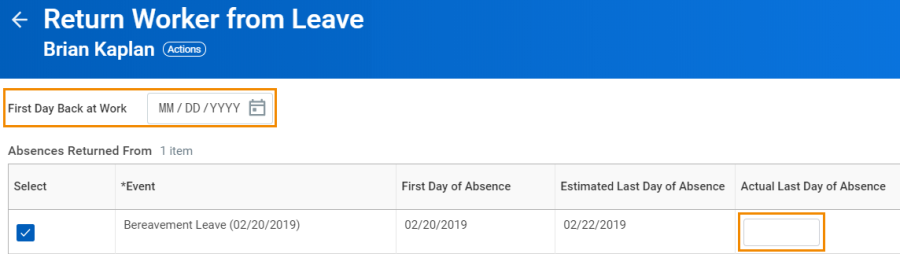
- Click Submit, then Done.