For staff and faculty emergency contact instructions click here.
A Third Party Proxy is a parent, guardian, or anyone else that the student designates to have online access to their student financial and academic information. We recommend that students set up a parent or guardian as a Third Party Proxy, and grant access, to allow for communication and information about your student account.
Here's how to add your emergency contact information and provide account access to a third-party, which may be useful if someone else pays/view your bills or view your academic records.
On this job aid:
Access Profile
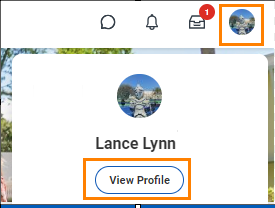
After logging into Workday, click on the Cloud icon, and then select View Profile.
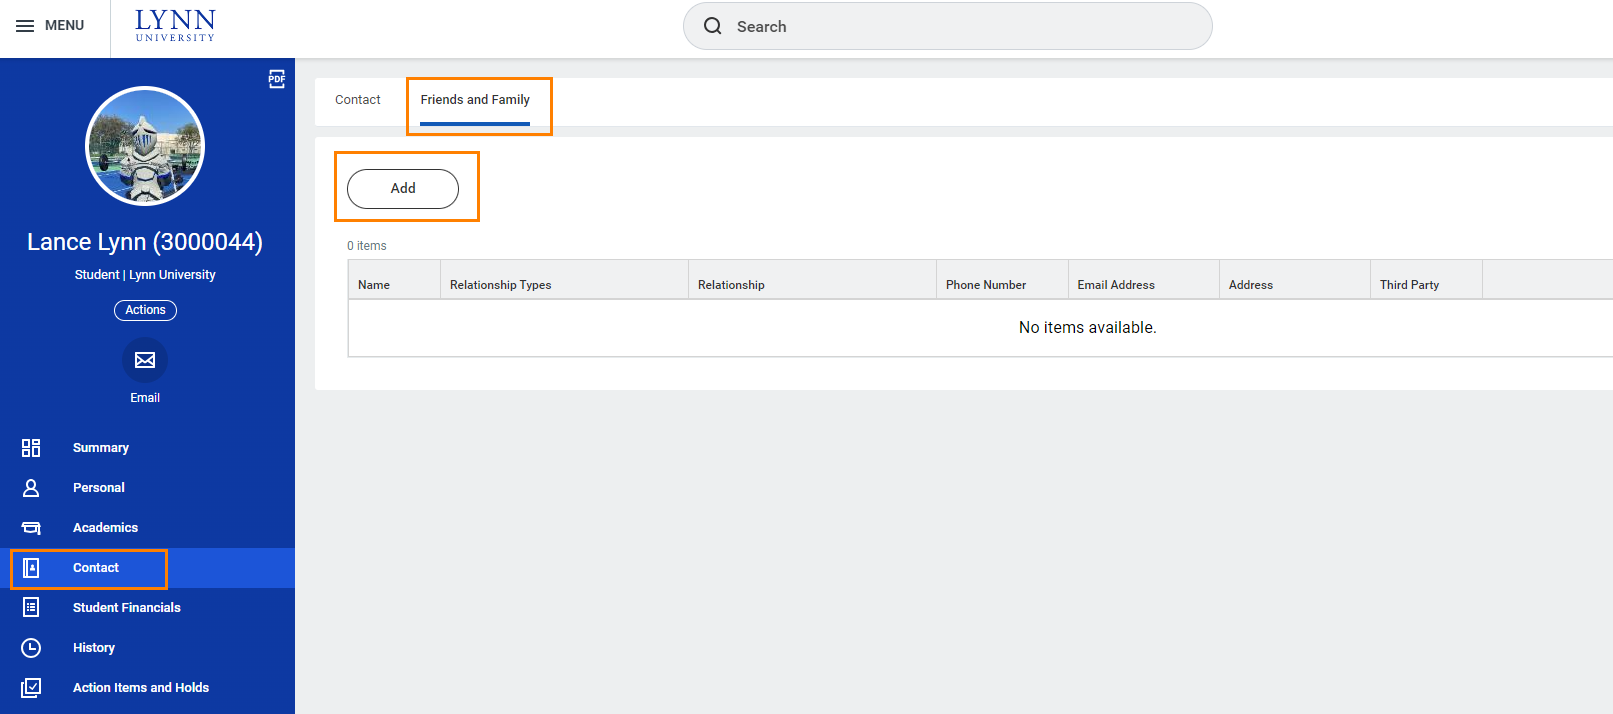
On the profile menu, select Contact, and then click the Friends and Family tab.
Click Add to create a new contact.
Add Emergency/Third Party Contact
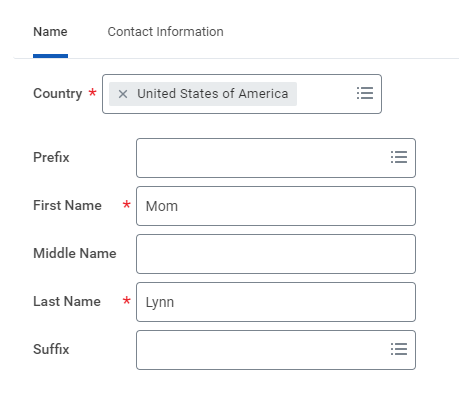
Enter your contact's information.
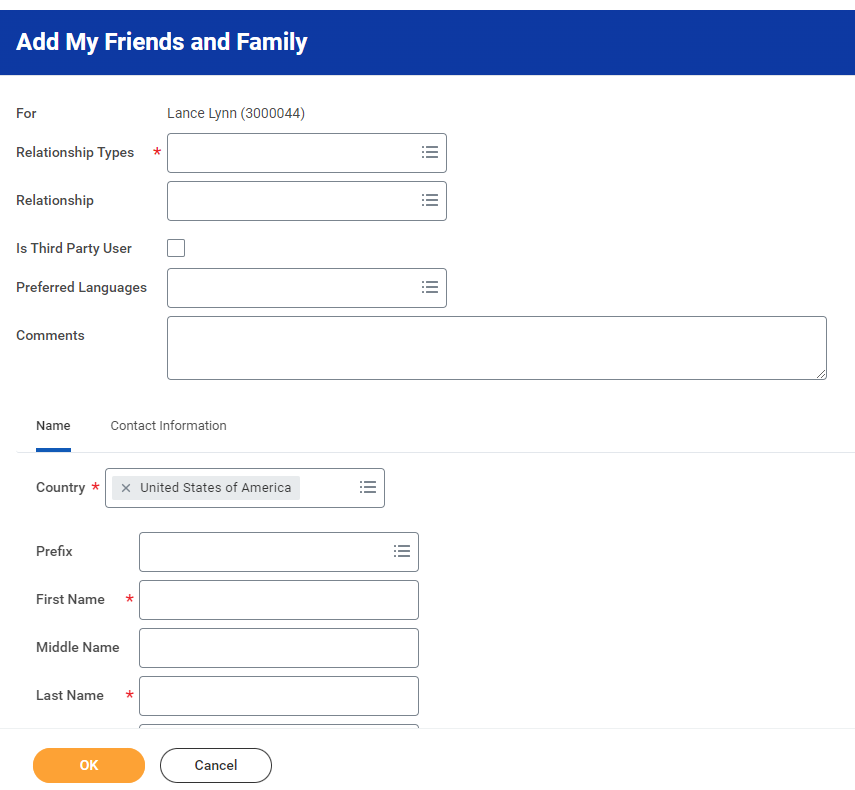
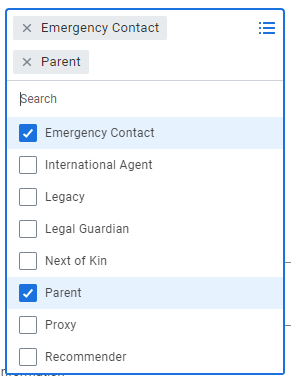
Under Relationship types, select Emergency Contact (and all other that apply).
Third Party User
To grant third-party access, you must check the box labeled Is Third Party User. Specific permissions will be granted in a separate screen.


Enter contact's name
Under Contact Information, you must add at least a contact phone number and email address.
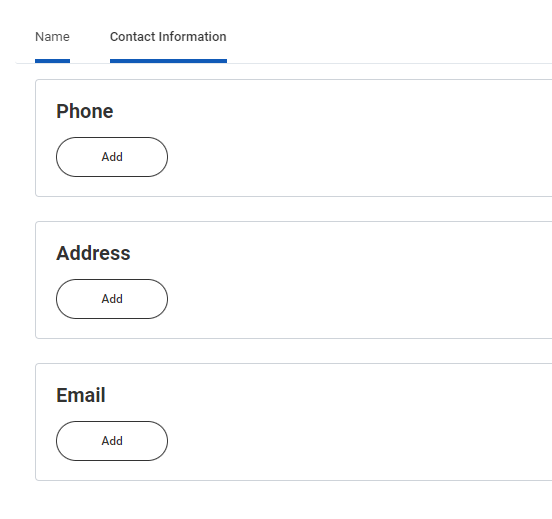
Under Phone Device, select Mobile Opt-In Texting to include number on automated emergency notifications.
![]()
At this point, you'll be asked to review your contact's information. If everything looks accurate, click Done.
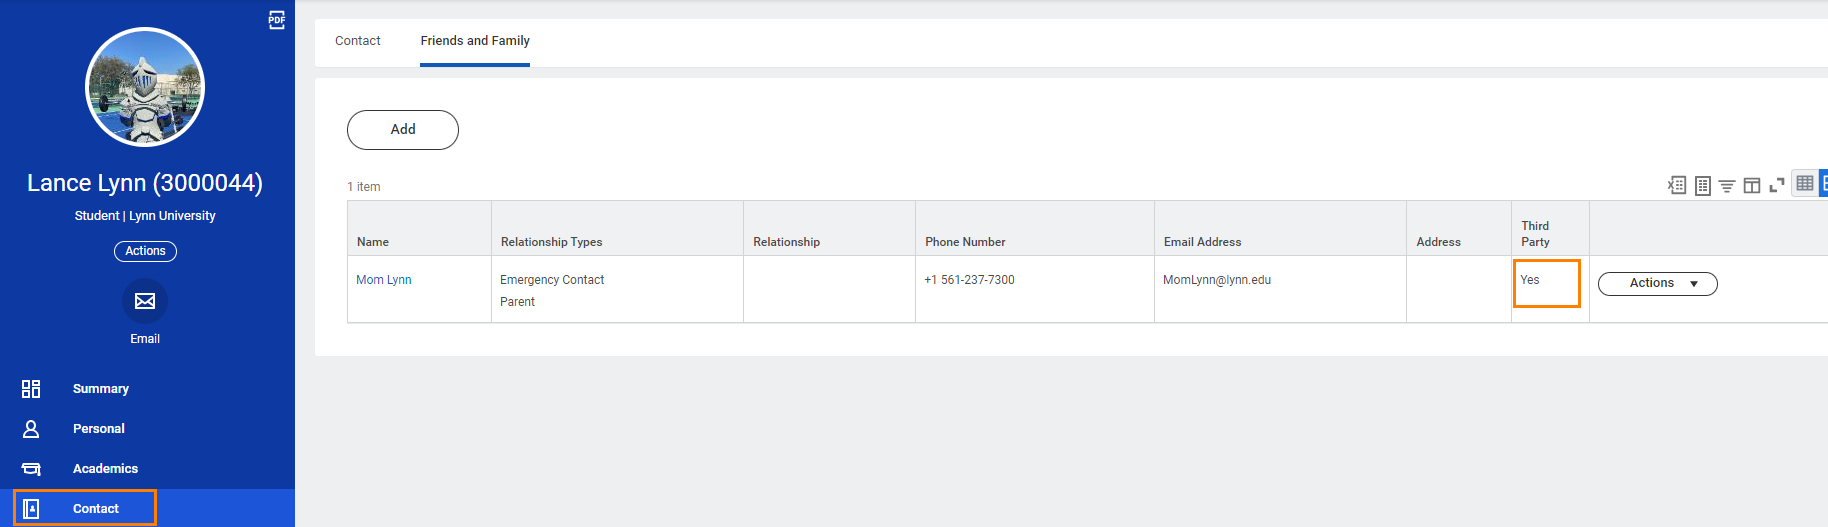
To confirm your contacts' information, simply return to the Contacts section, and click the Friends and Family tab, where you will see a list of your contacts. Be sure the Third Party section says Yes.
Manage Permissions for My Third Party
Select Contact from the left navigation, and then click the Friends and Family tab. Use the horizontal scrolling bar and move all the way to the right until you see the Actions button.
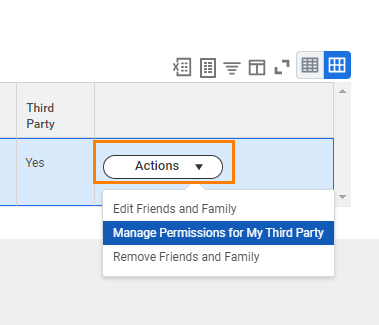
Click the Actions button and in the drop-down menu, select Manage Permissions for My Third Party
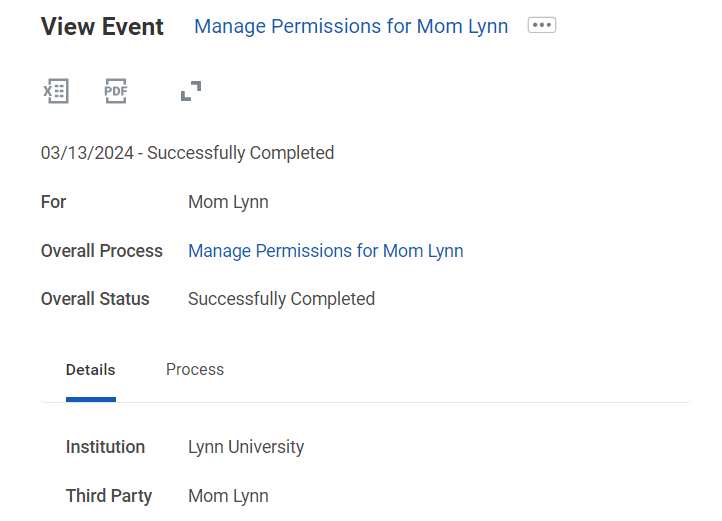
Confirm that the correct third party contact name appears in the Third Party field and Lynn University in the Institution field. Click OK.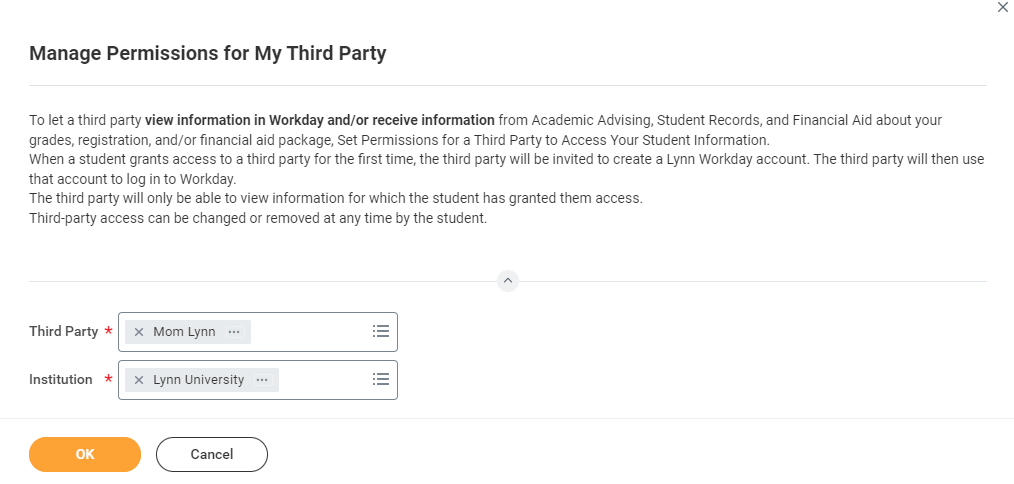
Under Tasks Available for Third Party Users, select the tasks you'd like to allow your contact to access:
- Make a Payment
- View Financial Aid Package
- View Account Activity
- View Student Statement
- View Current Classes
- View Student Grades
- Generate Unofficial Transcript
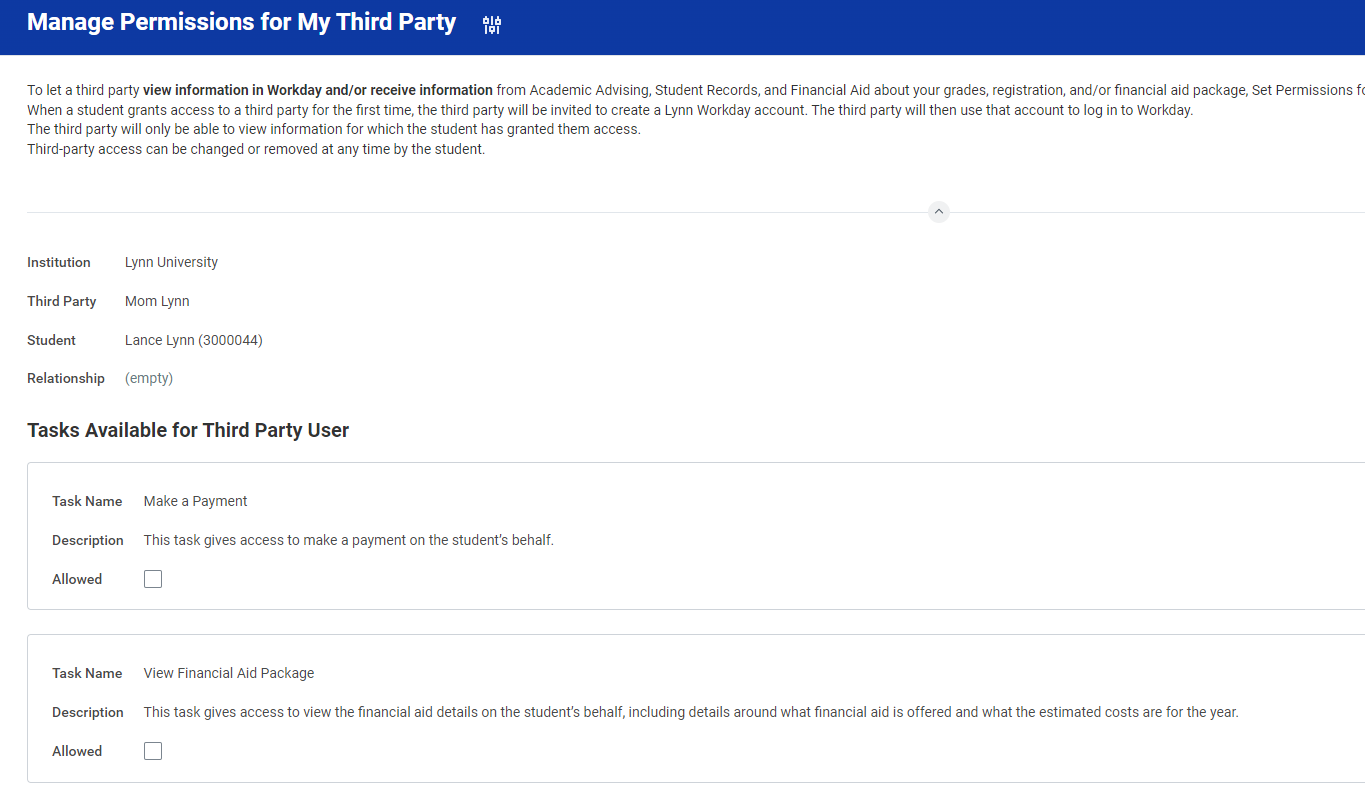
Make sure to check mark the permissions boxes

Click Submit.
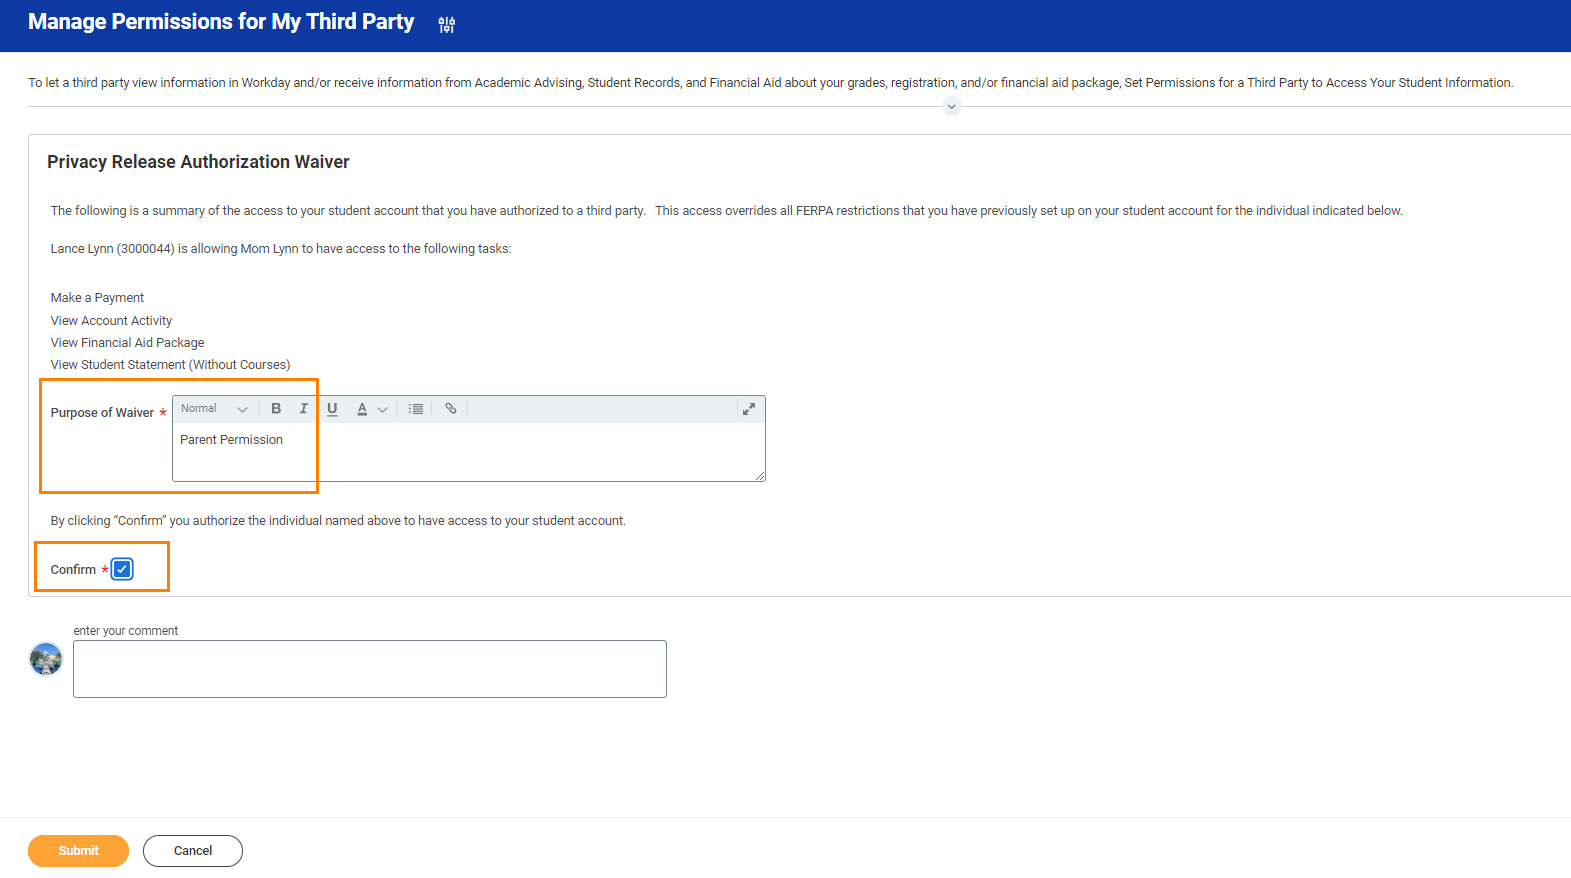
FERPA Release Authorization Waiver
Review the FERPA Release Authorization Waiver. In the Purpose of Waiver field, type in "Parent Permission." Then check the Confirm box, click Submit, and then click Done.
Please notify your parent or guardian that two emails will be sent to the email address you provided. The first email contains their username; the second email includes their temporary password, along with a link to the parent portal.
Click the job aid Workday Third Party Proxy: Parents And Friends for detailed instructions.
For Parent/Proxy with multiple students at Lynn
If another Lynn student, such as your sibling, already added a third-party proxy user with the same name and email address, after you manage permissions for that third party, you
will receive an additional task in Workday to link the proxy accounts together.
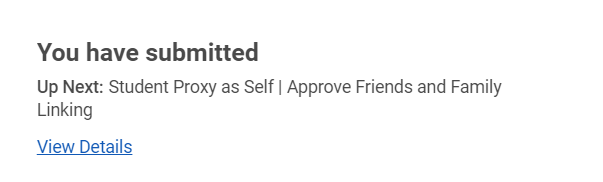
Click Review to review the access you granted this person to your information.
Click Approve to complete the account linking.
This third-party user can now use the same Workday username and password to access information for both students; the access available is set by each student for their own.
Edit or Delete Emergency/Third Party Contact, change email address
What if your friends and family have a new email address?
Students must uncheck "Is Third-Party" in the current contact, then ADD A NEW CONTACT USING THE NEW EMAIL.
Do not Delete Email address. Once email address is deleted it cannot be reused.
On the profile menu, select Contact, and then click the Friends and Family tab
Select Contact from the left navigation, and then click the Friends and Family tab. Use the horizontal scrolling bar and move all the way to the right until you see the Actions button.
Click the Actions button and in the drop-down menu, select Edit Friends and Family or Remove Friends and Family.

Follow instructions.