This job aid is intended for staff with authority to create requisitions and procure goods and services for Lynn University. If you need to create requisitions for a new fiscal year that is not the current, please follow instructions in the following job aid.
Requisitions create a hold on budgets and will be shown as committed on the cost center variance report.
On this Job Aid:
Create Requisitions
To order job-related goods and services for Lynn University, you must create a requisition. You can create a brand new requisition from Request Non-Catalog Items or create a requisition from previous requisitions or a template.
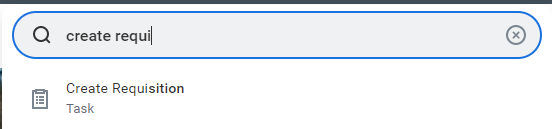
Search and select Request Create Requisitions task
Search and select Create Requisition
Note; If you search for requisitions, you may find tasks not related to procurement that refer to job requisitions.
or
- Click the Purchases app
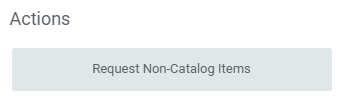
- For brand new requisitions, under Actions, select Request Non-Catalog Items.
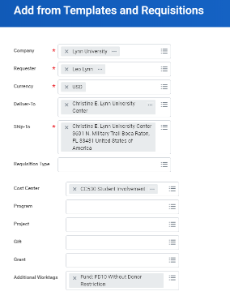
- The system will fill in default information for you. Confirm your Company, Requester, Currency, and optionally, Requisition Type. All items with a red asterisk are required.
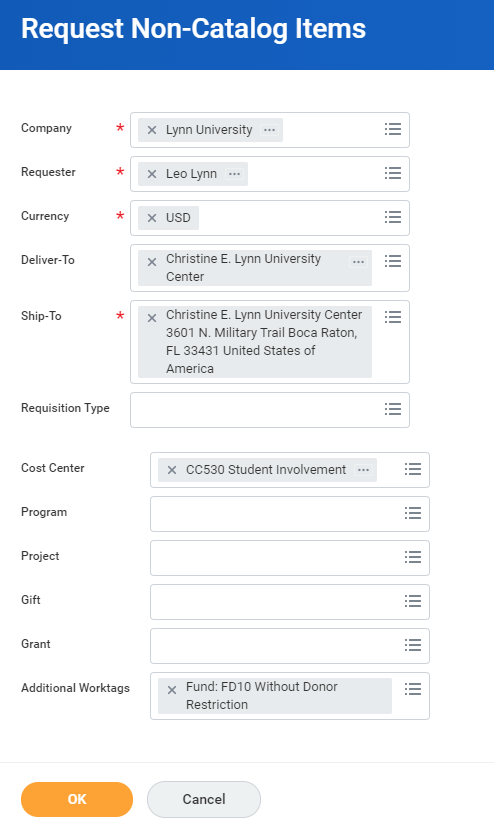
Under the Requisition type, select the appropriate requisition type.

A Blanket PO is an agreement arranged between an organization and a supplier to deliver goods or services at a predetermined price on a recurring basis for a specified time period (typically 1 year). This request assumes a series of recurrent invoices will be applied to the PO e.g. monthly or quarterly invoices).
- Click Ok
- Enter your requisition items, enter description, quantity, cost and unit of measurement. Please add any detail on the memo field.
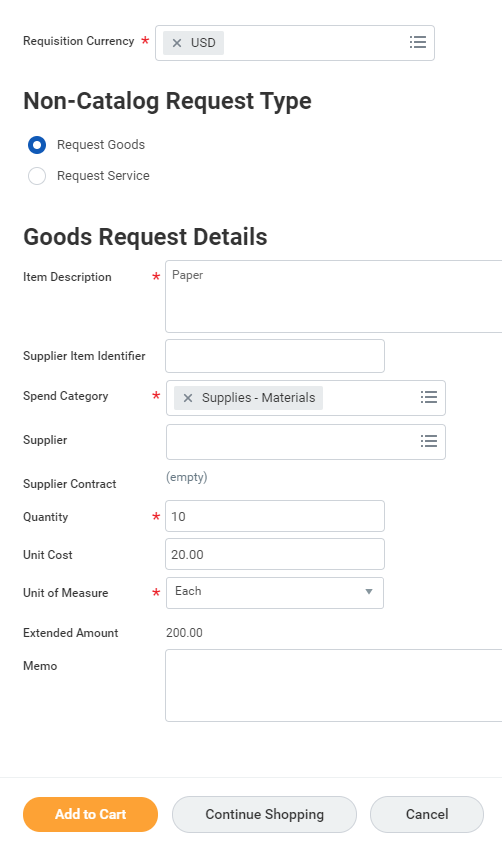
- Click Add to Cart to include the item in the requisition. The system will move automatically to the next item,.
- Keep adding items to your requisition if needed. Click the shopping cart item on the top right to checkout. In the orange circle, you will see the number of items in your requisition.
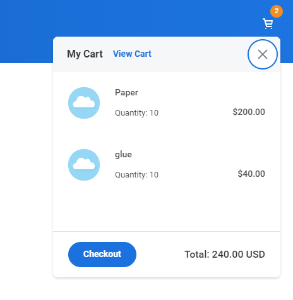
- Click Checkout
- Review and enter final information
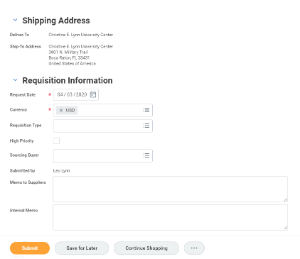
- Scroll down to review the cart items
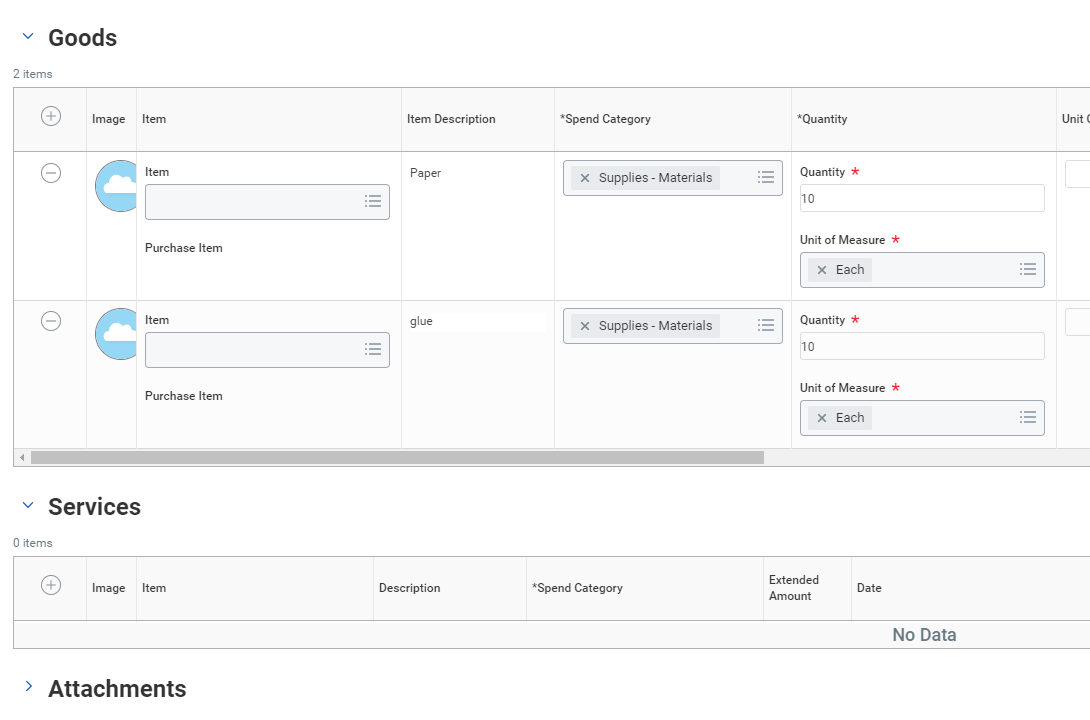
- To add other items to the requisition, click the + sign on the Goods or Services area
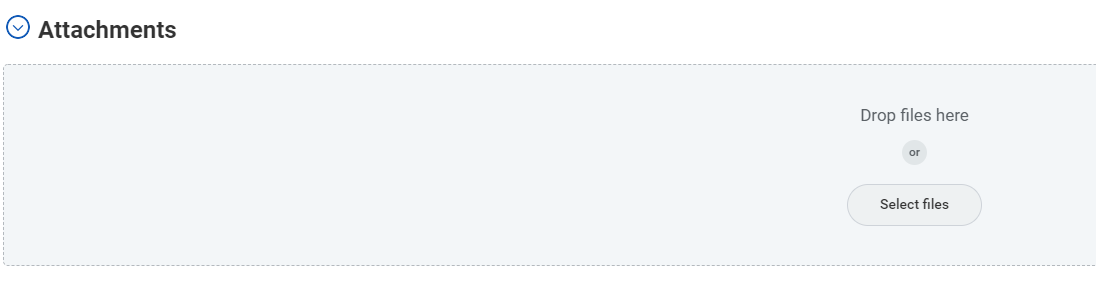
- Click the arrow next to Attachments and enter your quotes if available.
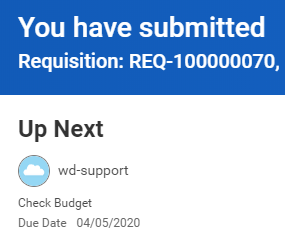
- Click Submit
- Your request is completed and will be forwarded for budget check, approvals and procurement processing
- Click Done
Add from Templates and Requisitions
For items you constantly order, you can use a template or past requisition to create a new purchase request. Instructions to create requisition templates are detailed at the end of this job aid.
- Click the Purchases app
- Under Actions, select Add from Templates and Requisitions

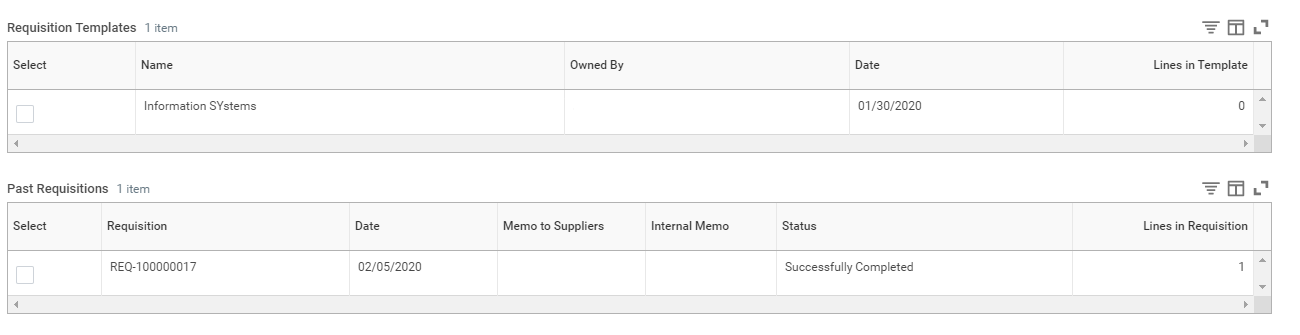
- Select your template or a past requisition to copy
- Complete your requisition following the previous steps.
View Requisitions
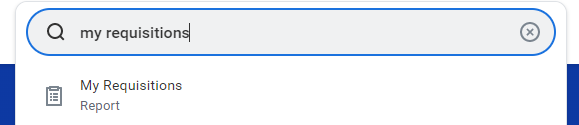
- Search and Select My Requisitions
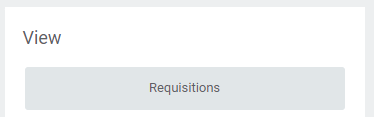
OR - Click the Purchases app
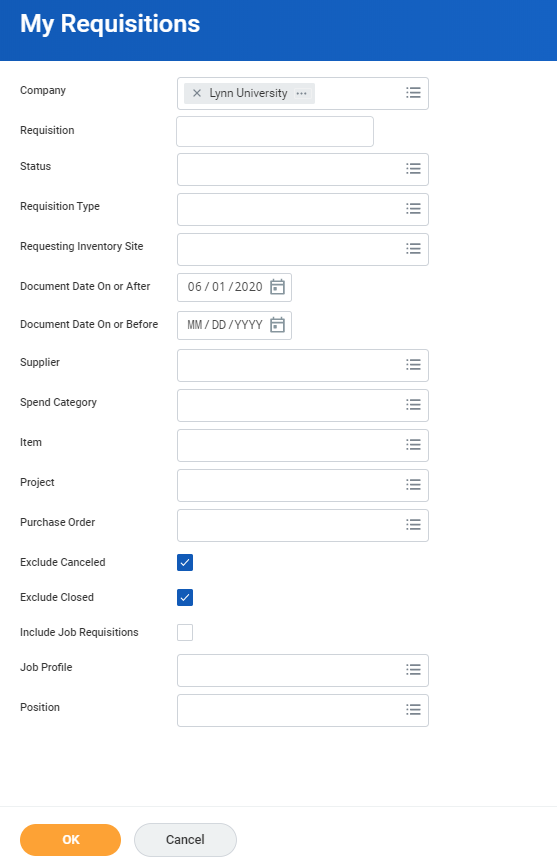
- Under View, select Requisitions, enter parameters to display requisitions. Click OK
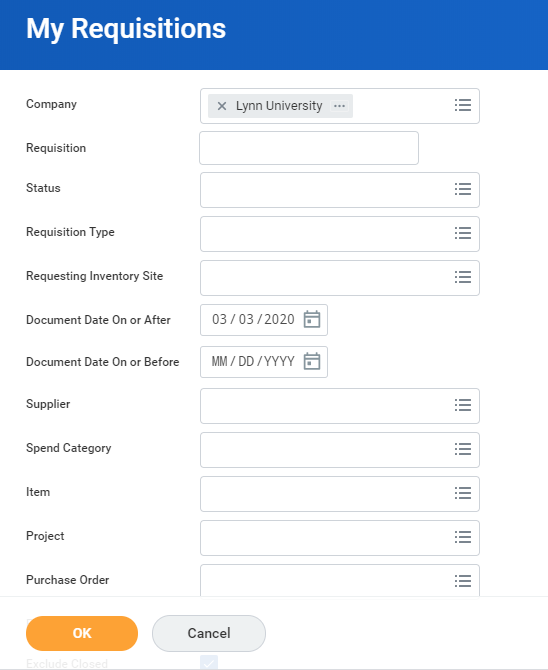
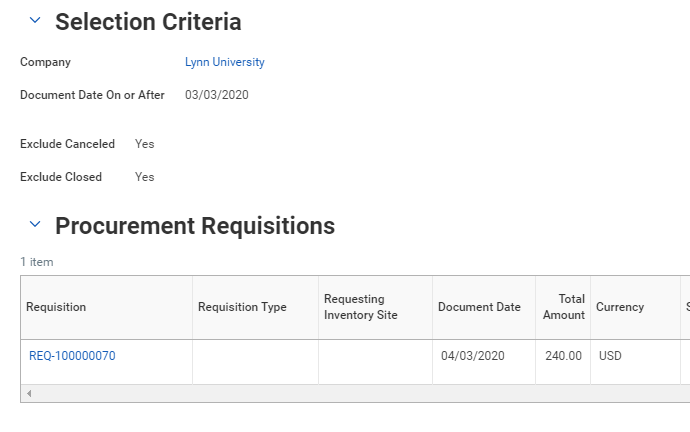
- Your requisitions will be displayed in the matrix.
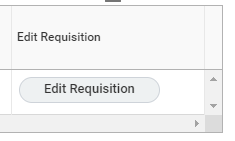
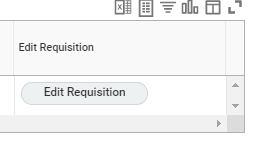
While your requisition is still in process (not yet converted into a PO), you can edit and make changes by scrolling to the right and click Edit Requisition.
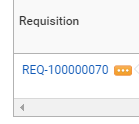
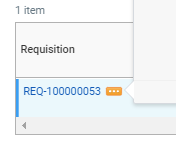
- You can click on the requisition name or the related items icon next to the requisition number for more information.
- After cost center manager approval, your requisition will move to the purchasing agent for PO creation.
- On your requisition list, you will see the PO number and Request Status Successfully Completed.

Create Requisition Template
Requisition templates will help you expedite the procurement request for frequently requested goods and services.
- Click the Purchases app
- Under Action, select Create Template.

- Enter your template details. Give your template a meaningful name, so it is easy to find later.
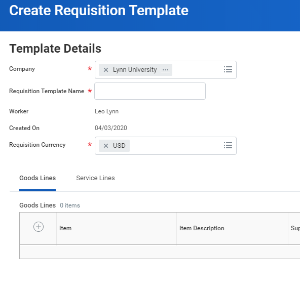
- Click + icon. Add items. Remember, every field with an asterisk is required.

- Click OK. Your requisition template is ready.
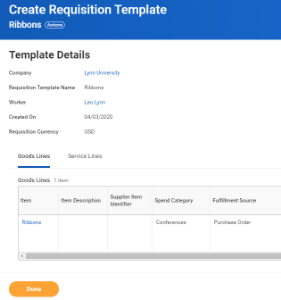
- Click Done
Edit Requisitions
Requisitions that had not been converted into PO's can be edited to make corrections or add more items.
- Click the Purchases app
- Under View, Select Requisitions

- Enter any parameters to narrow down your selection or just click OK for all requisitions
- Click the Edit requisitions button
- The requisition will open and you can make any corrections.
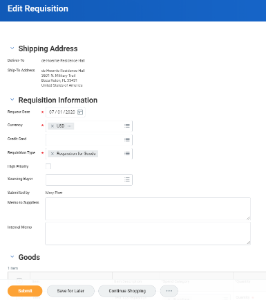
- Click Submit.
Cancel Requisition
You can cancel any requisition that has not been turned into a Purchase Order.
- Click the Purchases app
- Under View, Select Requisitions
- Enter any parameters to narrow down your selection or just click OK for all requisitions
- Click on the elipsis (related actions) next to the requisition number
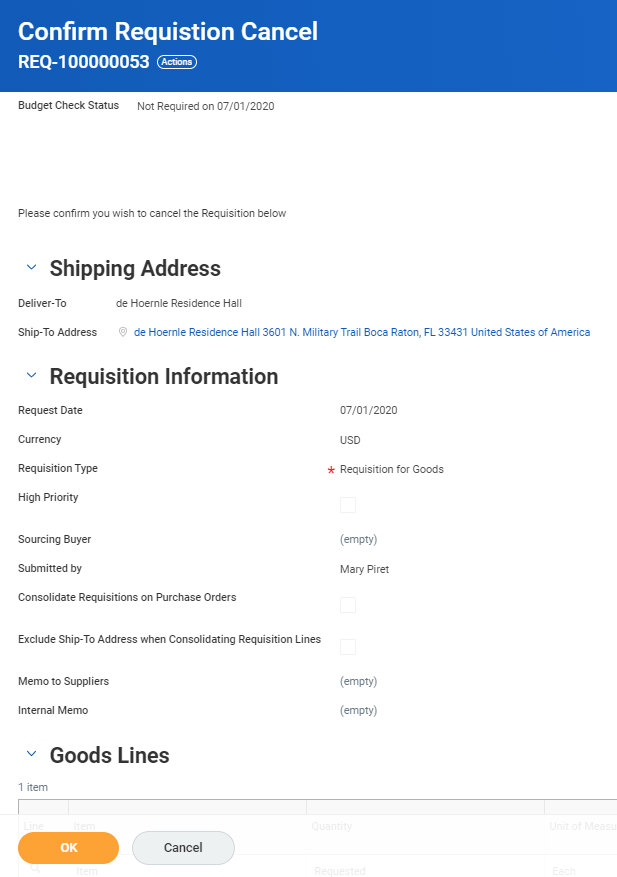
- Under actions, select Requisition, then Cancel
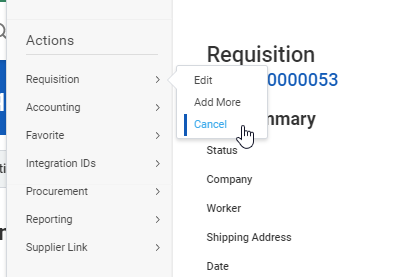
- Click Ok to confirm cancellation
.