...
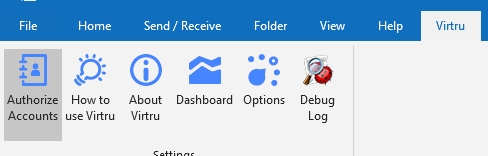
- Click on "Authorize Accounts" in the Virtru tab to manually follow the authorization steps again (see Activation above)
Installing and activating virtru for Office 365(OWA)
Widget Connector url http://youtube.com/watch?v=YOexjhFCyn0
Install and activate the Virtru for Outlook 365 Add-in (for Web, Desktop, Mobile)
Before you can send and receive secure emails with Virtru, you will need to install and activate the Virtru Outlook 365 Add-in (for Web, Desktop, Mobile). In this article, we'll show you how to install and activate the Virtru add-in. Step by step instructions can be found below.
Please Note:
In addition to the Virtru Outlook 365 Add-in, Virtru also offers a separate Outlook Desktop Extension (Desktop Only). If you are not sure which Virtru product is best for you, we recommend reviewing this article.
Installation
Important Note about Virtru for Outlook Desktop and Virtru for Outlook 365
The Virtru for Outlook Desktop Extension and the Virtru for Outlook 365 Add-in will conflict if both are installed in your Outlook desktop application. Please be sure only one is installed. Uninstall instructions can be found here.
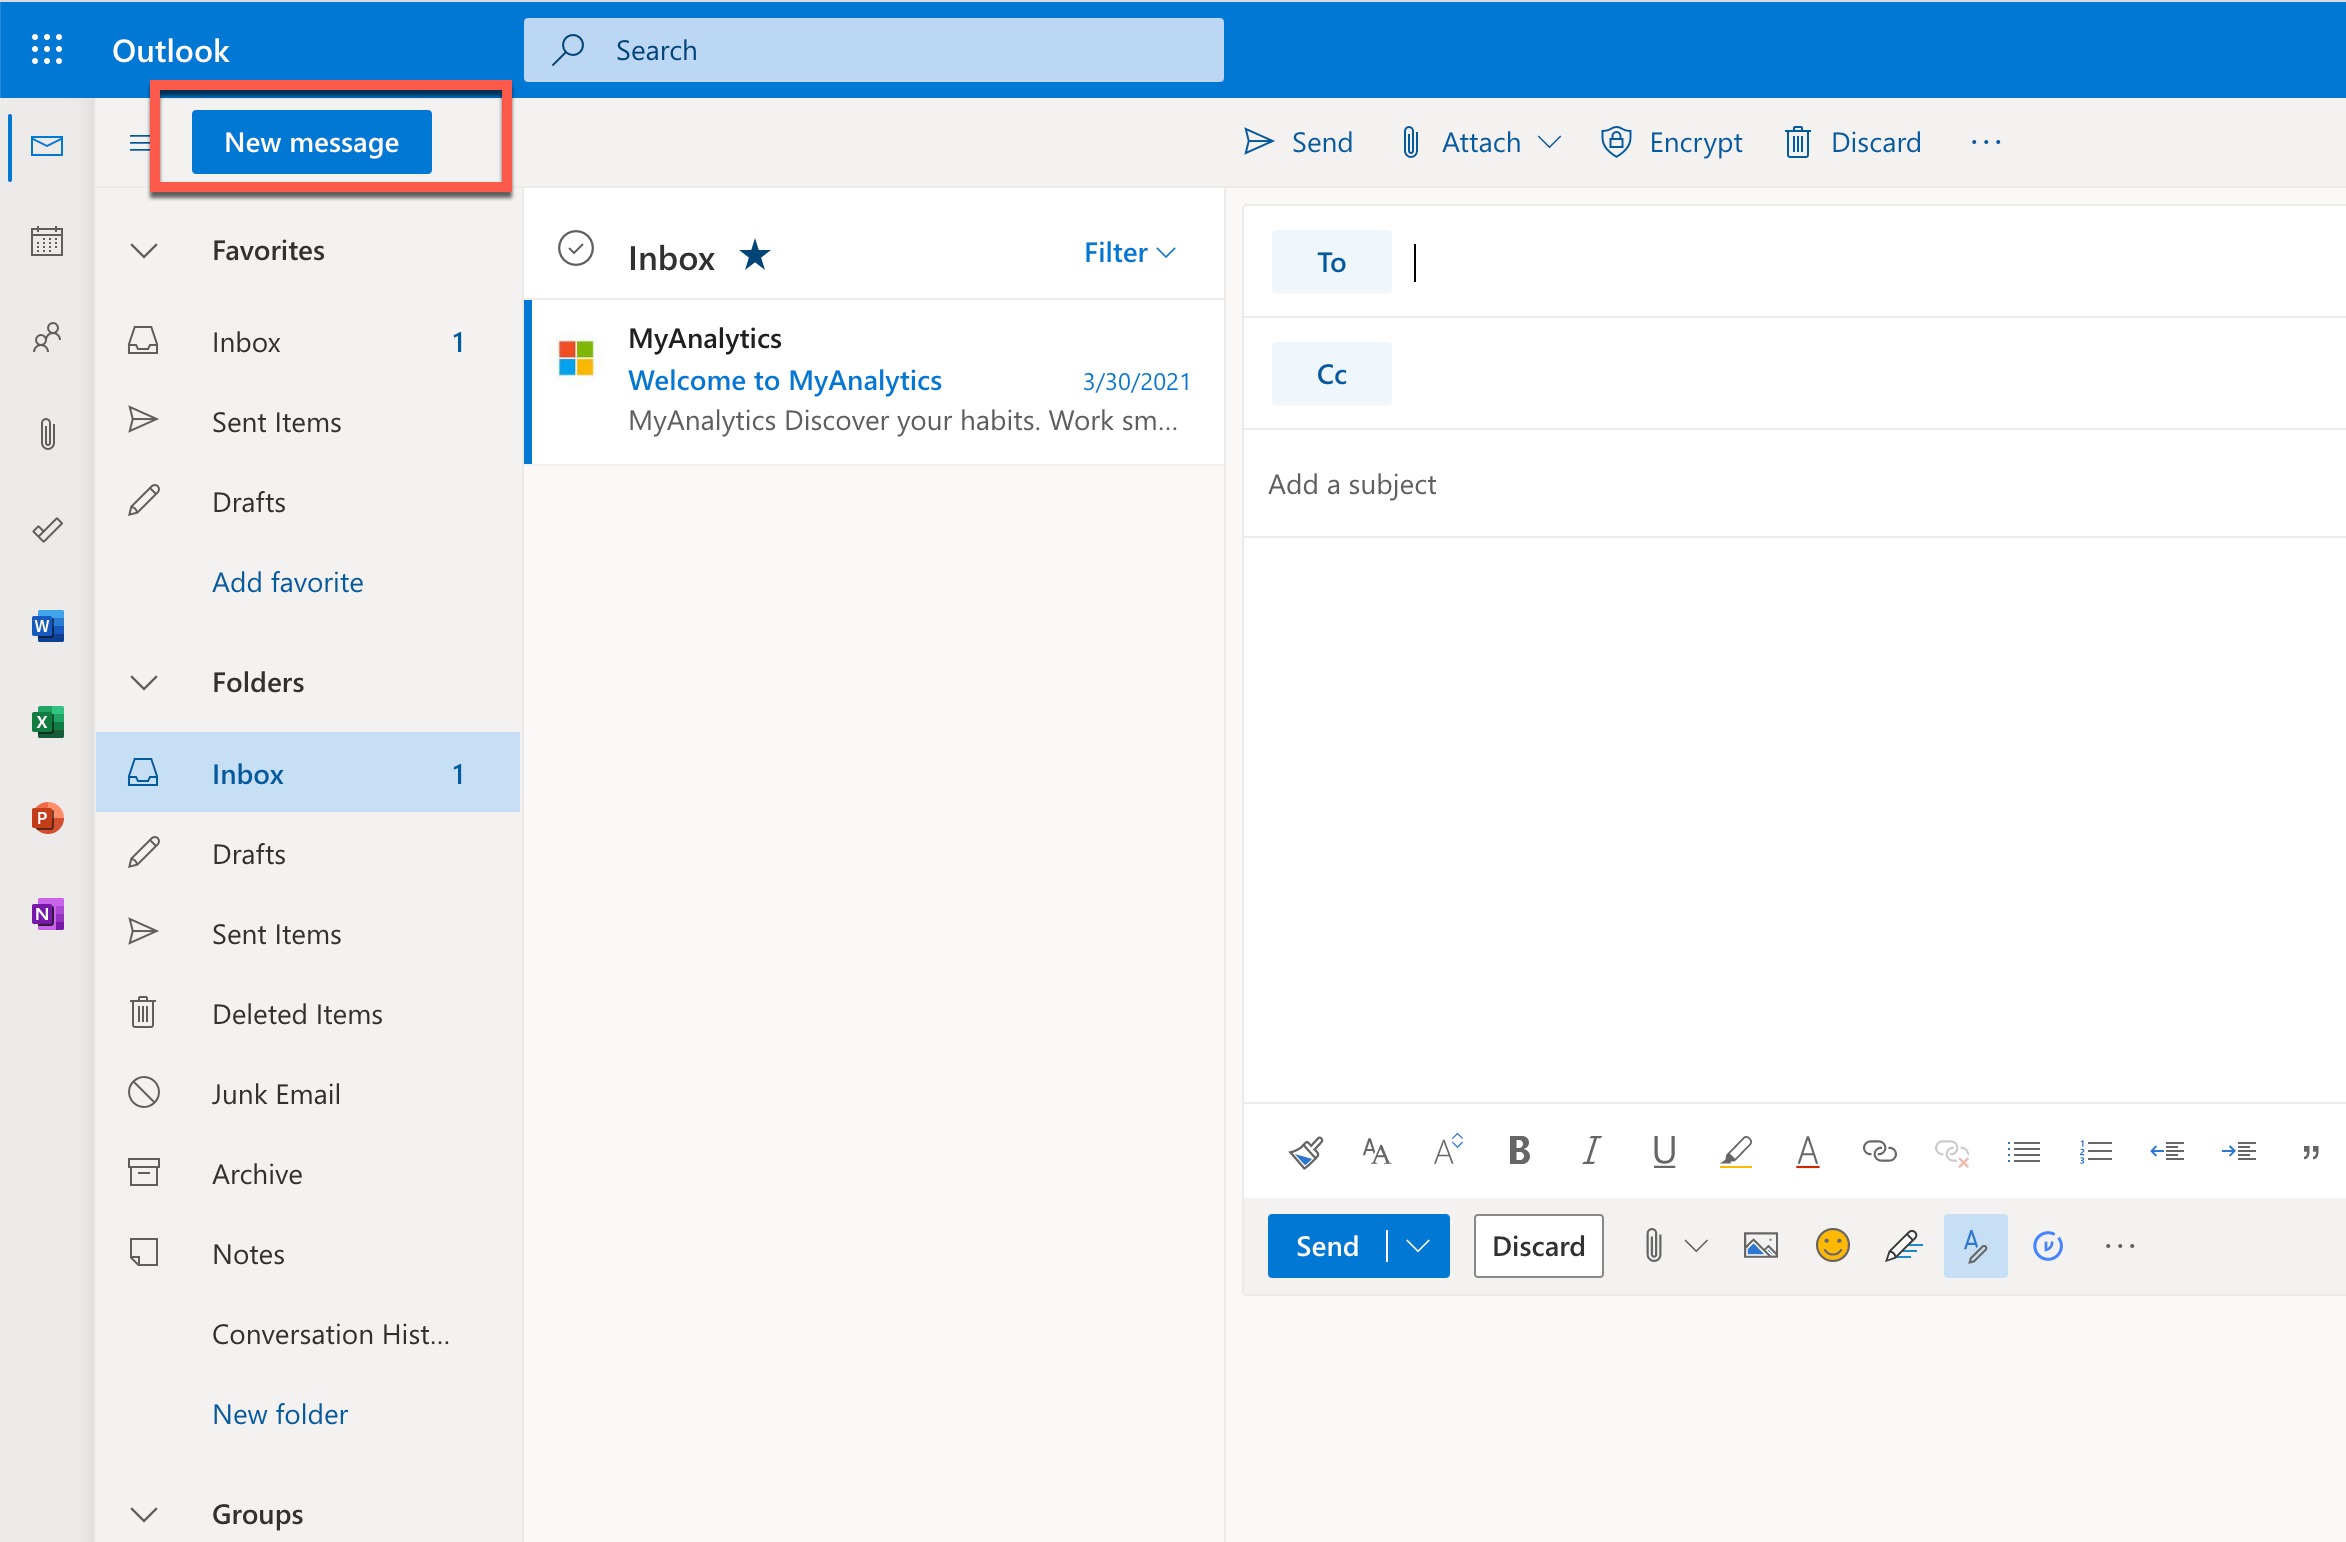
1) Sign into your Microsoft Outlook account by going to https://outlook.office365.com/mail OR open Outlook on your Desktop.
2) Click the New Message button to compose an email
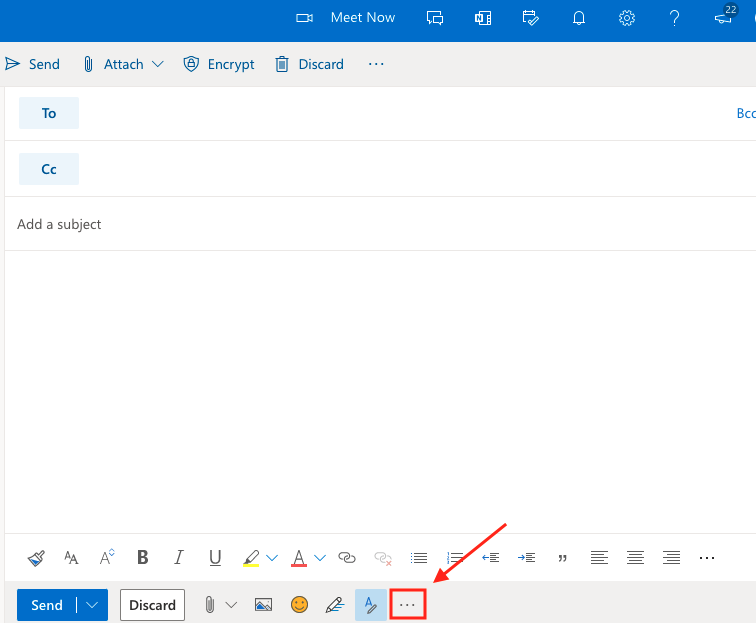
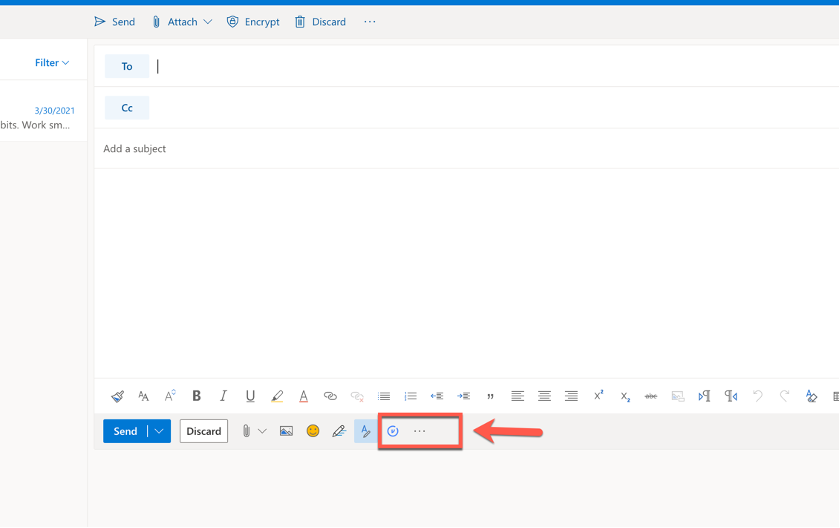
3) Click the more options button […] at the bottom of the compose email window.
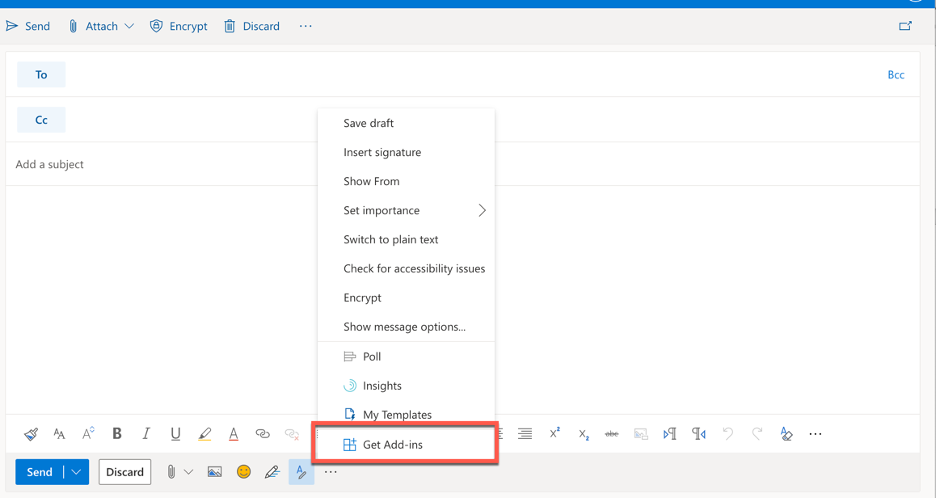
4) Click the Get Add Ins option
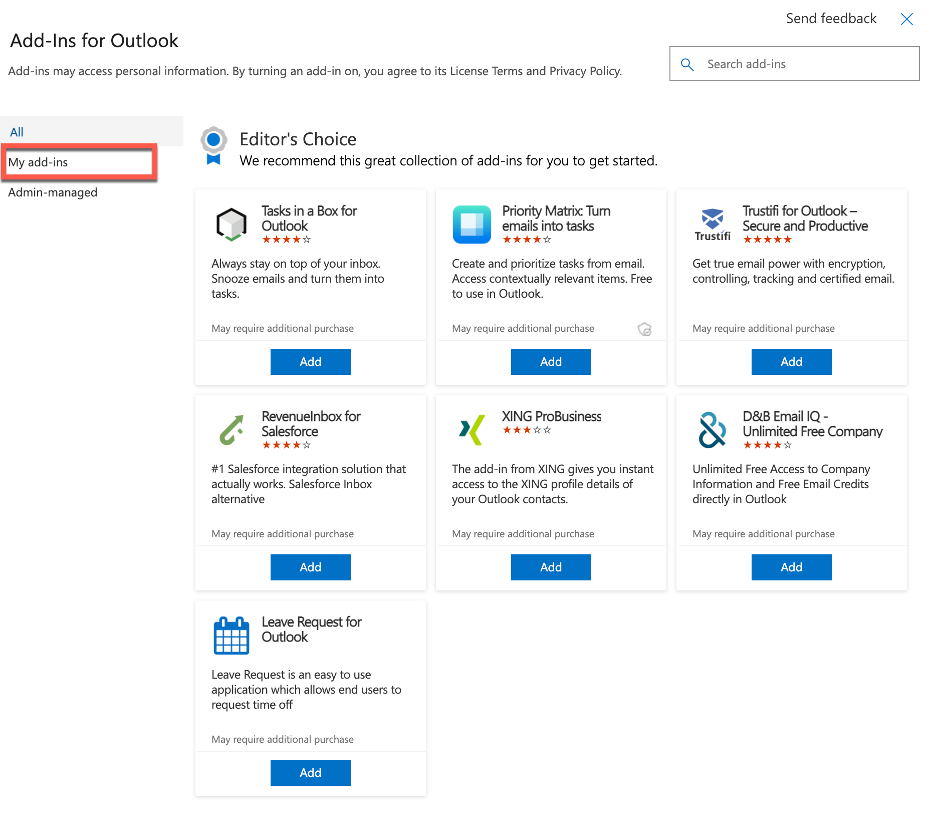
5) Click the My Add-Ins option
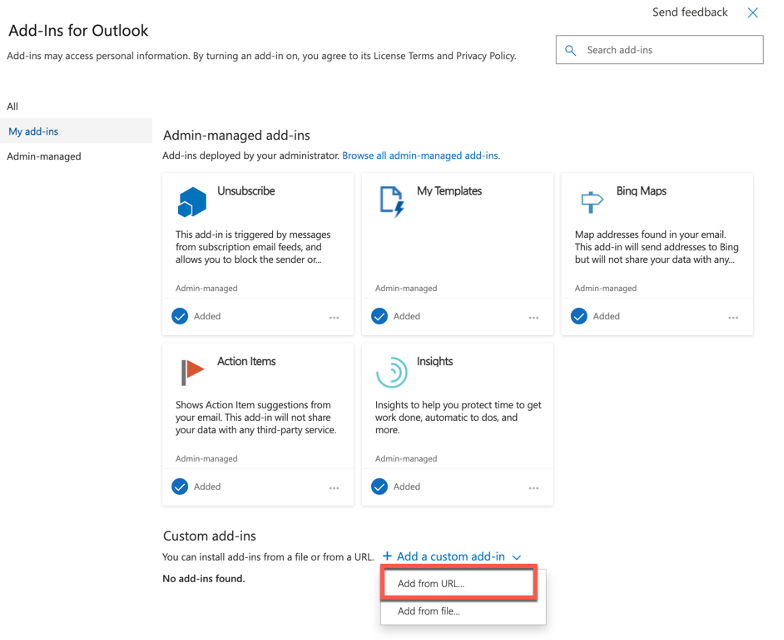
6) Scroll down on the My Add-Ins page and click on Add a custom add-in, then click Add from URL
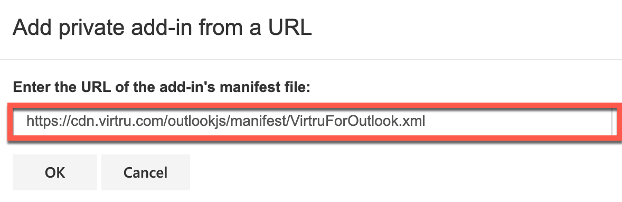
7) Paste the following URL link: https://cdn.virtru.com/outlookjs/manifest/VirtruForOutlook.xml
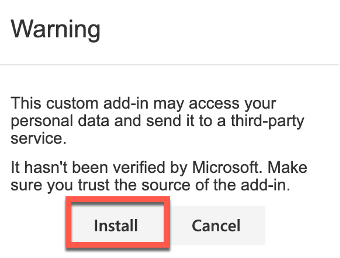
8) Click Install
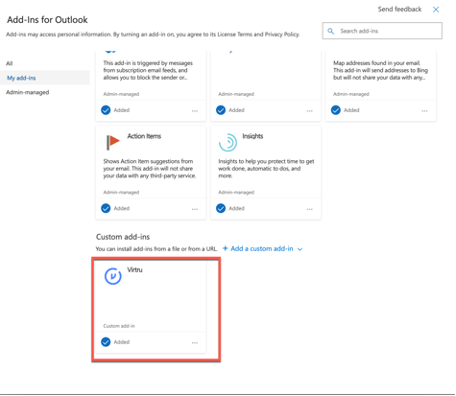
Your Add-Ins for Outlook section should look like this.
Activation
1) Create a New message by clicking the New Message button

2) Click the Virtru logo. If you do not see the Virtru logo, then click the three dots and click Virtru.
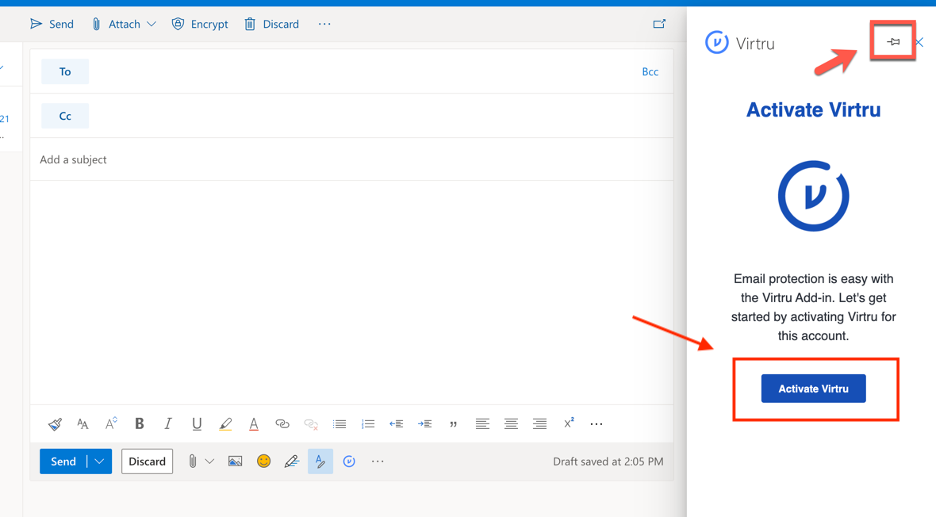
3) Pin Virtru to your side panel and click Activate Virtru
Recommended Configuration:
We recommend editing your Outlook settings so Virtru is visible in the toolbar. This will make it easier for you to quickly create new encrypted emails as well as decrypt secure emails you recieve.
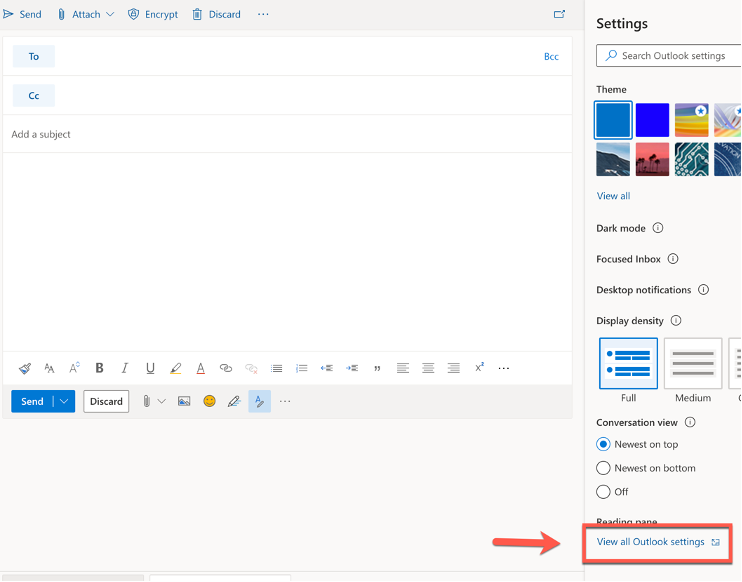
1) Go to Settings
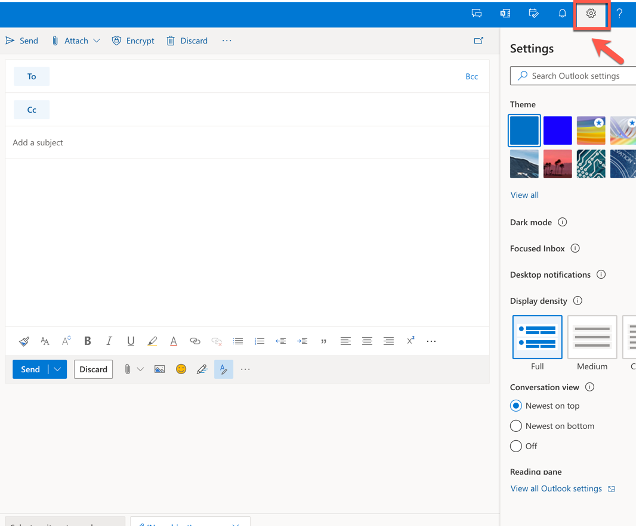
2) Click on View All Outlook Settings
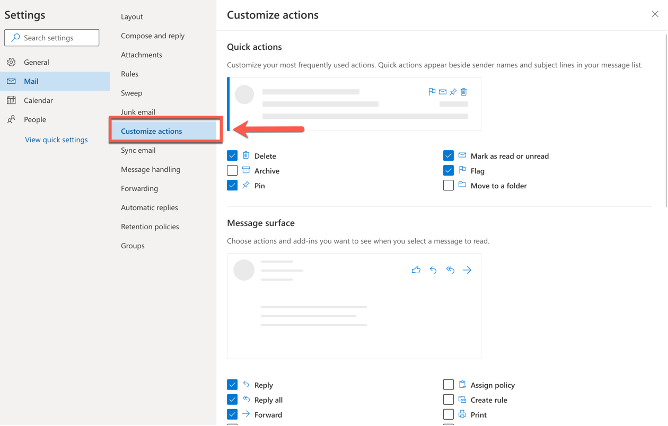
3) Choose Customize Actions
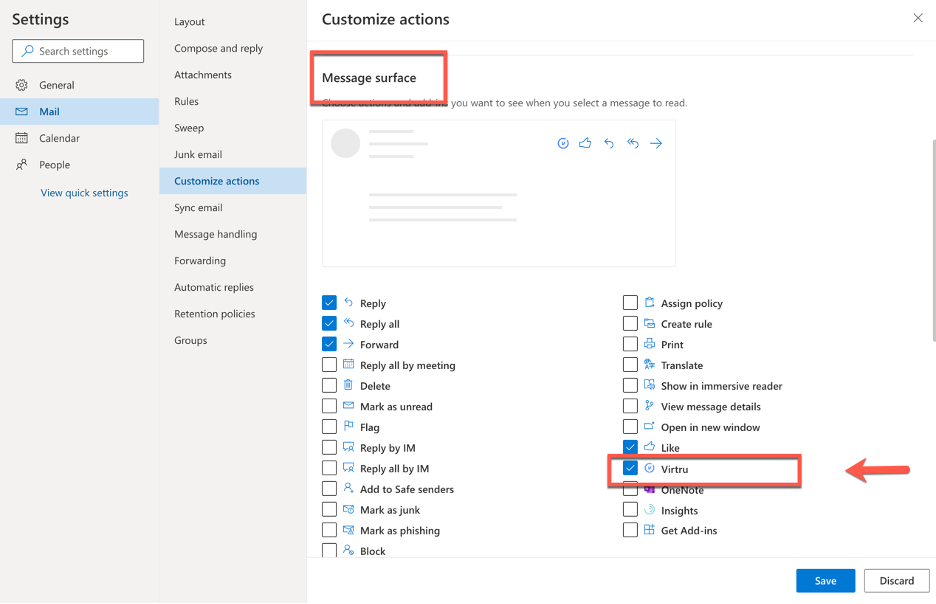
4) Enable Virtru in the Message surface (located in the Customize actions section) by clicking the check mark next to it.
5) Scroll down and enable Virtru in the Toolbar section (also located in the Customize actions section) by checking it there as well
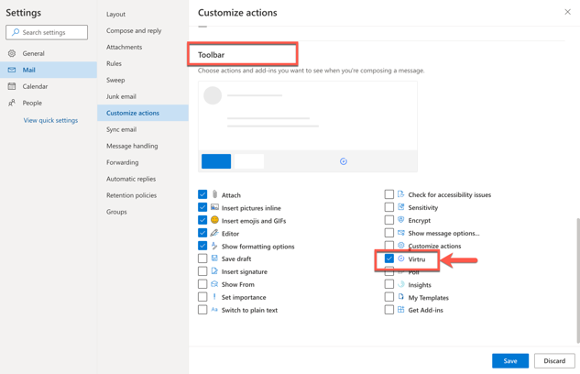
6) Click Save
Installing and Activating Virtru for Apple iOS(iPad/iPhone) through Office 365
...