...
Please note that this this guide specifically shows how to install and activate Virtru for Outlook on Windows (For Versions 2010, 2013, 2016, 2019). The installer is not compatible with Outlook for Mac or other Windows Mail applications.
Activation
Virtru plugin and app activations expire every 120 days. After any expiration, Virtru will prompt a user to re-activate.
Activations are much like application sessions - signing-out of a session and then coming back to the application later will prompt you to login again. Therefore, whenever you encounter an activation prompt in Virtru, simply reactivate in order to continue sending secure emails.
Expiring a session or app activation after a certain period of time or inactivity is a common software best practice. There are a number of reasons behind this, but security is one of the main factors. We chose to expire the activation every 120 days in order to comply with FedRAMP.
There are also a few cases where users might be prompted to activate sooner than 120 days:
- If the user clears their browser cache
- If Virtru is uninstalled
- If an already activated user attempts to use Virtru on a new device
Furthermore, if a user receives delegated access to another user's mailbox, the delegatee will be prompted to reactivate every 10 days.
- Launch Outlook on your desktop.
- Once Outlook opens, you will be prompted to activate your Virtru add-in. Click Activate to begin. You may choose "Later" if you do not wish to activate at this time. Check "Don't show me again" before you click Activate or Later to prevent the modal from re-appearing to prompt activation of un-activated account(s) whenever you start Outlook.
...
You may wish to activate only certain ones or activate some accounts later on after initially activating one account with Virtru, and this is possible with the steps provided below.
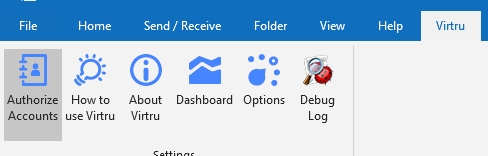
1. Select the Virtru tab the Virtru tab from the top bar bar of the main Outlook window.
...
3. Go to the Account Activation tab and select the specific email accounts you would like to activate, then click on "Activate Selected".
Reactivation
You will occasionally be required to reactivate your Virtru extension due to the following:
...
Virtru plugin and app activations expire every 120 days. After any expiration, Virtru will prompt a user to re-activate.
Activations are much like application sessions - signing-out of a session and then coming back to the application later will prompt you to login again. Therefore, whenever you encounter an activation prompt in Virtru, simply reactivate in order to continue sending secure emails.
Expiring a session or app activation after a certain period of time or inactivity is a common software best practice. There are a number of reasons behind this, but security is one of the main factors. We chose to expire the activation every 120 days in order to comply with FedRAMP.
There are also a few cases where users might be prompted to activate sooner than 120 days:
- If the user clears their browser cache
- If Virtru is uninstalled
- If an already activated user attempts to use Virtru on a new device
Furthermore, if a user receives delegated access to another user's mailbox, the delegatee will be prompted to reactivate every 10 days
...
.
If you do need to reactivate, you can do so following the steps outlined in the Activation section above, or the reactivation steps below.
...
- Click on "Authorize Accounts" in the Virtru tab to manually follow the authorization steps again (see Activation above)
Installing and activating virtru for Office 365(OWA)
Widget Connector url http://youtube.com/watch?v=YOexjhFCyn0
Install and activate the Virtru for Outlook 365 Add-in (for Web, Desktop, Mobile)
Before you can send and receive secure emails with Virtru, you will need to install and activate the Virtru Outlook 365 Add-in (for Web, Desktop, Mobile). In this article, we'll show you how to install and activate the Virtru add-in. Step by step instructions can be found below.
Please Note:
In addition to the Virtru Outlook 365 Add-in, Virtru also offers a separate Outlook Desktop Extension (Desktop Only). If you are not sure which Virtru product is best for you, we recommend reviewing this article.
Installation
Install and activate the Virtru for Outlook 365 Add-in (for Web, Desktop, Mobile) – Virtru
Important Note about Virtru for Outlook Desktop and Virtru for Outlook 365
The Virtru for Outlook Desktop Extension and the Virtru for Outlook 365 Add-in will conflict if both are installed in your Outlook desktop application. Please be sure only one is installed. Uninstall instructions can be found here.
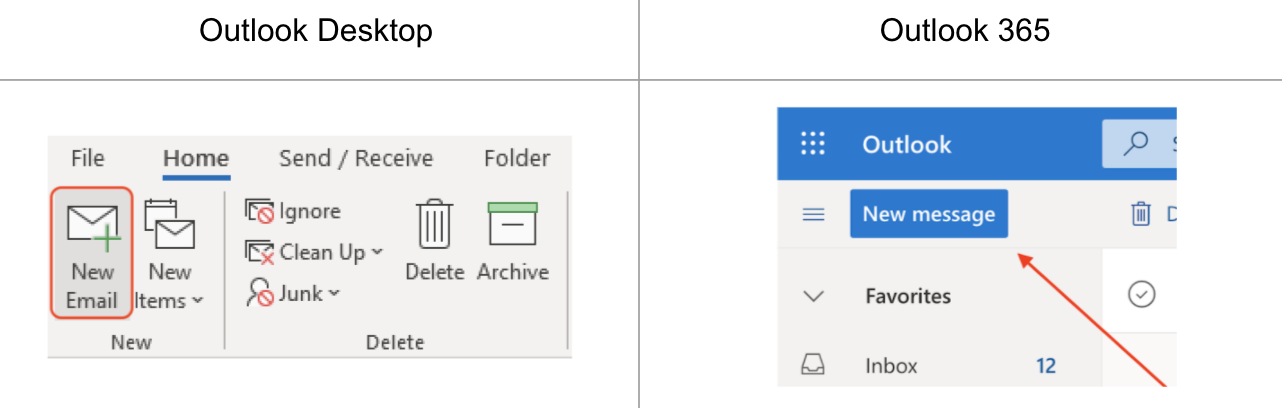
1) Sign into your Microsoft Outlook account by going to https://outlook.office365.com/mail OR open Outlook on your Desktop.
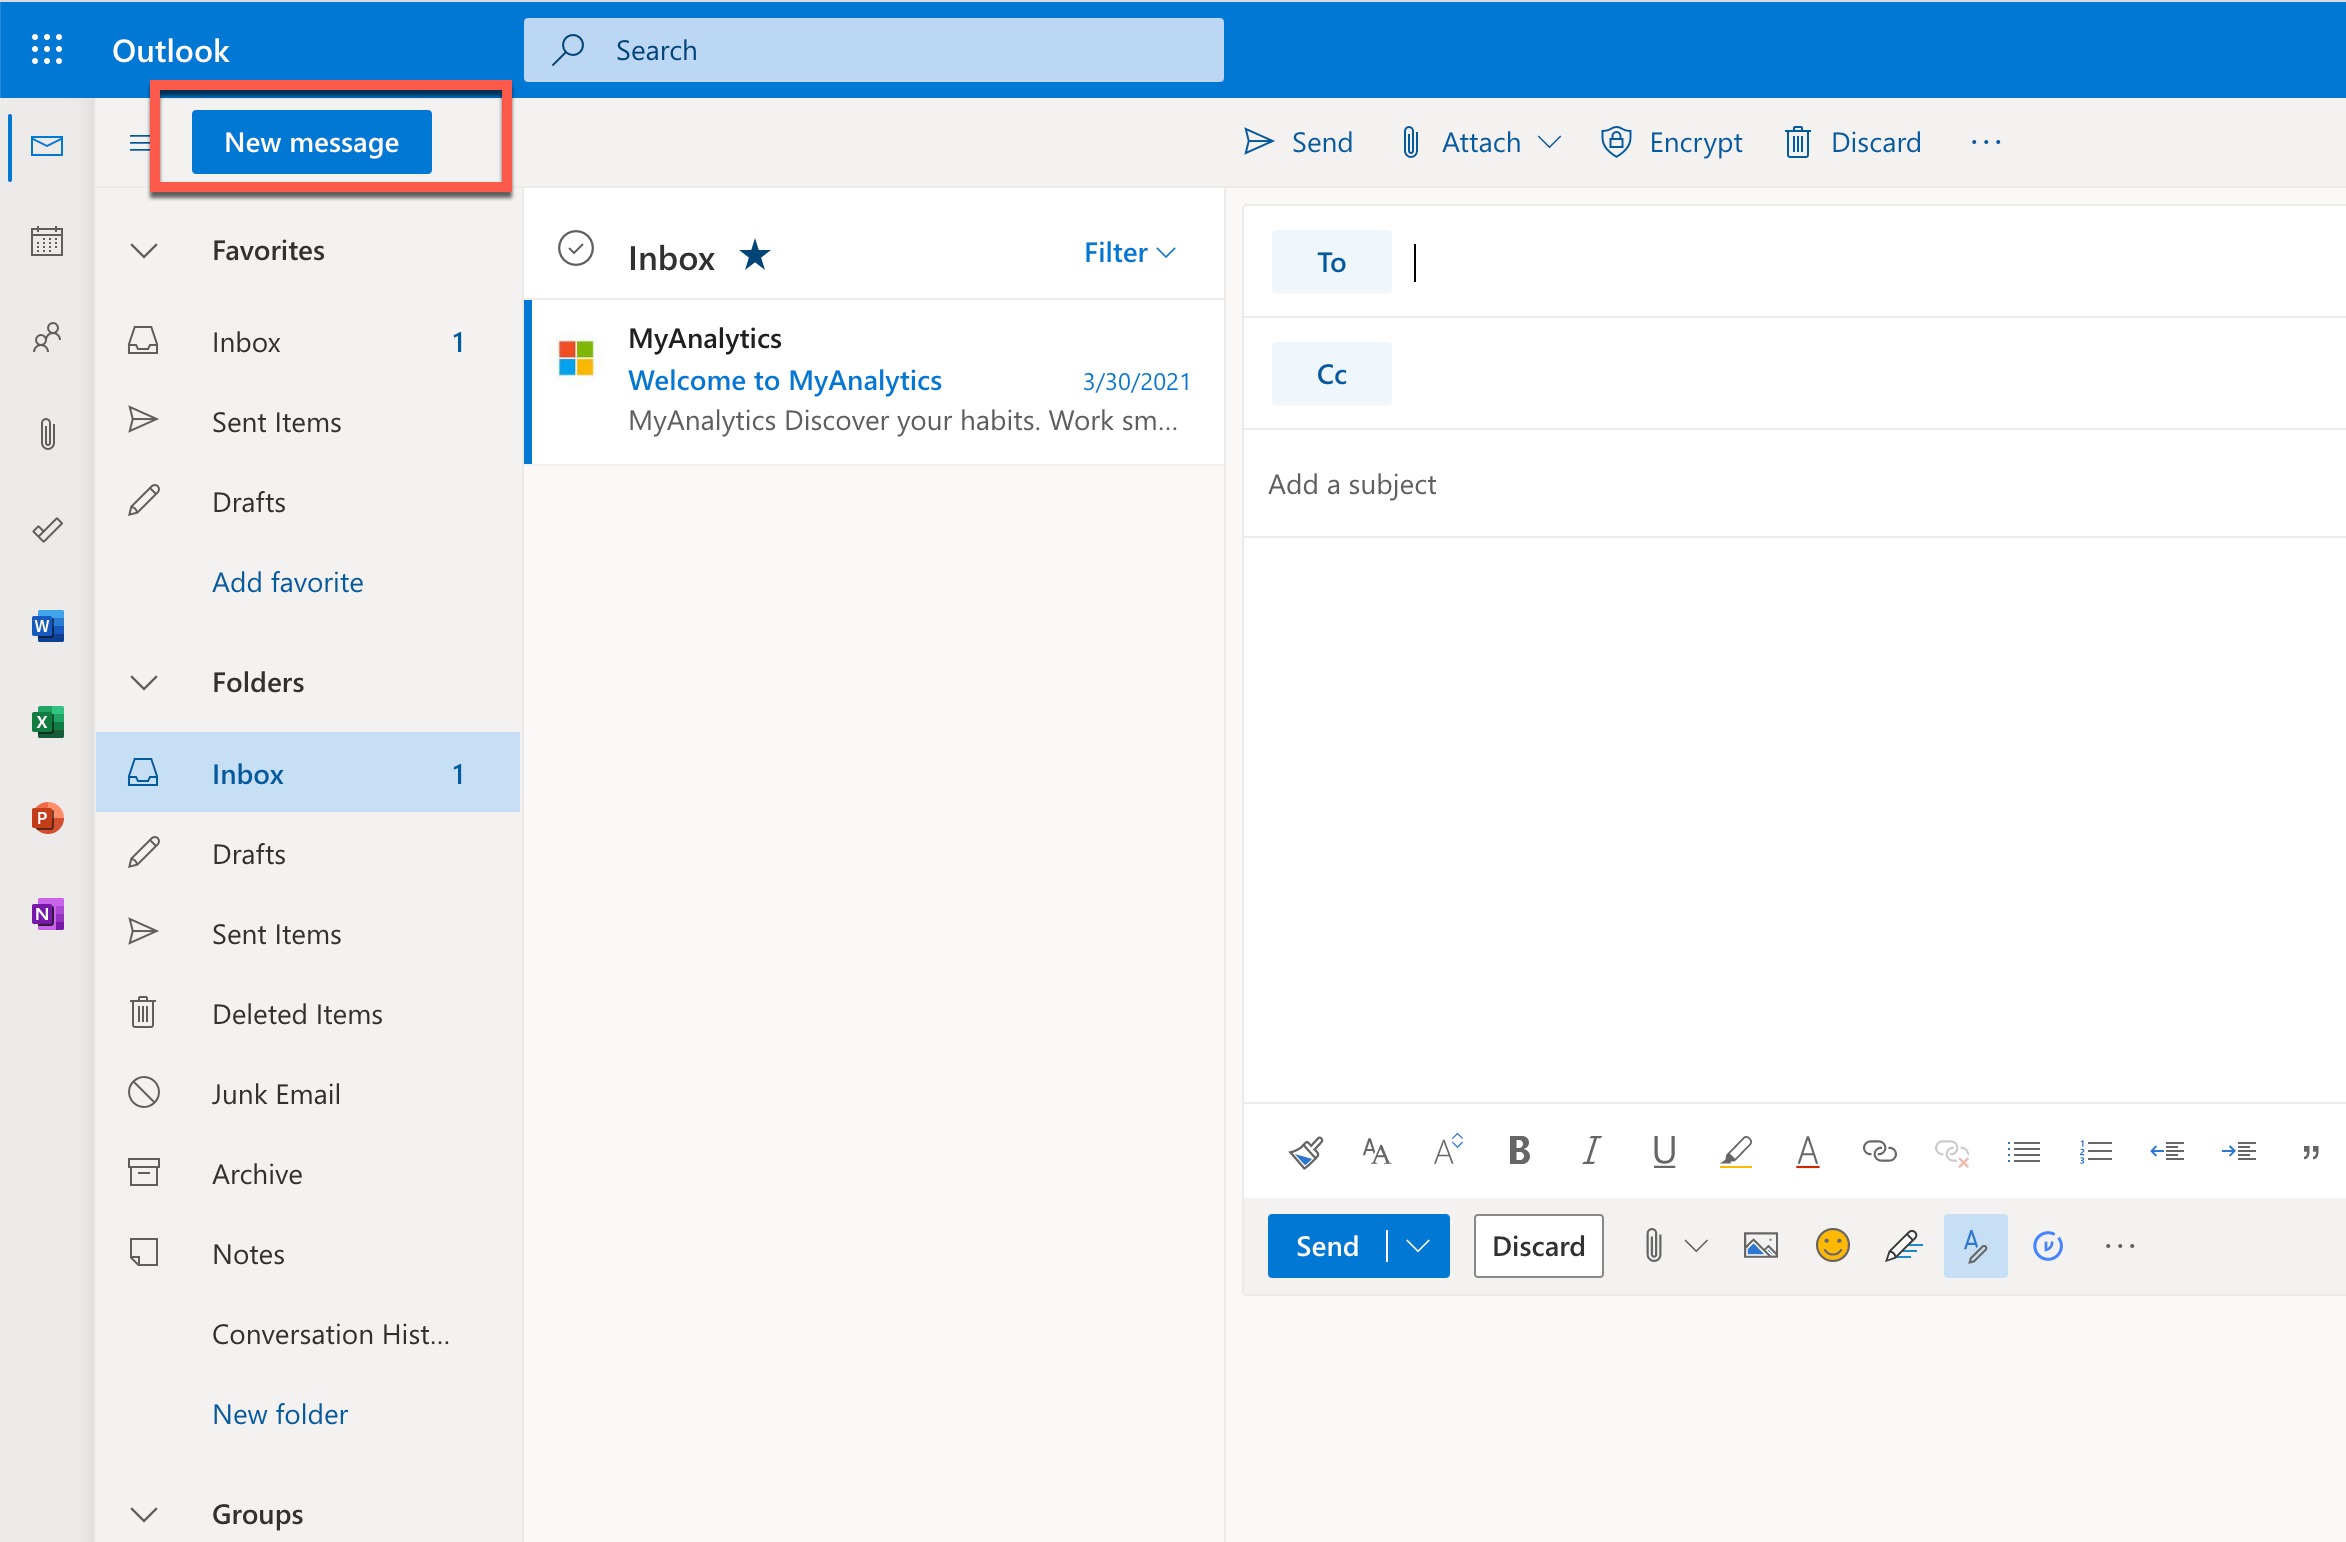
2) Click the New Message button to compose an email
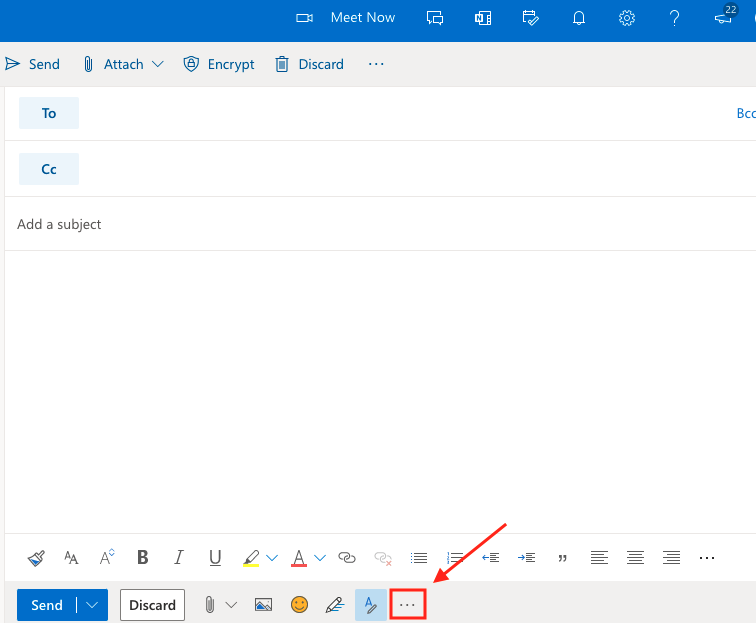
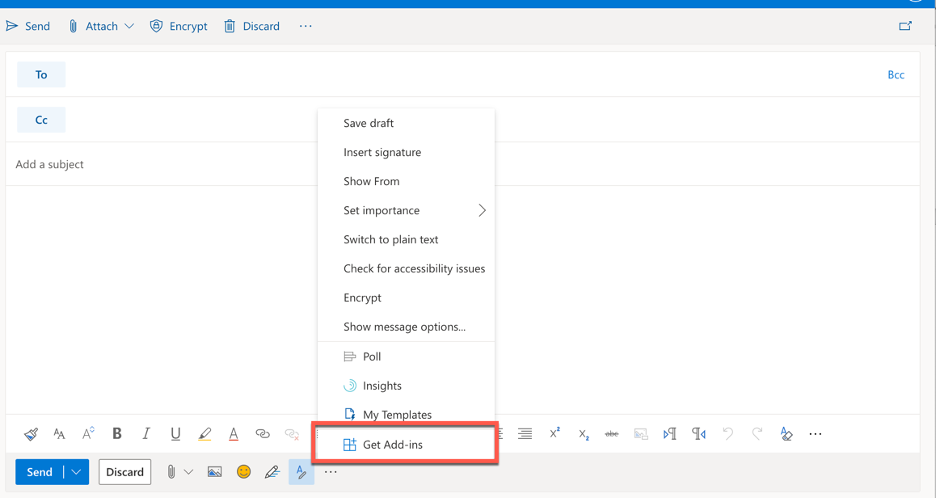
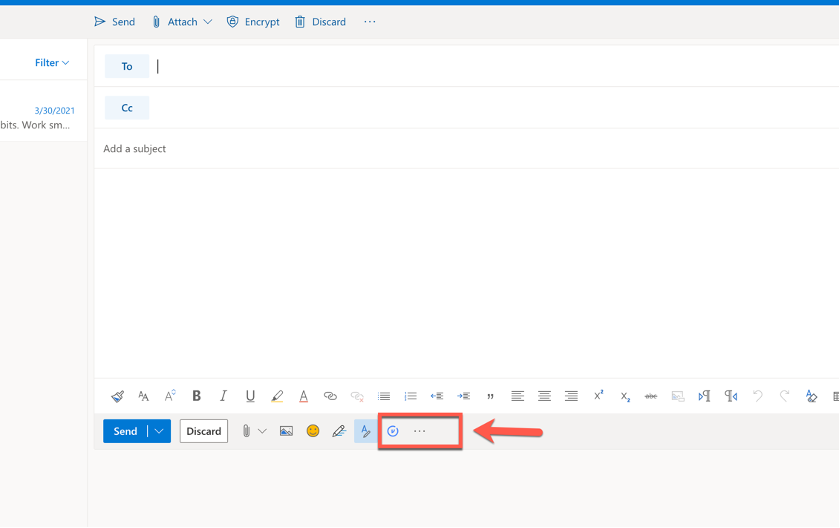
3) Click the more options button […] at the bottom of the compose email window.
4) Click the Get Add Ins option
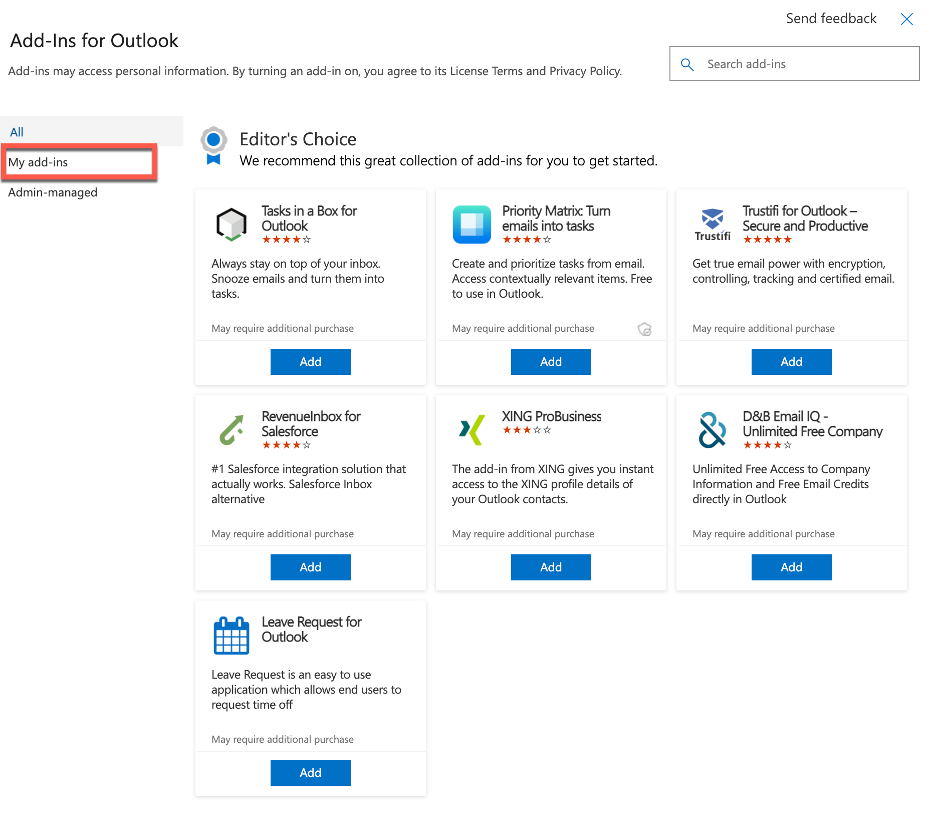
5) Click the My Add-Ins option
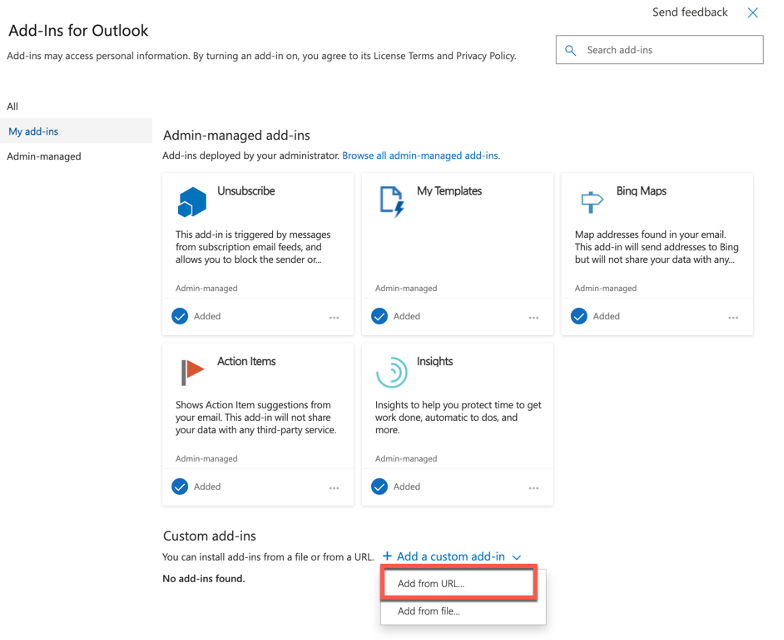
6) Scroll down on the My Add-Ins page and click on Add a custom add-in, then click Add from URL
7) Paste the following URL link: https://cdn.virtru.com/outlookjs/manifest/VirtruForOutlook.xml
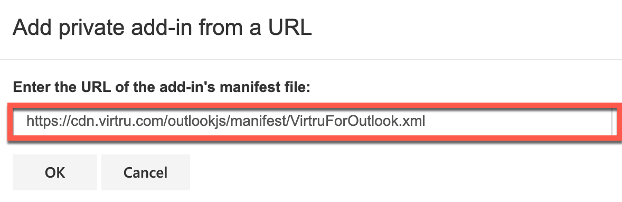
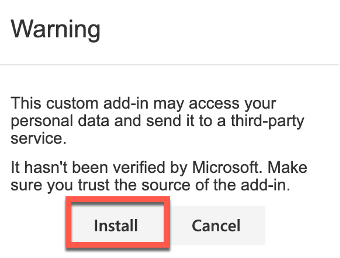
8) Click Install
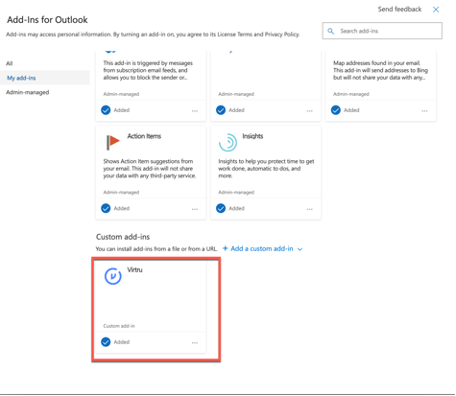
Your Add-Ins for Outlook section should look like this.
Activation
1) Create a New message by clicking the New Message button

2) Click the Virtru logo. If you do not see the Virtru logo, then click the three dots and click Virtru.
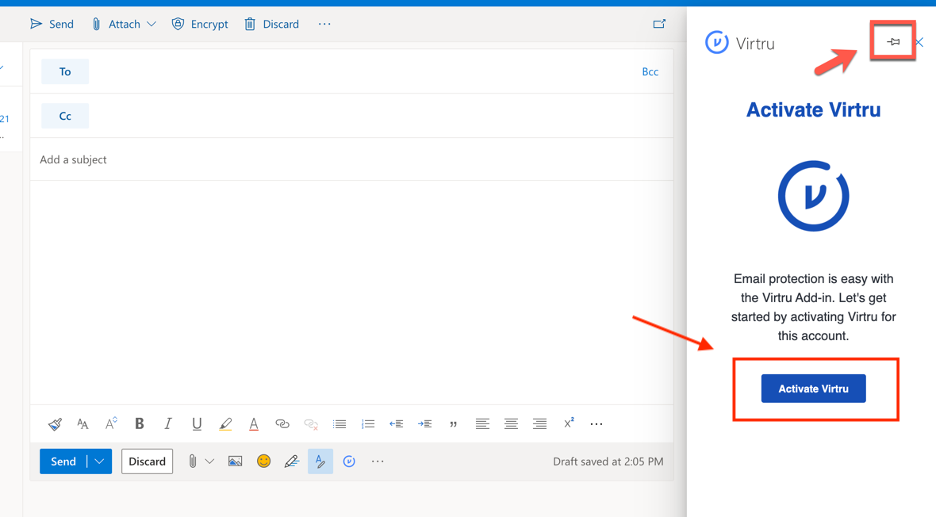
3) Pin Virtru to your side panel and click Activate Virtru
Recommended Configuration:
We recommend editing your Outlook settings so Virtru is visible in the toolbar. This will make it easier for you to quickly create new encrypted emails as well as decrypt secure emails you recieve.
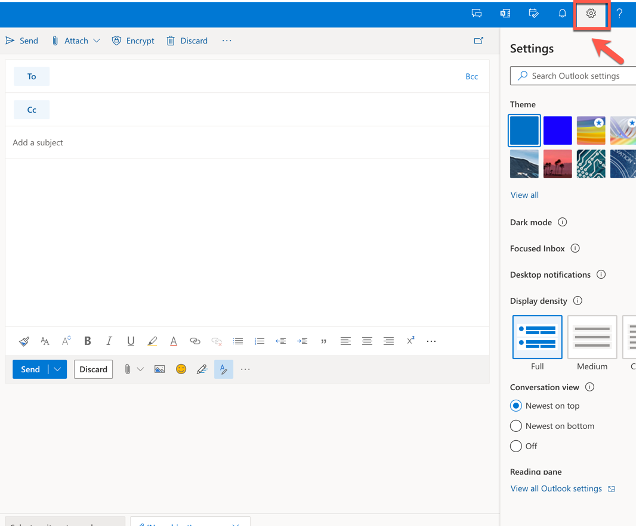
1) Go to Settings
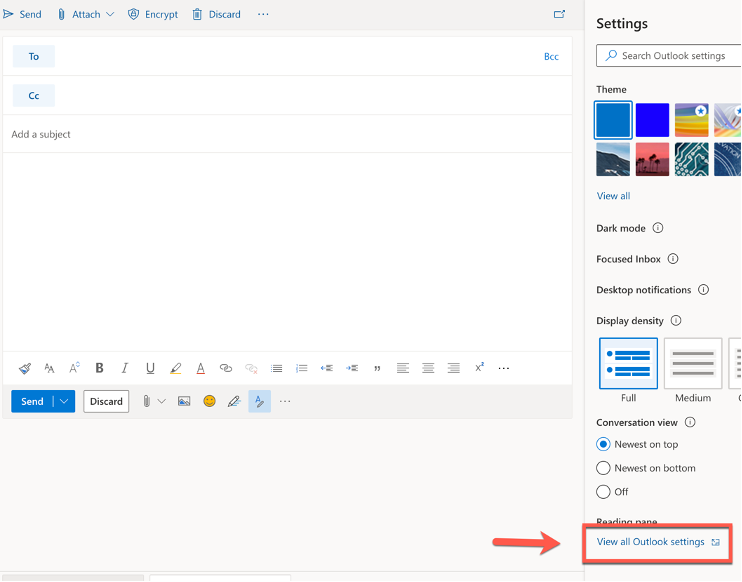
2) Click on View All Outlook Settings
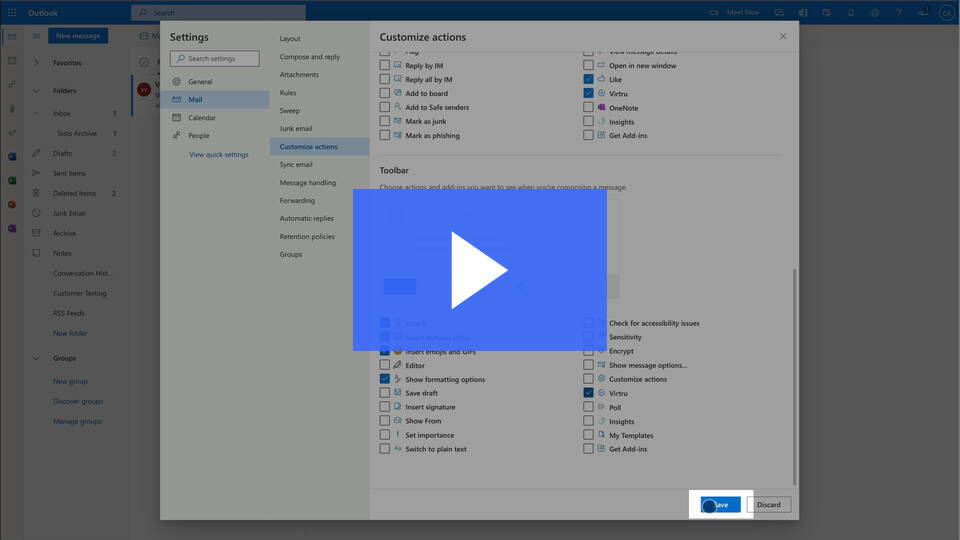
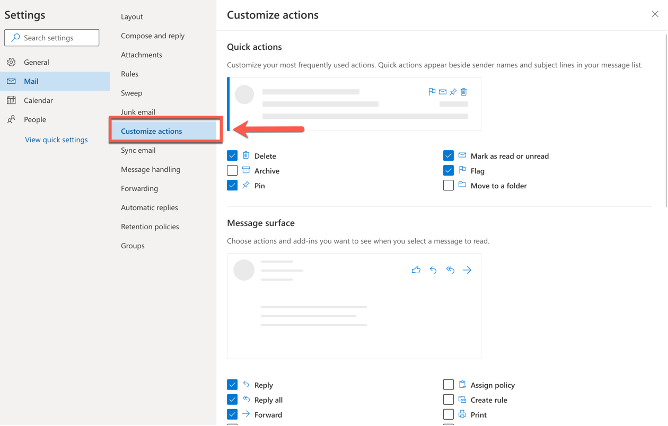
3) Choose Customize Actions
4) Enable Virtru in the Message surface (located in the Customize actions section) by clicking the check mark next to it.
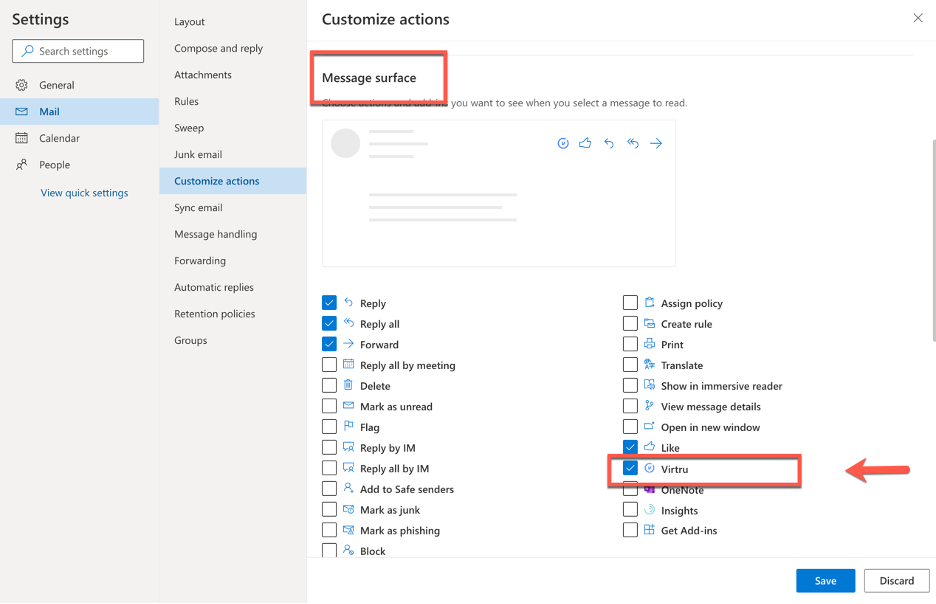
5) Scroll down and enable Virtru in the Toolbar section (also located in the Customize actions section) by checking it there as well
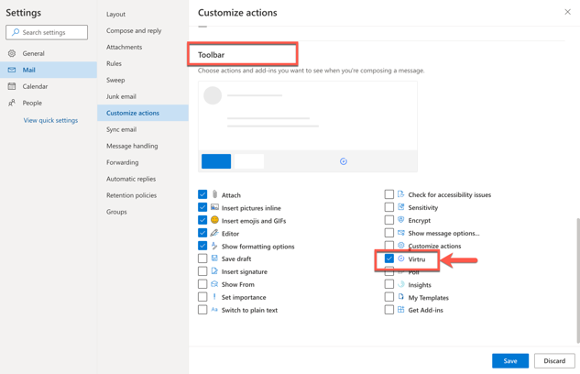
6) Click Save
Installing and Activating Virtru for Apple iOS(iPad/iPhone) through Office 365
...
Download the Virtru app from the App Store.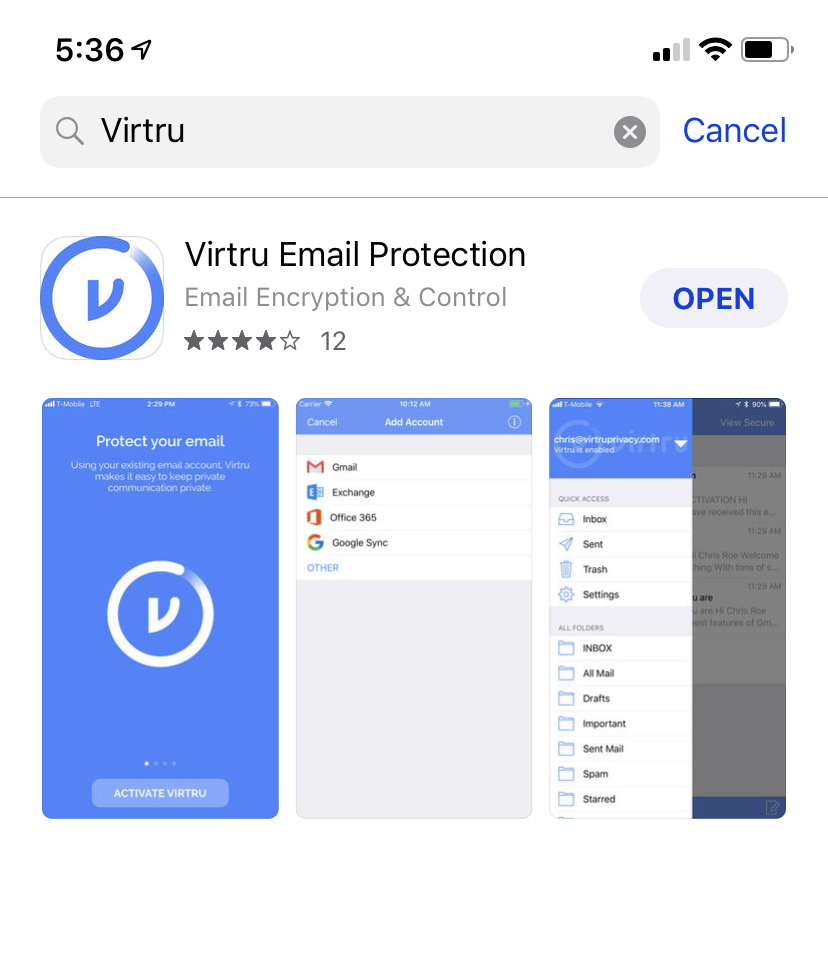
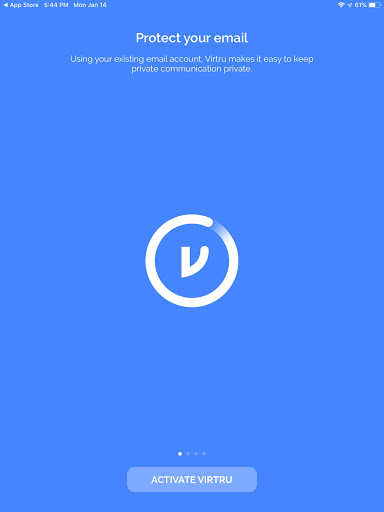
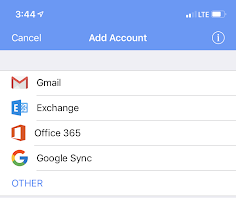
- Click the “ACTIVATE VIRTRU” button. Virtru will ask you which email service you use
- Select “Office 365” from the “Add account” page
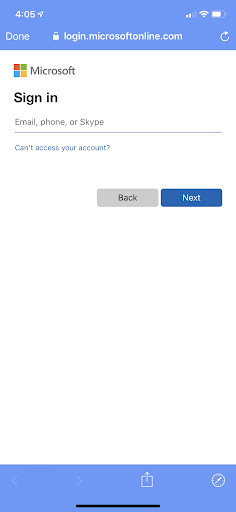
- You will be directed to login.microsoft.com to sign in with your Office 365 credentials.
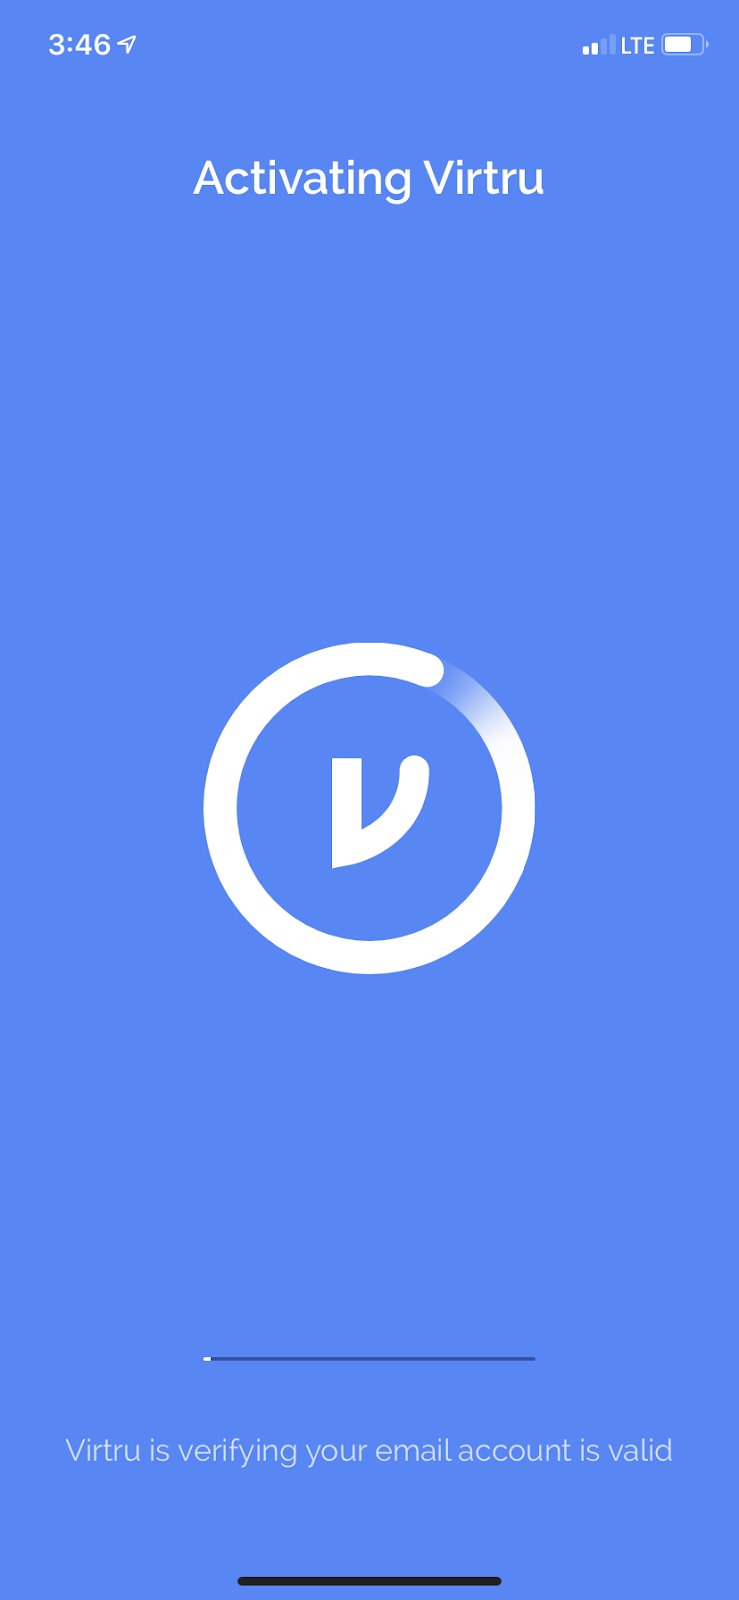
- Once you have allowed the Virtru app to connect to your mailbox we will send out an activation email to verify your account and device. This email comes from noreply-activation@virtru.comand the Virtru app will process this email for activation. This will happen in the background for the user, once you see the “Activated” screen you will be directed to your mailbox.

How to encrypt an email using Outlook 365 (Web)
Send secure messages via Outlook 365 Add-in (for Web, Desktop and Mobile) – Virtru
- Click New Message in Outlook
- Select the Virtru add-in inside of the compose window by clicking the Virtru icon OR the three dots.

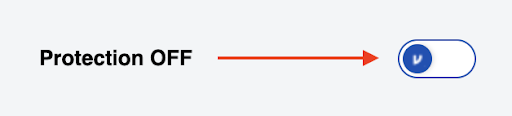
You should then see a side panel that contains a Virtru toggle. This will allow the option to turn Virtru Protection On, the button will turn blue.

You can also pin the Virtru side panel for continued use.

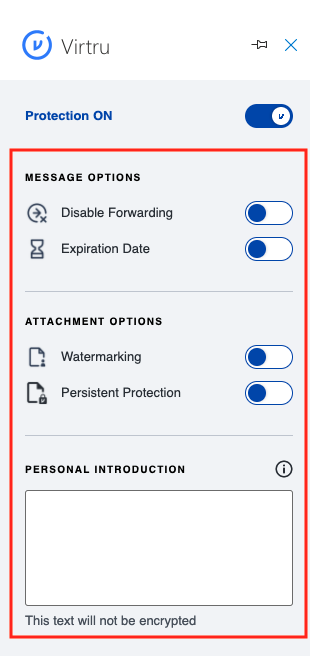
- You can now add your recipients, subject, the body of the email, and any relevant attachments. You also have the option to add a Custom Introduction Message along with additional security options for the message such as Disable Forwarding, Expiration Date, Watermarking, and Persistent Protection.
- When your message is ready, hit Send. You should see a brief message above your secure message letting you know that Virtru is sending your secure message.

How to encrypt an email in the Outlook Desktop Application using a keyword in the subject line
In order to manually encrypt an email its a pretty simple task but first there are some requirements that have to be met first
- Only@lynn.edu email addresses that are authorized and licensed are permitted to use the Virtru encryption service.
- You have to insert any of the keywords keywoe listed below anywhere in the subject line and they have to be encapsulated in the hashtags like below.
- #secure#
- #confidential#
- #private#
- secure
- confidential
- private
Setting a personalized, unencypted introduction
...
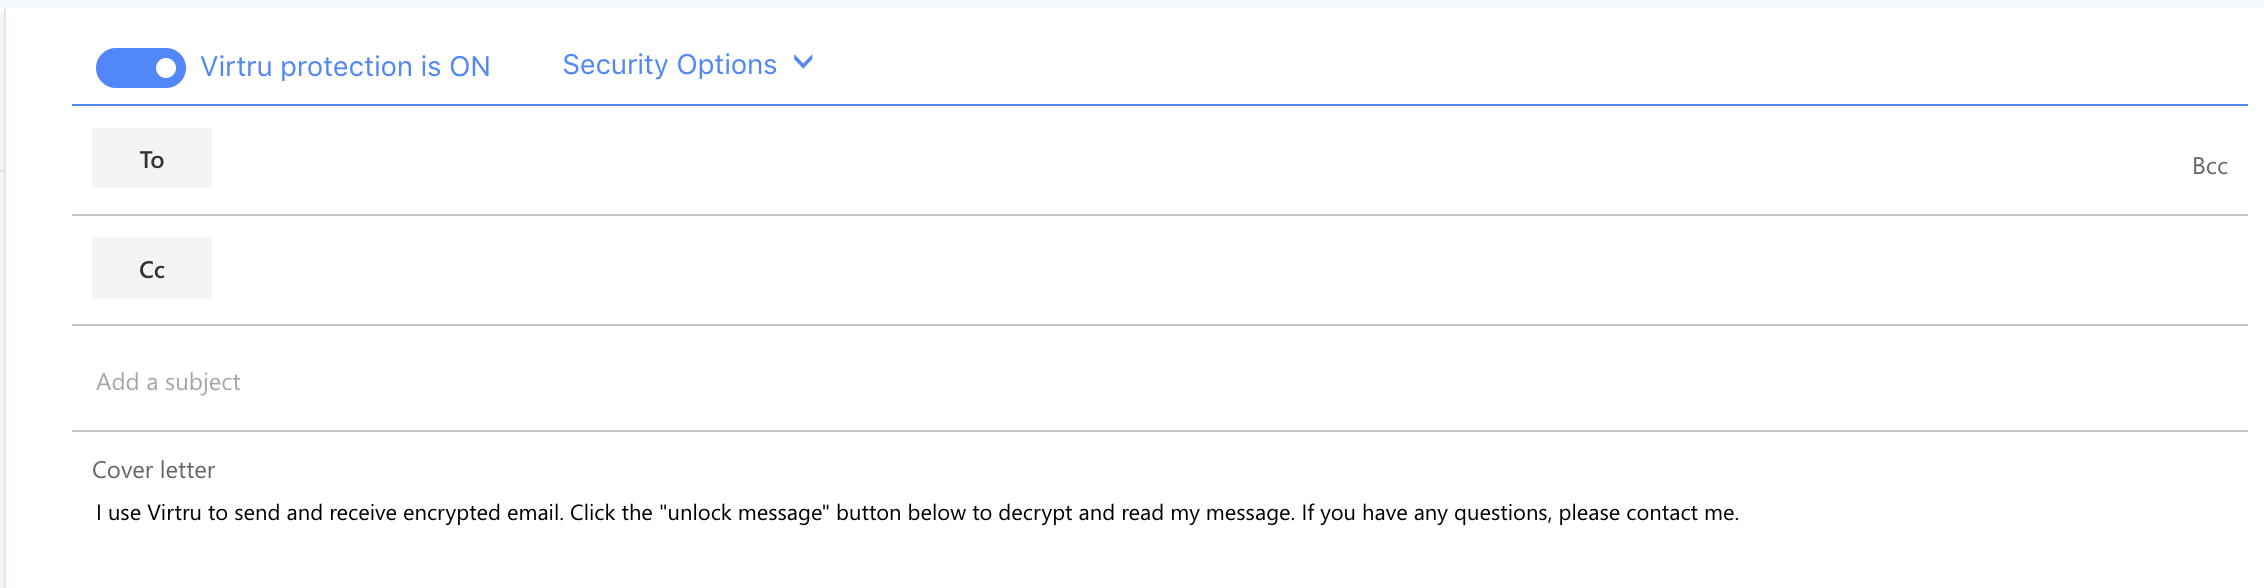
In Outlook Web, after you click on New to compose a new email and toggle Virtru on, you can edit the personal unencrypted introduction in the Cover Letter section
Sending a secure attachment with Outlook
Widget Connector url http://youtube.com/watch?v=wSaTs7-Na_8
Sending a Virtru-encrypted email with OWA
Widget Connector url http://youtube.com/watch?v=PLUgscYUdFQ
Automatic Encryption Rules
| Page properties | ||
|---|---|---|
| ||
...