...
- Click Request Absence under the Request section.

The unified absence calendar displays.

Info icon false title Note You will be able to see your other coworkers' absence requests by clicking View Teams. This gives insight into when your coworkers will be absent and decrease the likelihood of too many workers being out at the same time.
- If your leave request is for one day or falls within the same month, Click the day you wish to take off or click and drag to select multiple days. Click a selected day to deselect it.

- (Optional) Click the Select Date Range button to enter an extended date range. This is useful when entering an absence request that might extend into a different month or over a long period.|

- Click Request Absence. The number of days you requested displays dynamically on the button to help confirm your request.
- Select the type of absence requested. Your options will include both time off and other absence types.

- Click Next.
- Quantity per Day day may default to a set amount or to your daily scheduled hours, depending on whether balances are tracked in days or hours.
(Optional) To change the Quantity per Day amount, click Edit Quantity per Day. Enter the desired amount and any needed comments. You can also update all quantities to the same amount at once, using the Update All Quantities field. Click Done.

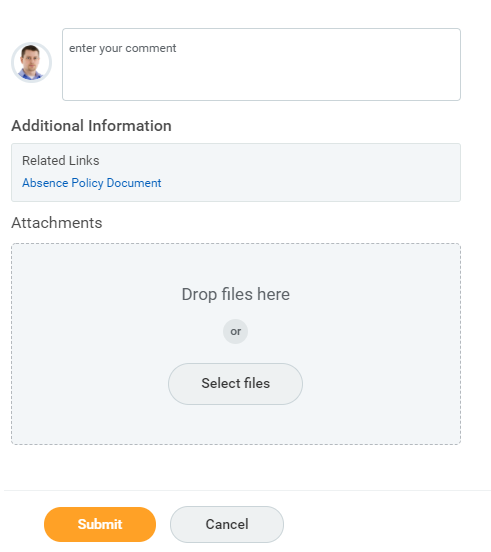
- Attach any appropriate supporting documents by dragging them to the Attachments field or clicking Select files.
- Click Submit. You can view the status of your request at any time by returning to the My Absence report. Paid time off will route to your manager for approval. Leaves of Absences will route to Employee Services for approval.
| Info | ||||
|---|---|---|---|---|
| ||||
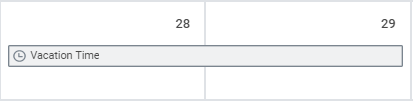
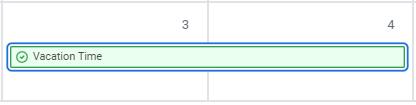
Once your supervisor approves your time off, the request in your calendar will display in color green. Pending requests will display in gray.
|

...
Submitted time off requests that have not yet been approved can be canceled. Once approved, you must correct the request to cancel it.
From the Absence application:
- Click Request Absence or Correct My Absence to access the unified absence calendar.
- Click the time off entry on the calendar.
- Click Cancel this Request.

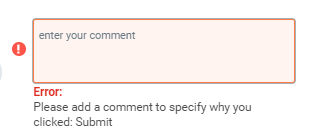
- Enter a comment. Commenting is required for cancelationcancellation.
- Click Submit, then Done. No approval is required.
...
- Click Request Absence or Correct My Absence to open the unified absence calendar.
- Click the leave of absence entry on the calendar.
- Click the Absence Event's Related Actions.
- Click Business Process > Cancel.

- Click Business Process > Cancel.
Enter a comment. Commenting is required for cancelationcancellation.
Click Submit, then Done. No approval is required.
Info icon false title Note The user experience to cancel an absence request is different from time off request when initiated from the absence calendar. It is also possible to cancel both times off and leave of absence requests in the same manner. From your Inbox Archive tab, access the absence request and click Cancel to initiate the cancellation. The Archive tab only includes absence requests completed within the last 30 days.
From the Absence application:
Modify Previously Submitted and Approved Time Off RequestsAnchor modify_approved modify_approved
- Click Request Absence or Correct My Absence to access the unified absence calendar.
- Click the time off entry on the calendar. Approved time will display in green.

- Select the days you want to correct or click the Remove Row icon to remove the days.

- In the Type field, enter the new type of time off (if applicable).
- Enter an adjustment to requested hours in the Quantity per Day field.
- Scroll down to attach any documentation to the request.
- Click Submit
...