On this Job aid:
Create a Position for Student Workers
| Anchor | ||||
|---|---|---|---|---|
|
- On
...
- Type 'create position' in the search bar at the top of your home page and select , type 'Create position'. Select the option 'Create Position - Task' from the drop down list.
...

- The screen automatically defaults to your Supervisory Organization. Hit Click the okay OK button at the bottom left of the screen.


- In the first empty field click Click on the
 symbol next to 'Position Request Reason' and a pop up box opens to display the options.
- Select the appropriate option by clicking on the radio button.
...

- Under Job Posting Title, type Type in the title of the position you are creating.
...

- Number The number of Positions defaults to one but if you need to create more than one of the same position you would enter the number here.
...
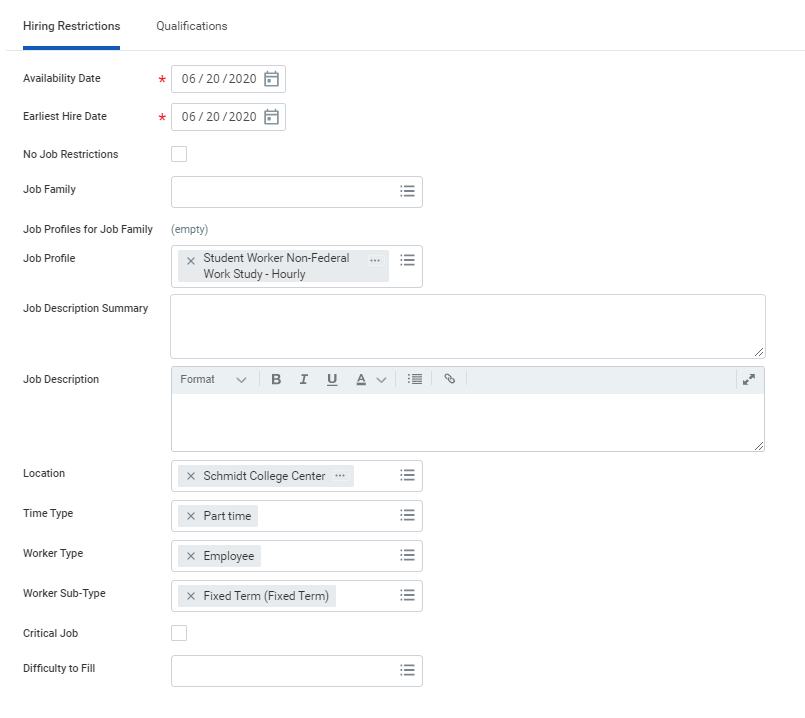
- The 'Availability Date' is the date the new position will be visible in Workday. The 'Earliest Hire Date' is the earliest date you can hire a student into this position. Typically both dates will be the same and typically you will enter the date you are creating the position.
...

- On the Job Profile field, click Click on the symbol in the job profile fieldand select . Select 'By Job Family' and the select Student.
...

- Select "By Job Family"

- The select "Student".

A selection will appear.
The following options will appear. Important: theInfo title Important The
type of position you create will determine where the student's pay is charged (funding). Select the most appropriate option.
...

- Depending on your selection, you will be prompted additional selections.
If you select- Graduate Assistant: There is only one option for this position.

- Non-Work Study
- : The majority of student positions will be 'Hourly' (i.e. the student is required to punch in/out in Workday and will be paid for their hours worked). Please contact Employee Services for guidance before using the 'Salary' option.
- Graduate Assistant: There is only one option for this position.
...
Work Study
- : option you will be prompted to choose the type of Work Study.

...
- In the location field, select the location/building where the student is going to be based. You can type a building name and click enter or click on the icon, select all locations and pick a building from the drop down list.


Under 'Time Type', always select 'Part Time'.

...
Info title Important Time Type for a student worker will always be part-time.
...

- Under 'Worker Type will always be an Employee.
...
- ', always select 'Employee'.

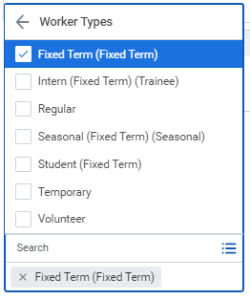
- Worker Sub-type will typically be student (fixed term).
...
- Click on the icon and select Worker Type.

- Select 'Fixed Term'
- Review the completed fields. Make edits if necessary.

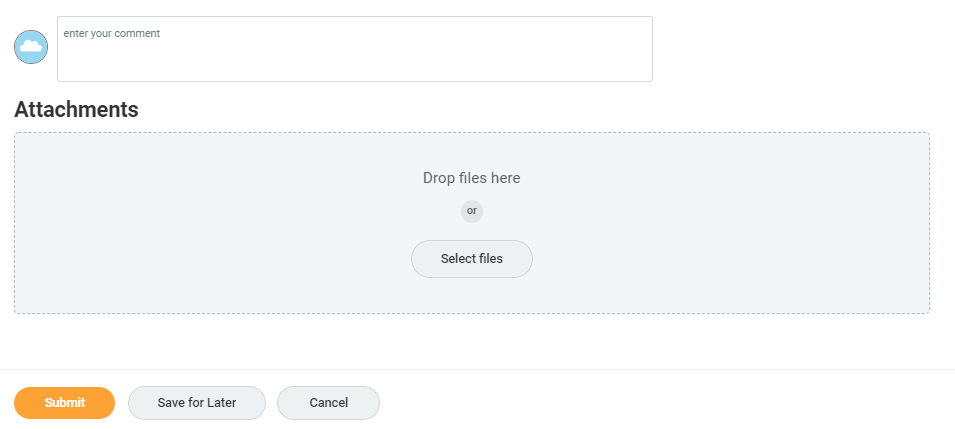
- There is no requirement to enter a comment or attach a document at the bottom of the screen. Hit submit 'Submit' at the bottom left of the screen.
...
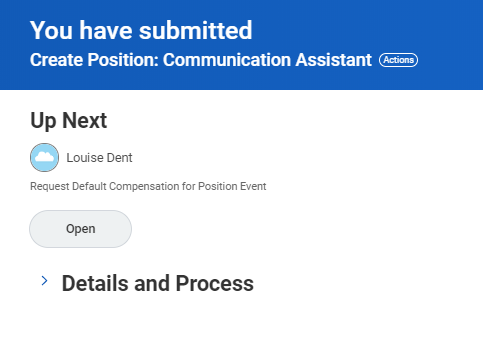
- A confirmation message will be displayed and you You will then be directed to enter compensation for the new position. .
- Click on open.
...
Request Compensation ChangesAnchor compensation compensation - The 'Compensation Change' screen will open.

- Scroll In the Compensation Change screen scroll down towards the bottom of the page to find the section titled 'Hourly' and click . Click on the pencil icon to enable you to edit the screen.

- Enter the hourly rate. Click on the checkmark to save the entry. (Contact Employee Services for further information on salaried student positions.)
...
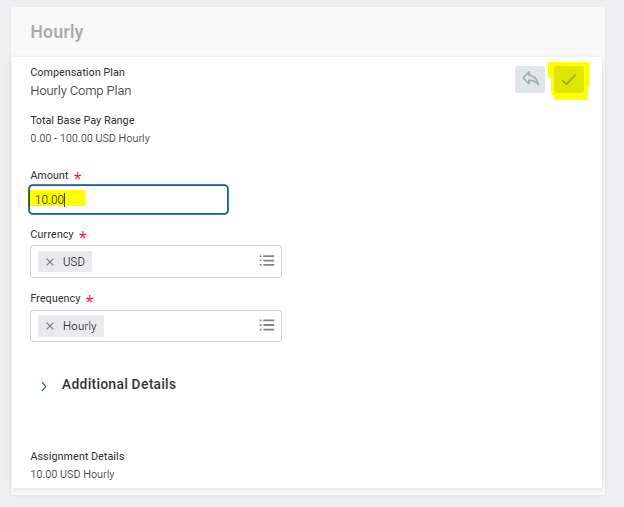
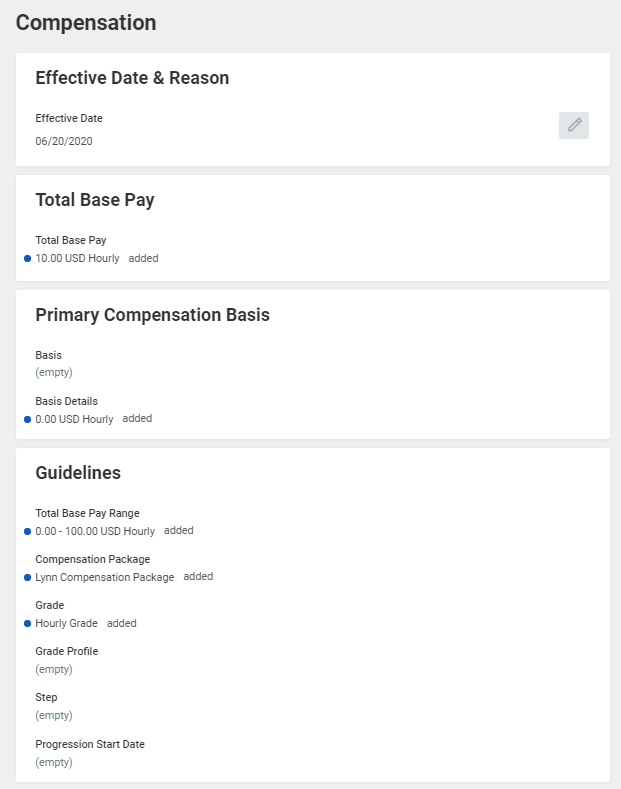
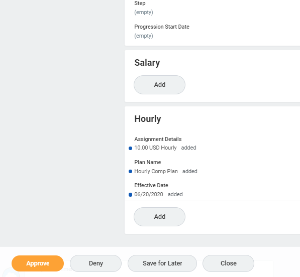
- Scroll back to the top of the screen and check the hourly rate is now showing in the 'Total Base Pay' section as well as the 'Hourly' section.
- Click Approve at the bottom left of the screen.
...
...

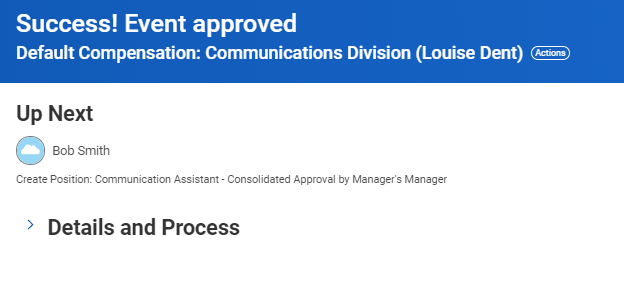
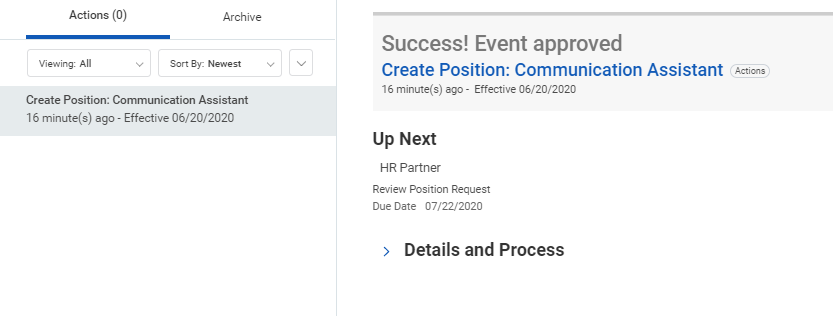
- A confirmation message will be displayed. The The next screen shows who is 'up next' in the process. Typically, this will be your manager.
- You can
...
- click on
...
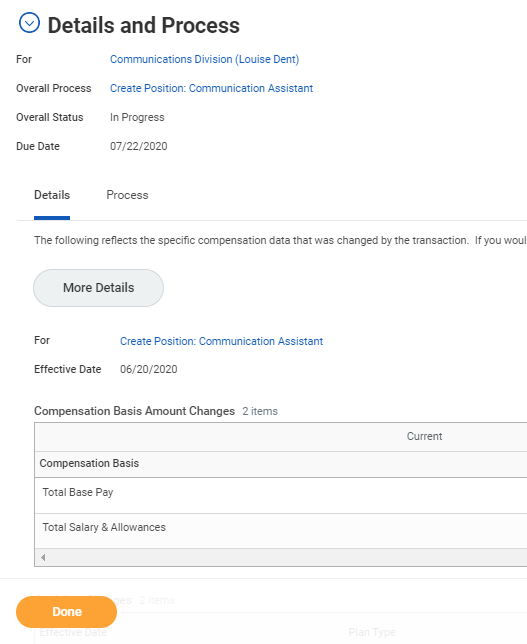
- 'Details and
...
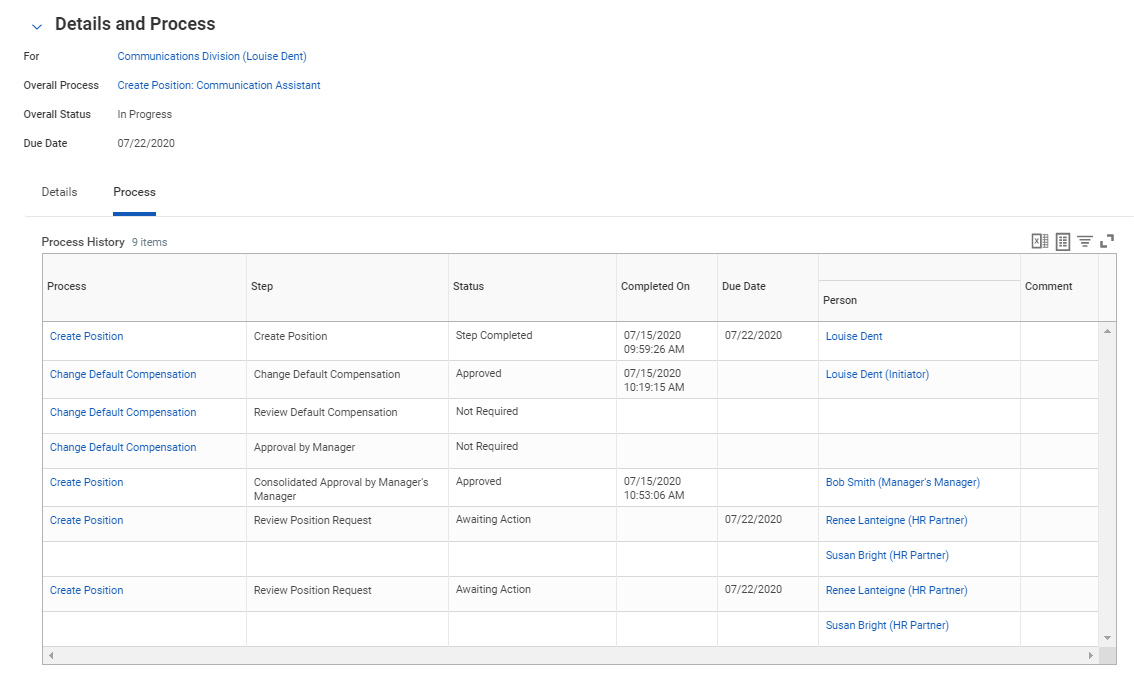
- Process' to see the information you have entered and the next steps in the process. When finished click done at the bottom of the screen.
...
-
Manager's ApprovalAnchor manager manager
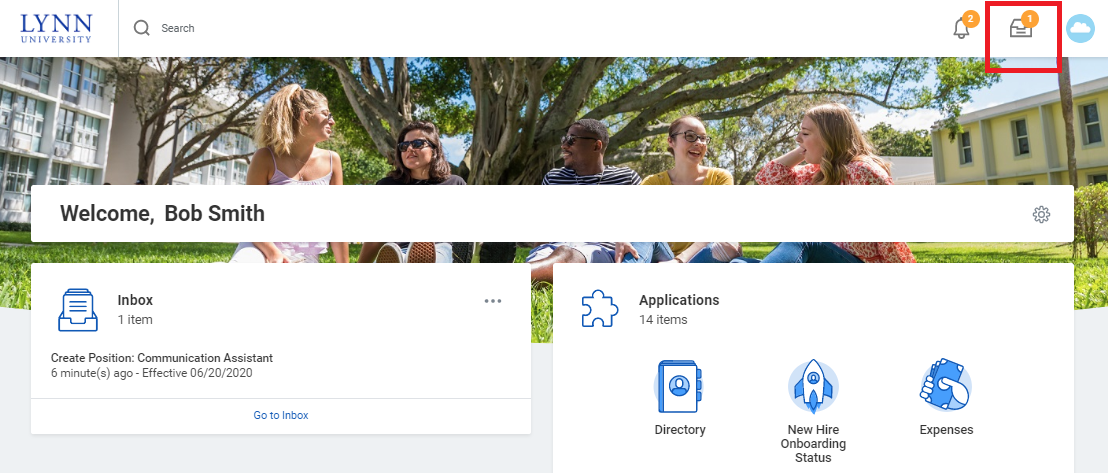
- Your An email will go to your manager's inbox in Workday will receive an item requesting they review and approve the information you submitted. Click on the inbox icon.
...
-
- Manager must review the 'Create Position' request.
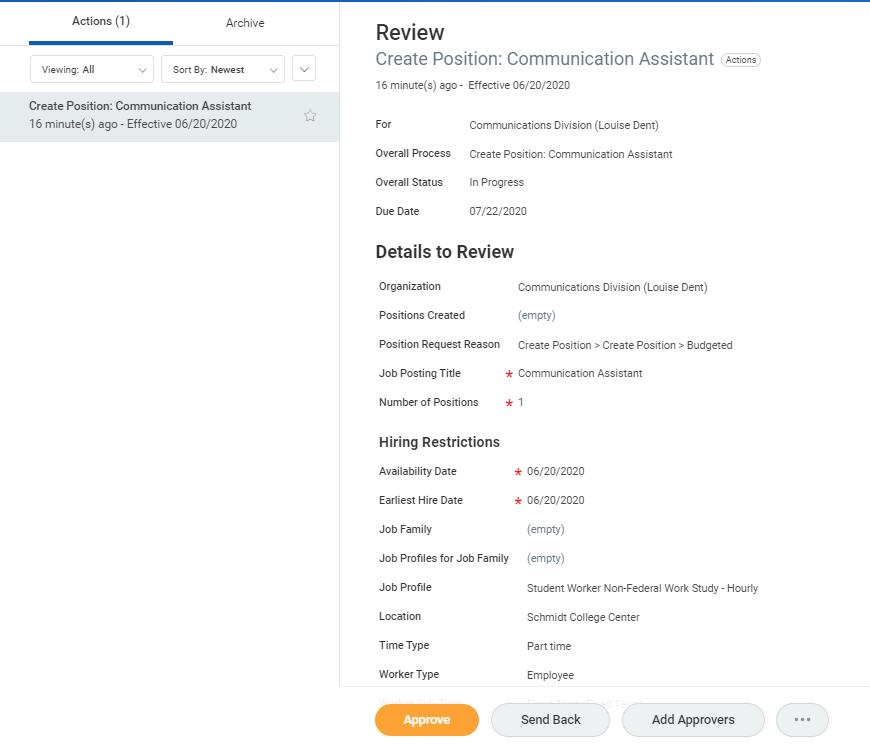
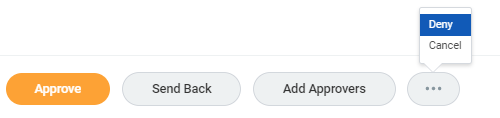
- Manager has the option to 'Approve', 'Send Back' for corrections, 'Add Approvers'. To 'Deny' or 'Cancel' the request click the ellipsis icon.
- When approved, a success message will display on the inbox item.
- After approval by your manager the process will route to Employee Services and Finance for review and approval. Click Detail and Process then Process tab to view next steps.
- Once . Once the approval process has completed, you will receive a notification that the new position has been successfully created.
| Anchor | ||
|---|---|---|
|
...
|
...
View New Position
- Once the approval process has completed, you (Initiator) will receive a notification that the new position has been successfully created.

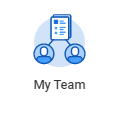
- To view the new position in your supervisory organization, click on 'My Team' You will see the new position in your supervisory organization. To get to your supervisory organization click on My Team on your home page.
...
- Under View, Click on 'My Org Chart'
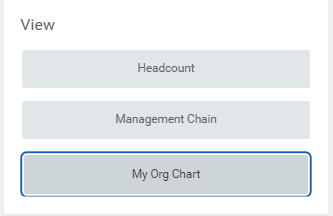
- The position will be displayed under your organization.
...
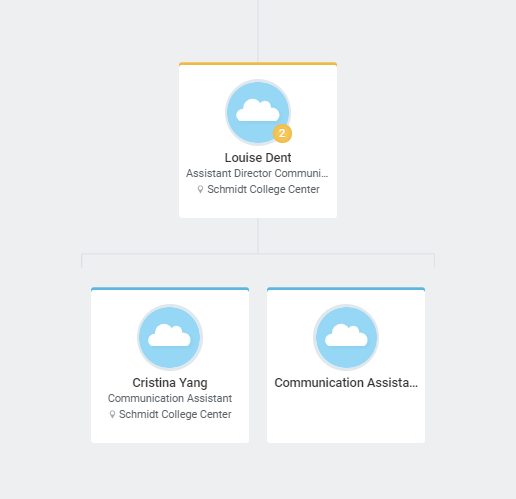
- From your Supervisory Organization Chart you are able to hire a student into this position.
...
- On the open position, hoover over the top right corner. Click on the 'Action Items" button (3 dots)
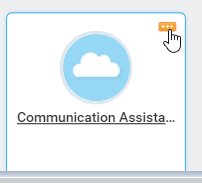
- Under 'Hire' optin, select 'Hire Student'

| Info | ||
|---|---|---|
| ||
Follow the New Hire - Student job aid for detailed instructions. |