| Warning |
|---|
This job aid does not cover expenses paid with the Lynn JP Card. For JP Card transactions please refer to job Aid XXXXXXX (TBD)cover all expense reports including the Lynn JP expense card. After going live with Workday all expenses will be recorded on the system and not on PaymentNet. Instructions to submit Lynn corporate purchases for goods and services using JP Morgan corporate card are included on job aid XXXXX |
Say Goodbye to the Travel Expense and Expenditure request forms!
...
- Click the Create Expense Report button under Actions.
- Select either Create Expense Report . Your selection determines what information displays on the new expense report.

Select Create a New Expense Report. You can also copy previous expense reports and modify specific items. Complete all required fields, including Date, Expense Item, Quantity, Per Unit Amount, Total Amount, and Business Topics, if applicable.
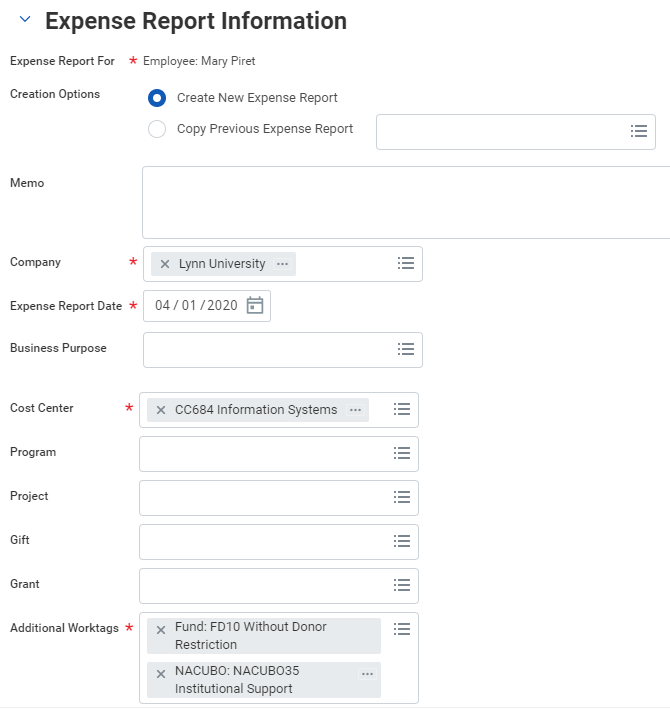
Info icon false title Note Cost Center refers to the department charged for the expense. By default every employee is assigned to a cost center and your expense will bring that default cost center for approval routing.
For Additional Worktags, see the Worktags section below for project, cost center, and/or location to be associated with your expense report.
If you added items previously to process later on your mobile device, a list of those items will display under tab Quick Expense
 .
.
For Lynn JP Morgan Expense card holders, your expenses will show under tab Credit Card Transactions


Info icon false title Note JP Morgan expense card transactions will not generate reimbursements to employees. They will follow department approval process and will debit the department cost center.
- Click OK.
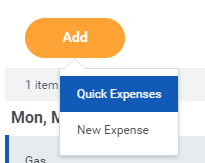
A window will open to add the expense items.
Click plus sign to add an expense. NOTE: Quick expense are those entered in Workday (via mobile or browser) but not added to any expense report.
Fill in the expense line. Items with red asterisk are required. Drag and drop or click select to add your receipts into Attachment from file area.
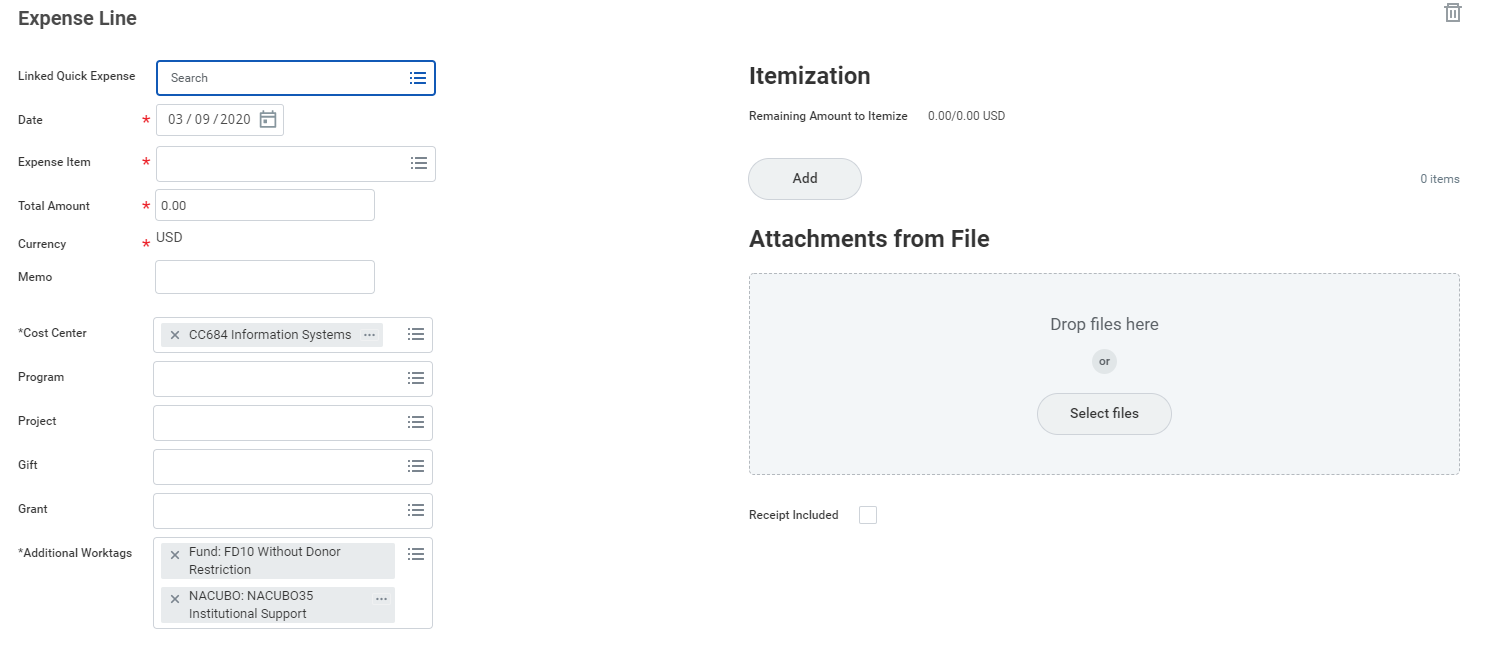
- Repeat items 7 and 8 until you added all your expense items.
- If you need to delete and item from the expense report, click the delete icon

- Once you add all items, click Submit.
...